

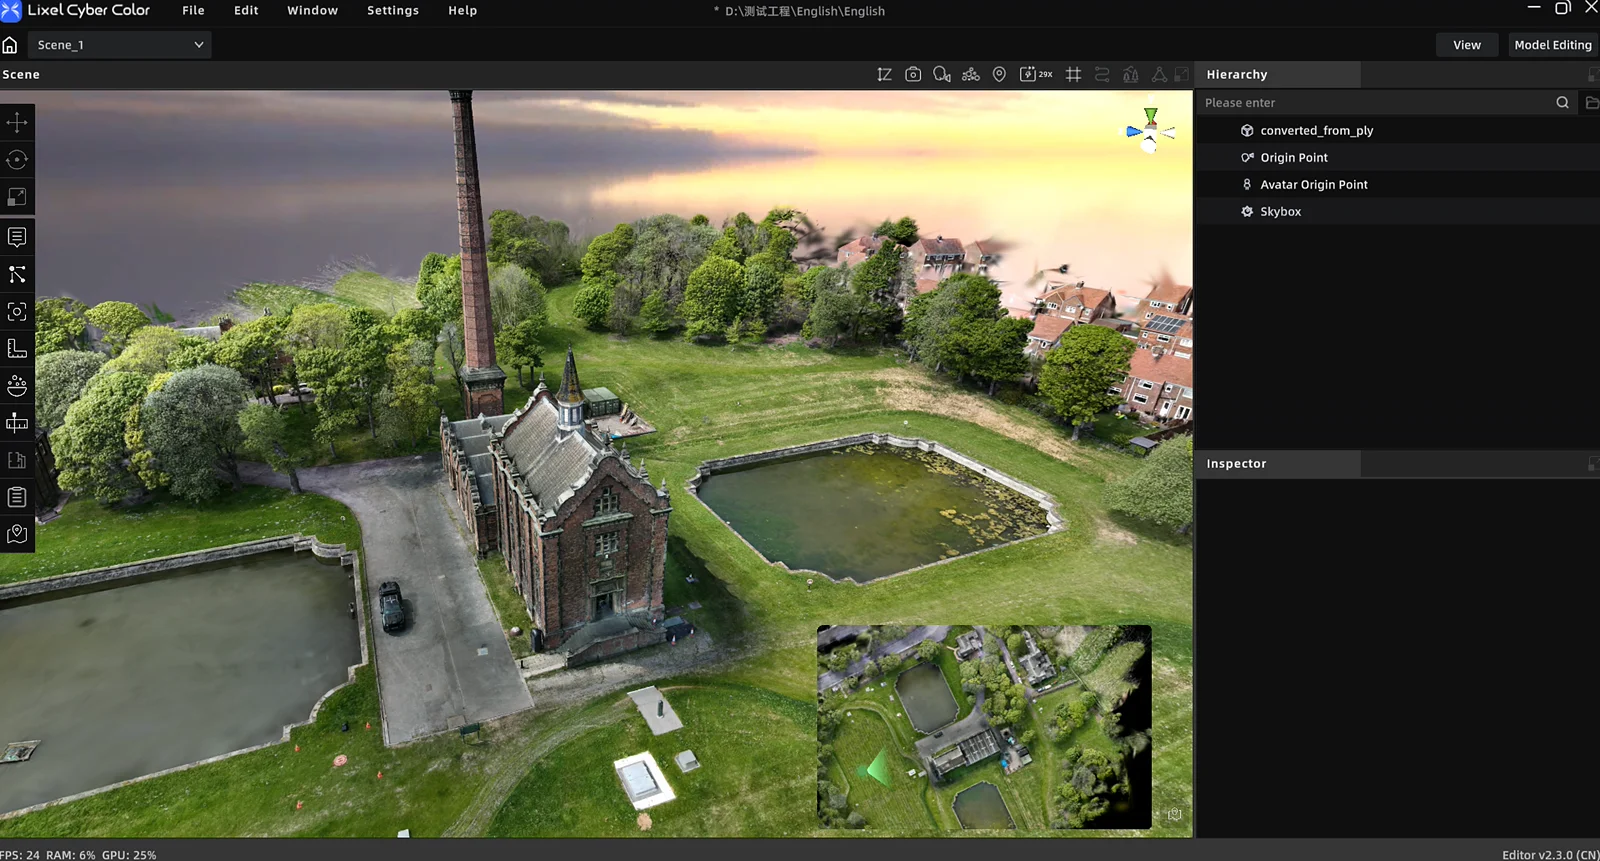
The mini-map helps you quickly view your current position and viewing direction, making it easier to locate yourself and navigate in the 3D scene.
Show or Hide the Mini-Map
The mini-map is generated automatically when you enter a scene. Click the Mini-Map toggle to show or hide the mini-map window. The mini-map is available in Edit Mode, Preview Mode, and Web Viewer.
The system selects a map based on the scene data:
- If the scene does not contain 3D Layout data, a top-down view of the full scene is displayed by default.
- If the scene contains 3D Layout data, the floor plan is displayed by default.
Switch Map Modes
When a scene contains 3D Layout data, you can switch between Floor Plan and Scene Overview modes. If the scene does not contain 3D Layout data, only the scene overview is available.
The first switch to Scene Overview mode may take a moment while the map is generated. Switching modes does not delete any saved maps or settings.
Edit the Scene Overview
Click Mini-Map Tool to open the map editor.
- Adjust orientation: Rotate the scene to place the desired direction at the top of the mini-map. Click Reset to restore the default orientation.
- Filter by height: Adjust the height range to hide lower content that you do not want to show on the mini-map.
- Crop the map: Select the polygon crop tool, click to add points, and close the polygon. Only the content inside the polygon is retained.
- Preview the result: Check the map orientation, height filter, and crop area.
- Save the map: Click Save and Update Mini-Map and wait for the update to finish.
To restore the full map, clear the crop area. Height filtering and cropping affect only the mini-map display and do not modify the original scene.
Mini-Map Editing Example
Update the Floor Plan Map
Open the 3D Layout module, make your changes, and save the floor plan. The mini-map updates automatically; you do not need to generate it again.
Navigate with the Mini-Map
The mini-map displays the current camera position and viewing direction and updates automatically as you move through the 3D scene.
| Action | Result |
|---|---|
| Move in the 3D scene | The mini-map automatically follows your current position |
| Rotate the view in the 3D scene | The direction indicator on the mini-map rotates accordingly |
| Scroll the mouse wheel | Zoom the mini-map in or out without changing your position in the 3D scene |
| Drag an empty area of the map | Pan the mini-map without changing your position in the 3D scene |
| Drag the camera icon | Move the 3D scene to the corresponding position |
| Drag the direction indicator | Adjust the viewing direction in the 3D scene |
Clicking the map or camera icon only selects the mini-map and does not move the 3D scene. To change your position in the scene, drag the camera icon.
This chapter is from the official XGRIDS user manual. Official source (opens in a new tab) · Updated:



