

This chapter covers GNSS settings, project naming and scan settings, scanning, rendering modes, Scan Assist, model viewing, and data export.
GNSS Settings
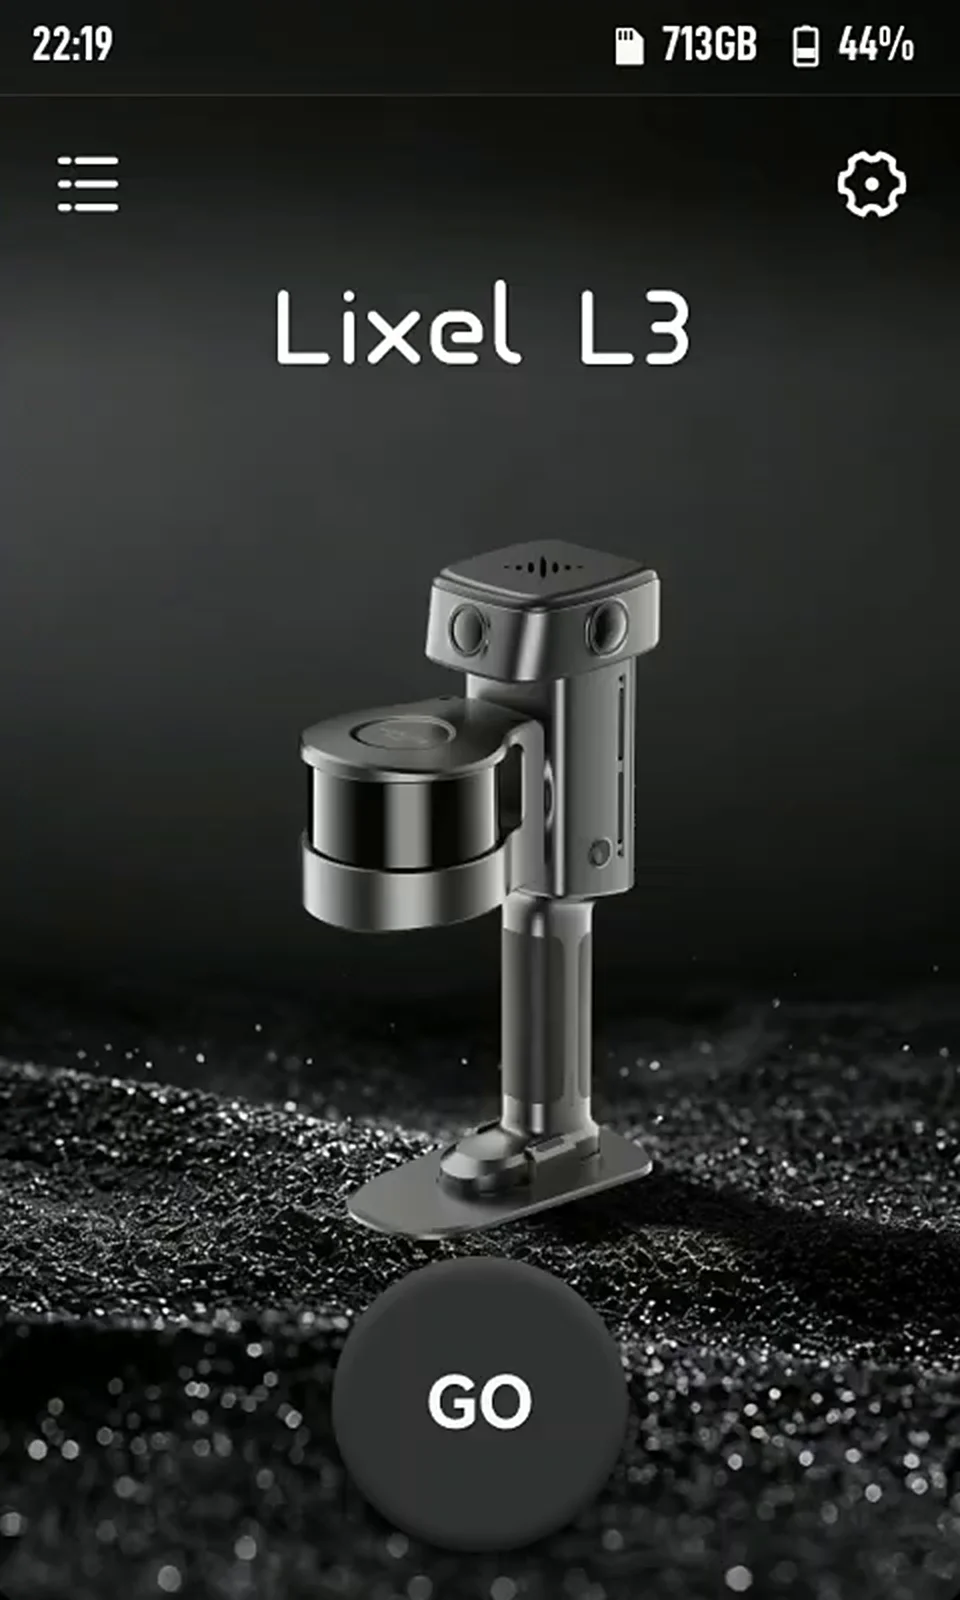
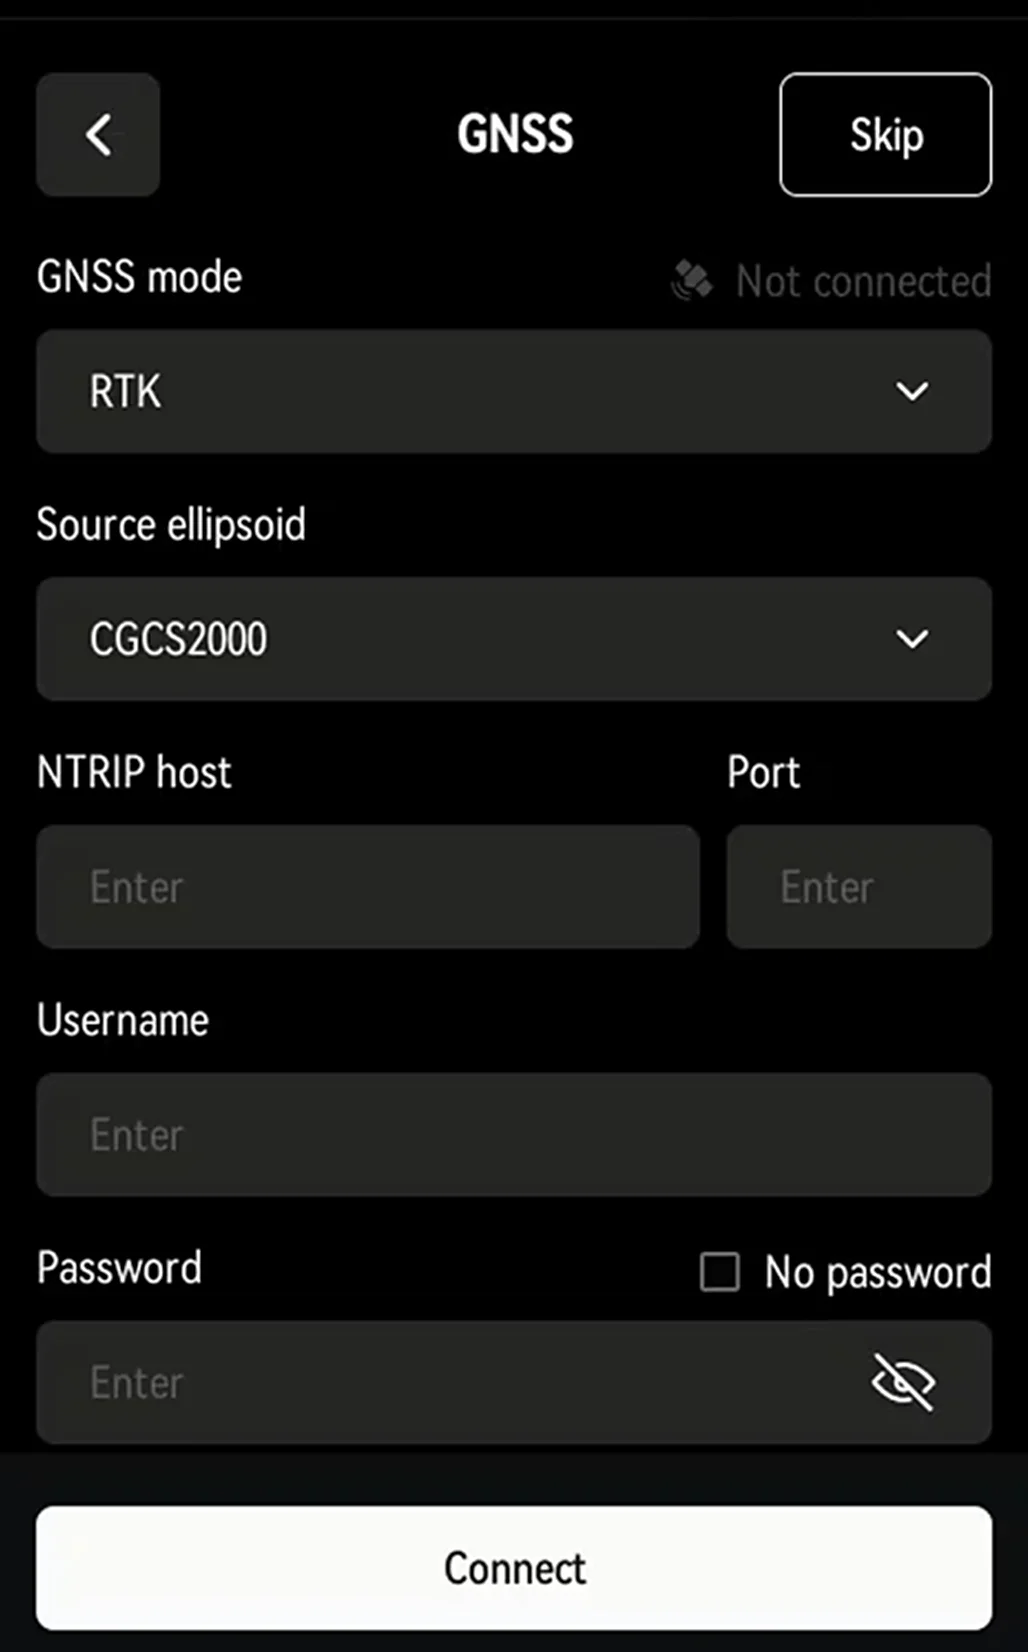
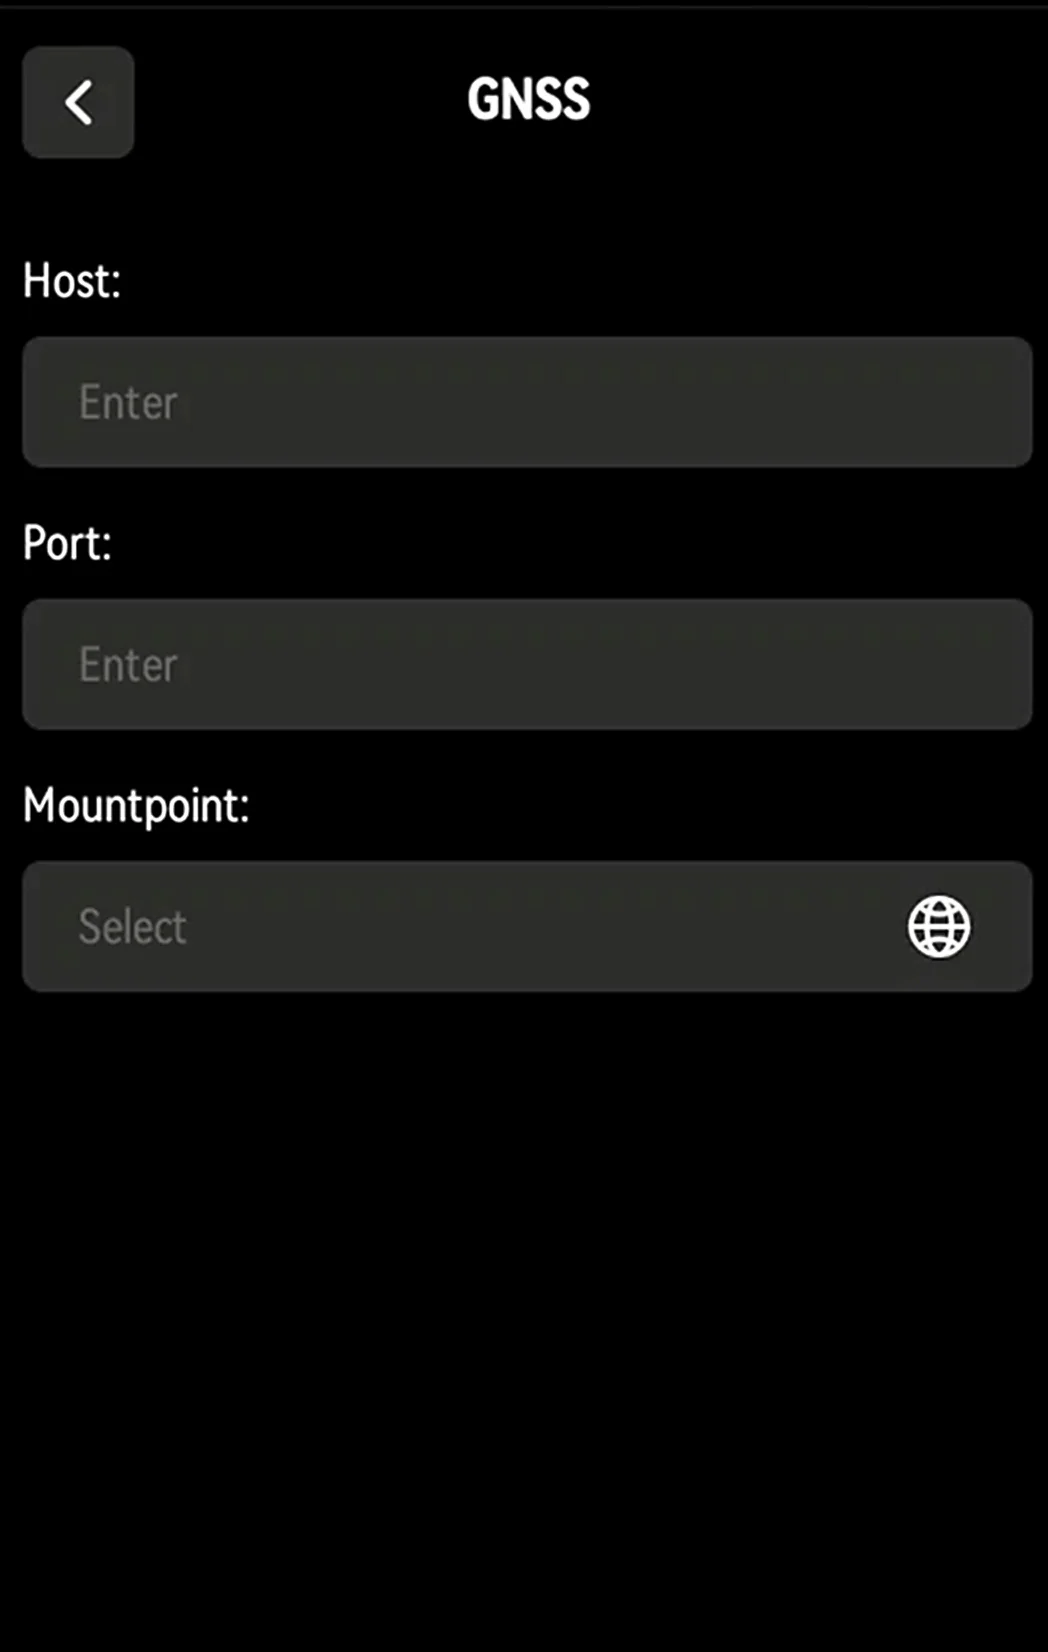
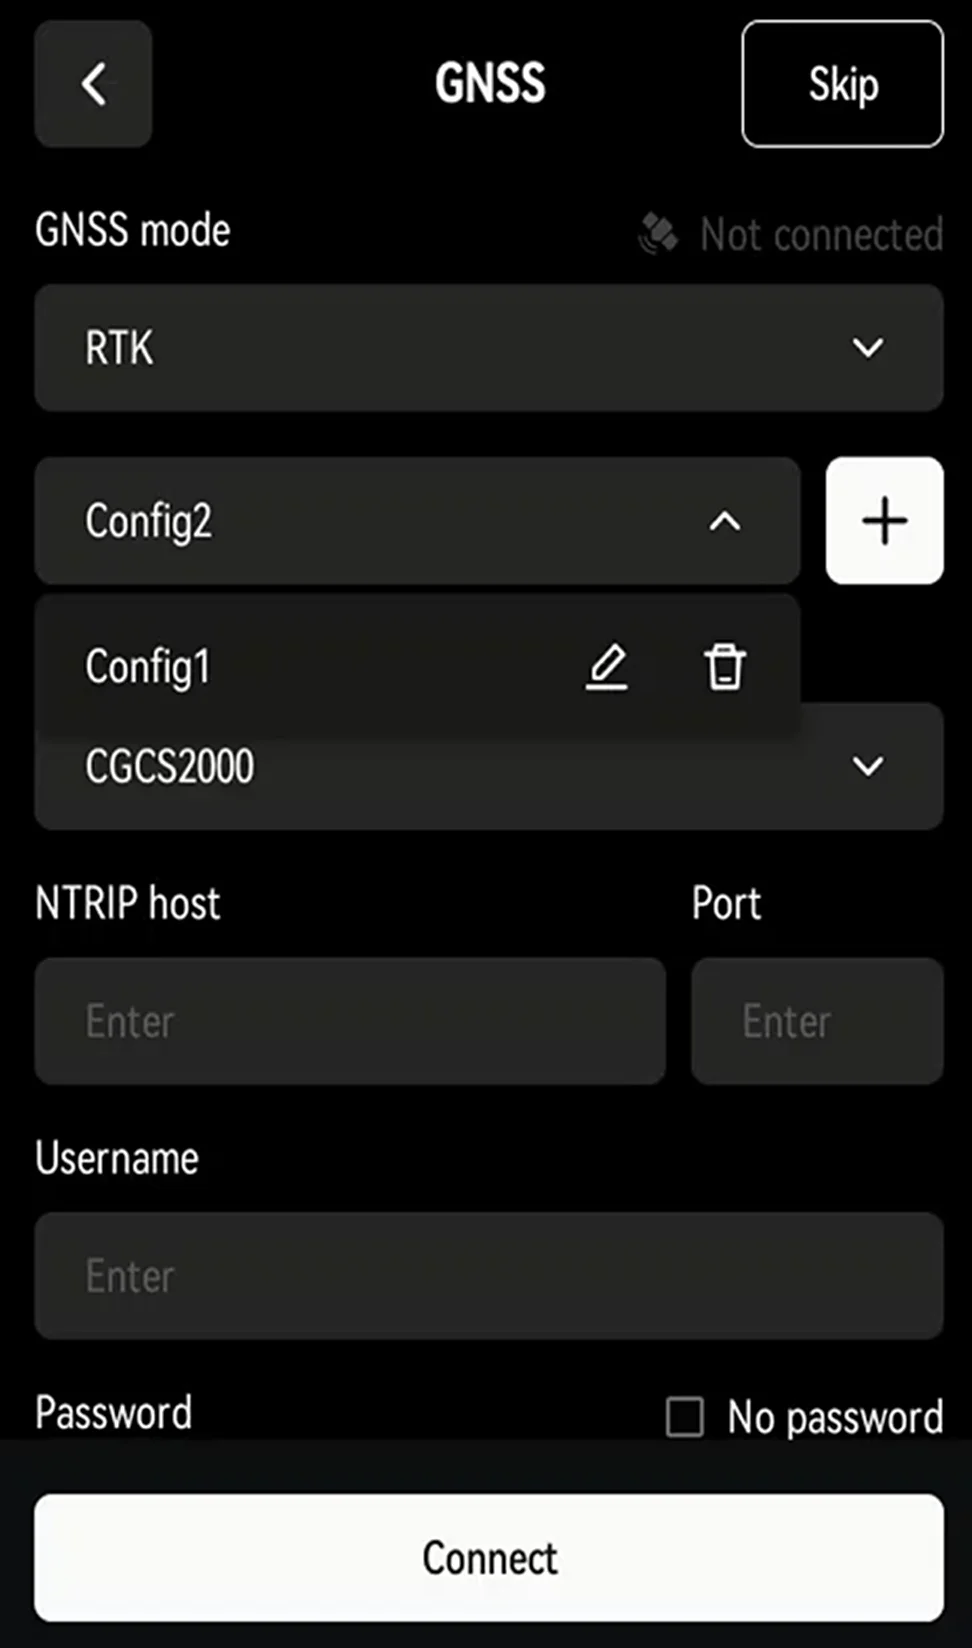
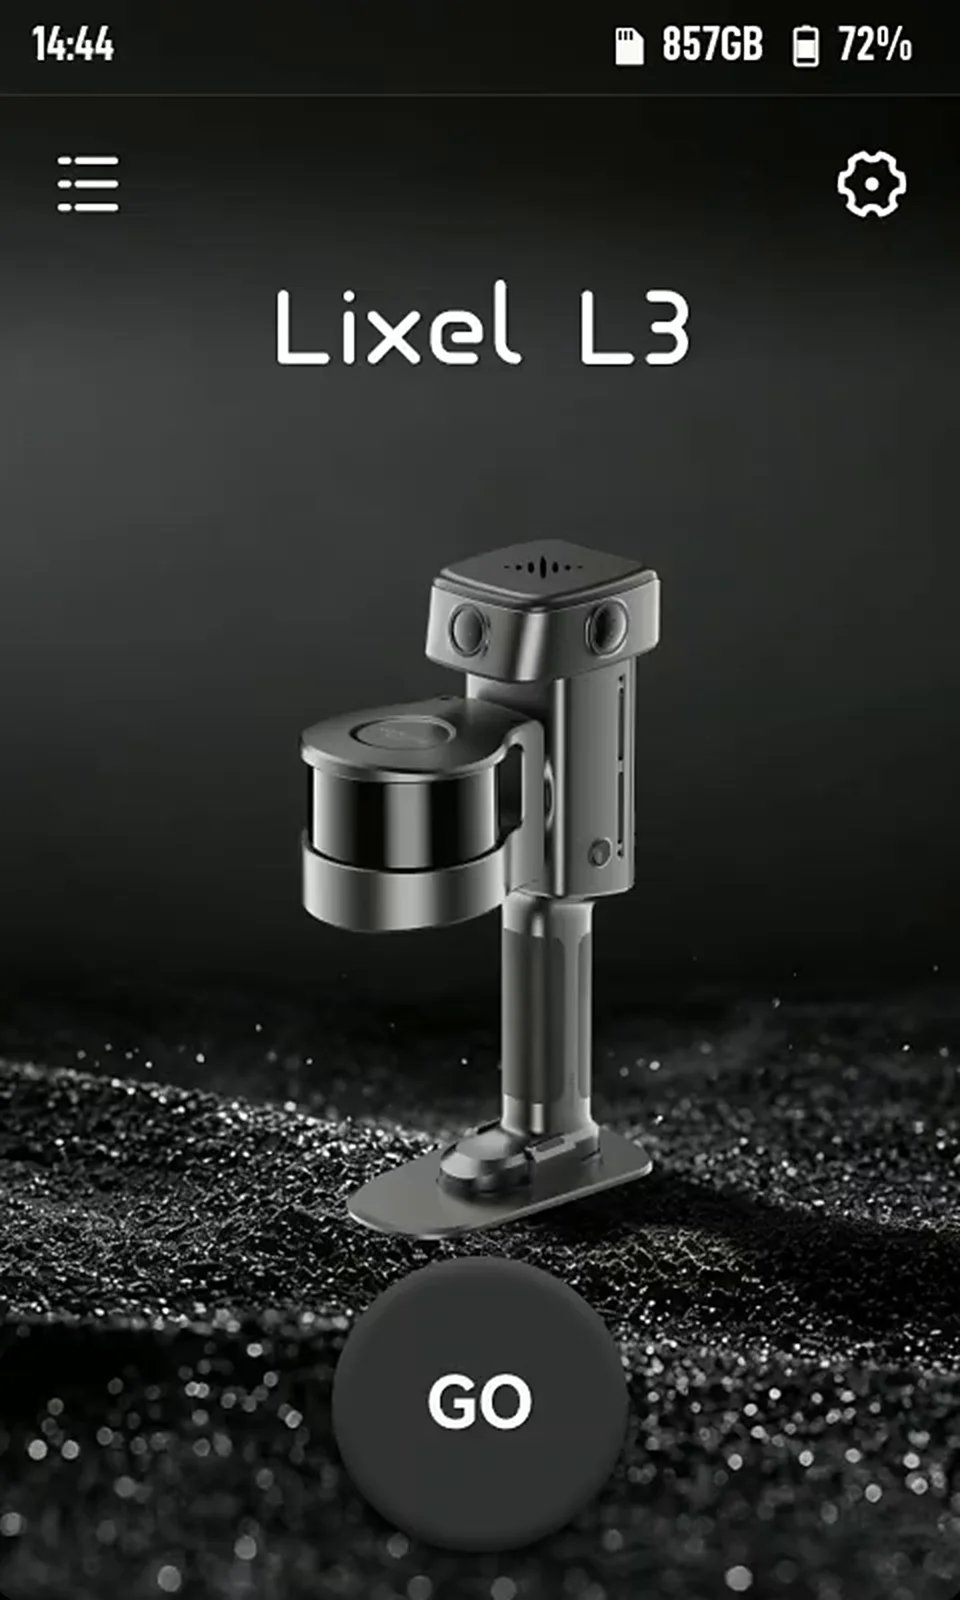
Tap GO to open GNSS settings.
GNSS mode
| GNSS Mode | Function | How to Use |
|---|---|---|
| RTK | Receives correction data through the RTK module for real-time positioning; saved to the project file | Select RTK mode; process with the RTK module in LixelStudio |
| PPK | Records raw satellite observations through the RTK module; saved to the project file | Select PPK mode; process with the PPK module in LixelStudio |
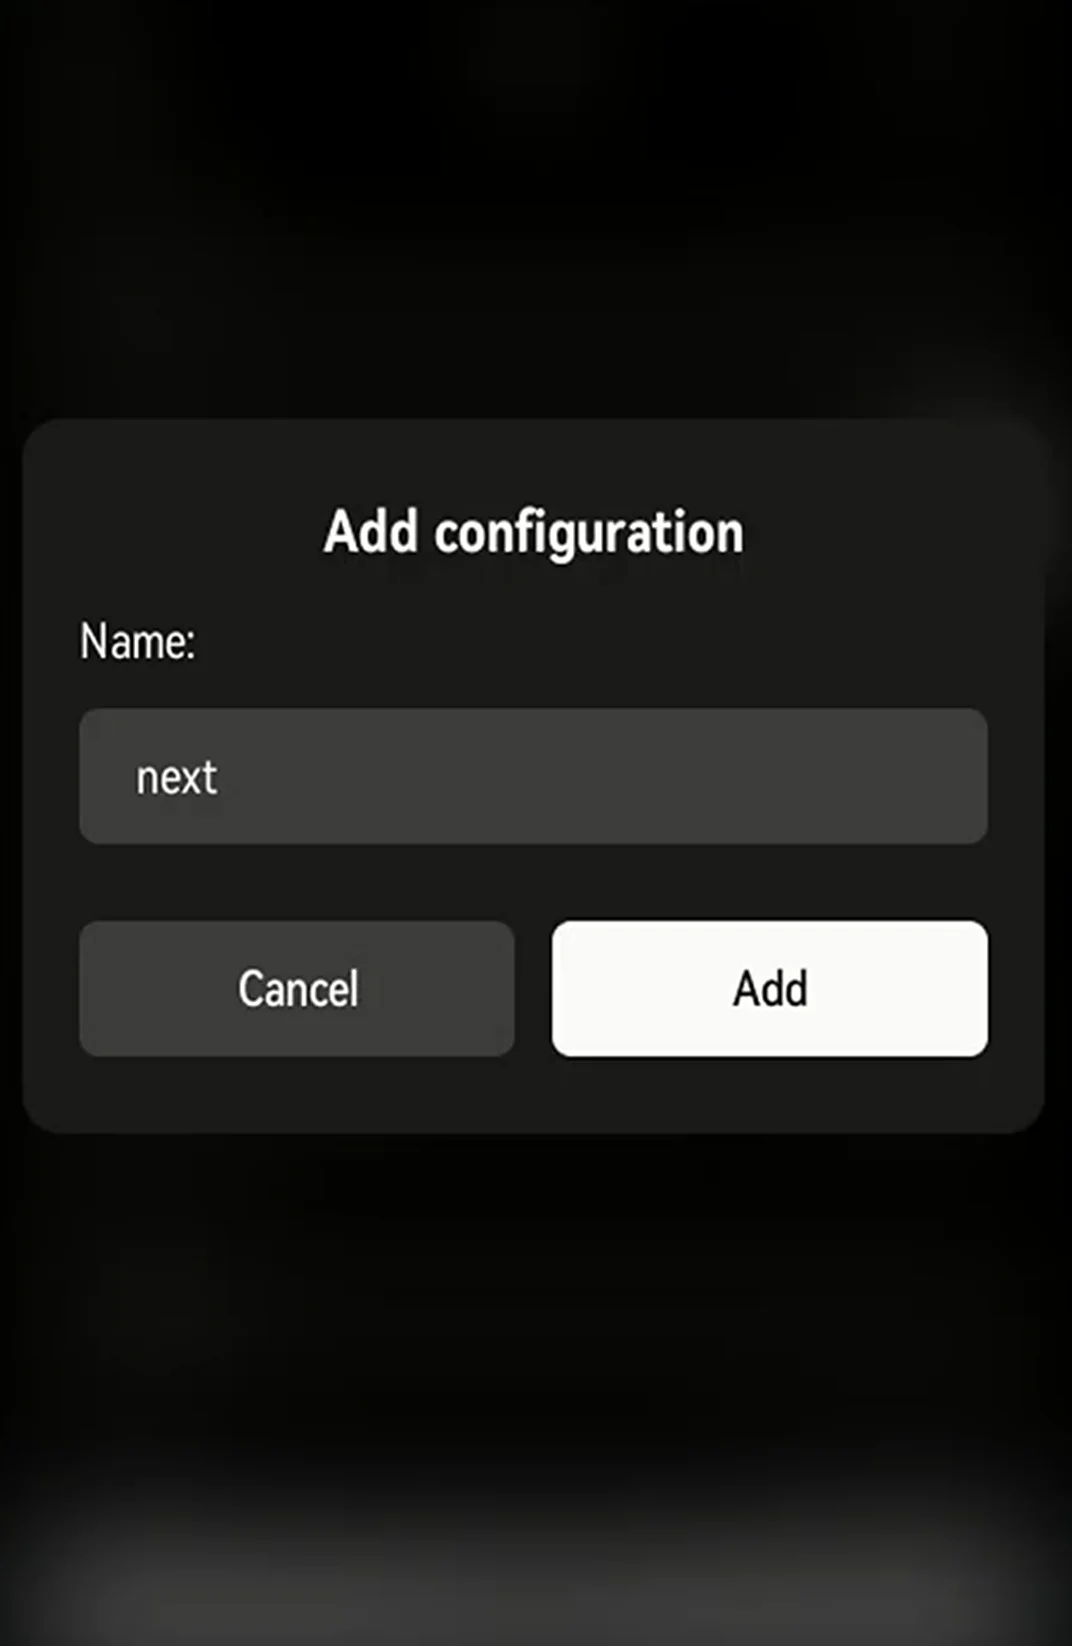
RTK account management
Tap Connect to save frequently used accounts to the device. Manage them from the account list under GNSS Mode.
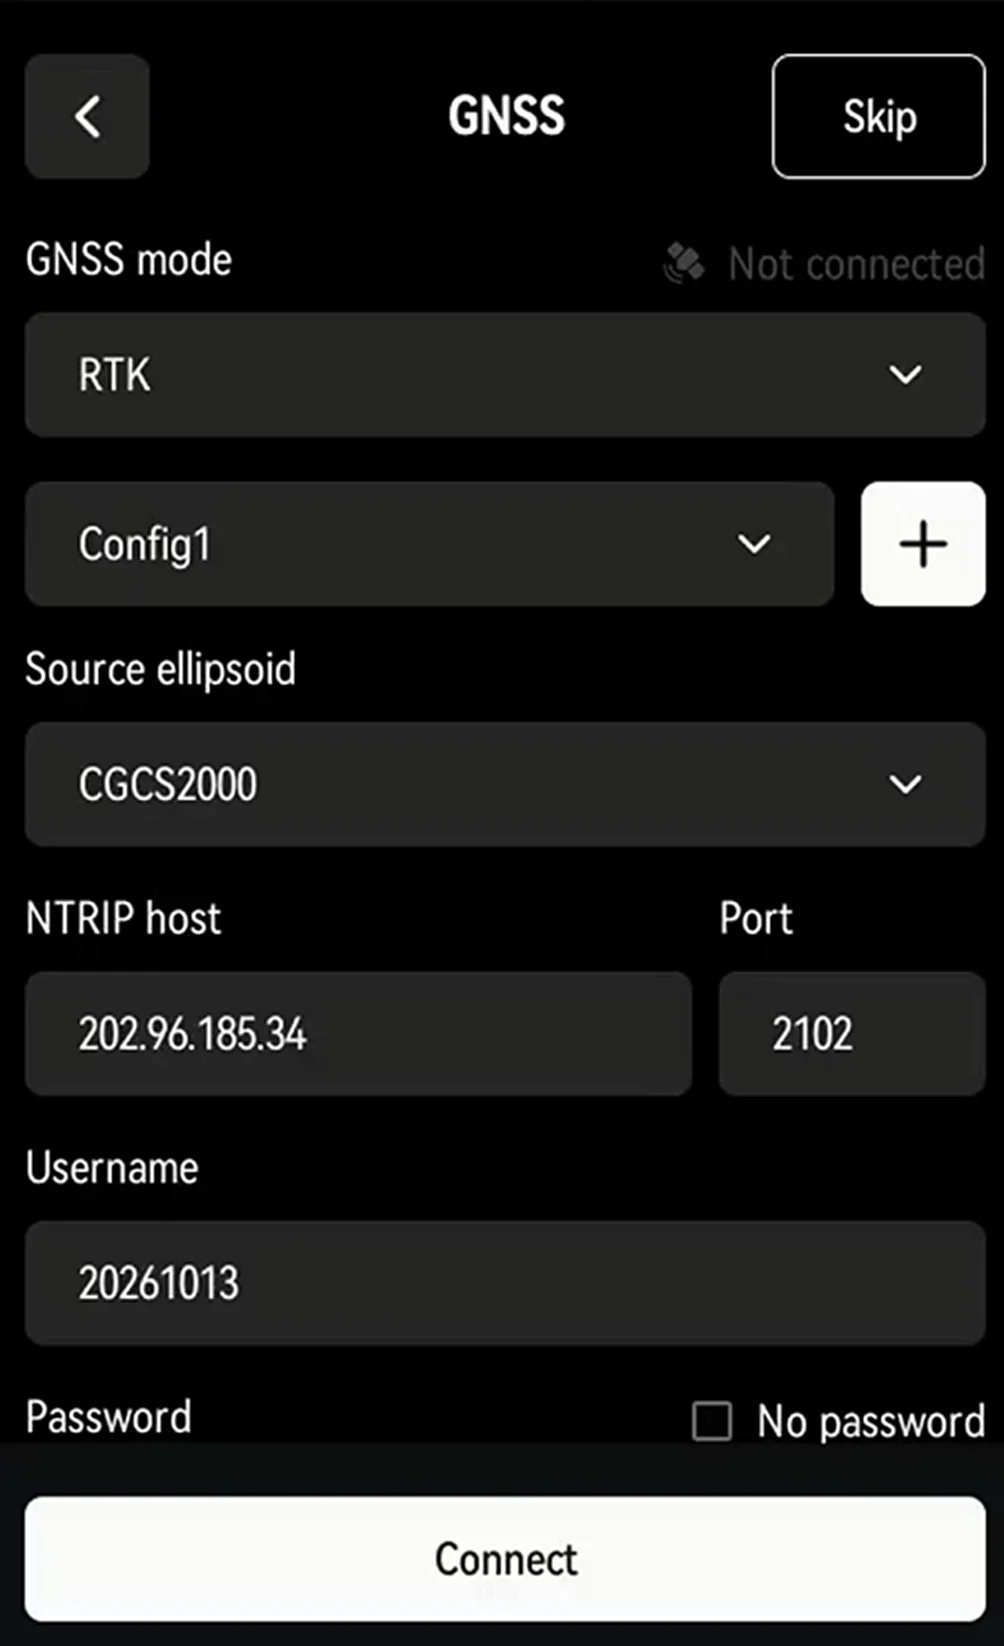
RTK status indicator
| Color | Status |
|---|---|
| Red | RTK not connected |
| Blue | RTK connected, not fixed |
| Green | RTK connected, fixed solution |
RTK connection status and satellites
Once connected, a confirmation appears and the "Connect" button changes to "Disconnect". RTK status and satellite count show in real time below Mountpoint. Tap Next.
Project Naming and Scan Settings
| Mounting Mode | Function | Description |
|---|---|---|
| Handheld | Handheld operation | LixelStudio reads the mounting mode automatically; no need to reselect it during processing |
Scan mode
| Mode | Function | Supported Rendering Modes |
|---|---|---|
| Guided mode | Evaluates scan quality in real time | Scan Assist and scan quality rendering; no true-color rendering |
| RGB mode | Shows the true-color point cloud in real time | True-color rendering; no Scan Assist or scan quality rendering |
Custom naming
Example: Enter "park" as the project name and start scanning. In USB storage mode, the project folder appears as "park_2026-01-15-1622026", where "2026-01-15-1622026" is the scan time.
With no project name, the folder appears as default_2026-01-15-1622026.
Naming Assistant
Naming Assistant builds names in a "Name_Floor_Count" format, for example BlockA_1_1. In USB storage mode, the project folder appears as BlockA_1_1_2026-01-15-1622026.
Tap Done to open the start screen.
Start Scanning
Start the Device
- Place the Lixel L3, with the base mount attached, on stable, level ground.
- On the start screen, press and hold anywhere to start scanning.
- The LiDAR starts spinning, the indicator flashes green rapidly, and a startup tone plays. The device then enters static initialization.
- Keep the device still until initialization completes. A tone plays and normal scanning begins.
- Slowly lift the scanner, then slowly detach the base mount, and begin scanning.
Recommended Handheld Posture
- Goal: Keep your body out of the camera view for better colorization.
- Recommended: Hold the device out in front of your chest.
- Avoid: Holding the device against your body.
Scan Route Recommendations
Lighting
- Choose even lighting.
- Avoid strong contrast between light and shadow.
Field of view
- Prefer open routes (such as the middle of a road) for better color coverage and accuracy.
Narrow spaces (such as gaps between buildings or alleys)
- Walk slower than normal.
- Wait for people and moving objects to clear.
- This keeps the point cloud accurate and well colorized.
Rendering Mode
Tap "Rendering Mode" in the lower-right corner of the screen to switch display modes:
| Mode | Description |
|---|---|
| EL Elevation | Colors points by height to show terrain |
| RGB True color | Shows true color for easy object identification |
| QUAL Scan quality | Shows point density in real time to check coverage |
About scan quality display
- Purpose: Checks point cloud density to prevent rework from missed or sparse areas.
- Note: Does not indicate scan accuracy or LCC scan quality.
Switch to QUAL regularly while scanning to catch missed areas.
Scan Assist
Purpose
- Checks whether point cloud density meets the threshold.
- Prevents rework from missed or sparse areas.
Note
Does not indicate scan accuracy or LCC scan quality.
How to Use
- After starting a scan, tap "Scan Assist" below the stop button.
- The settings screen opens.
- Set the step distance for the site.
Stop Scanning
Press and hold the red button at the bottom center of the screen to save data.
Saving runs in two stages: storing the data, then generating a viewable point cloud model.
The point cloud model then opens automatically for on-site checking.
View Model
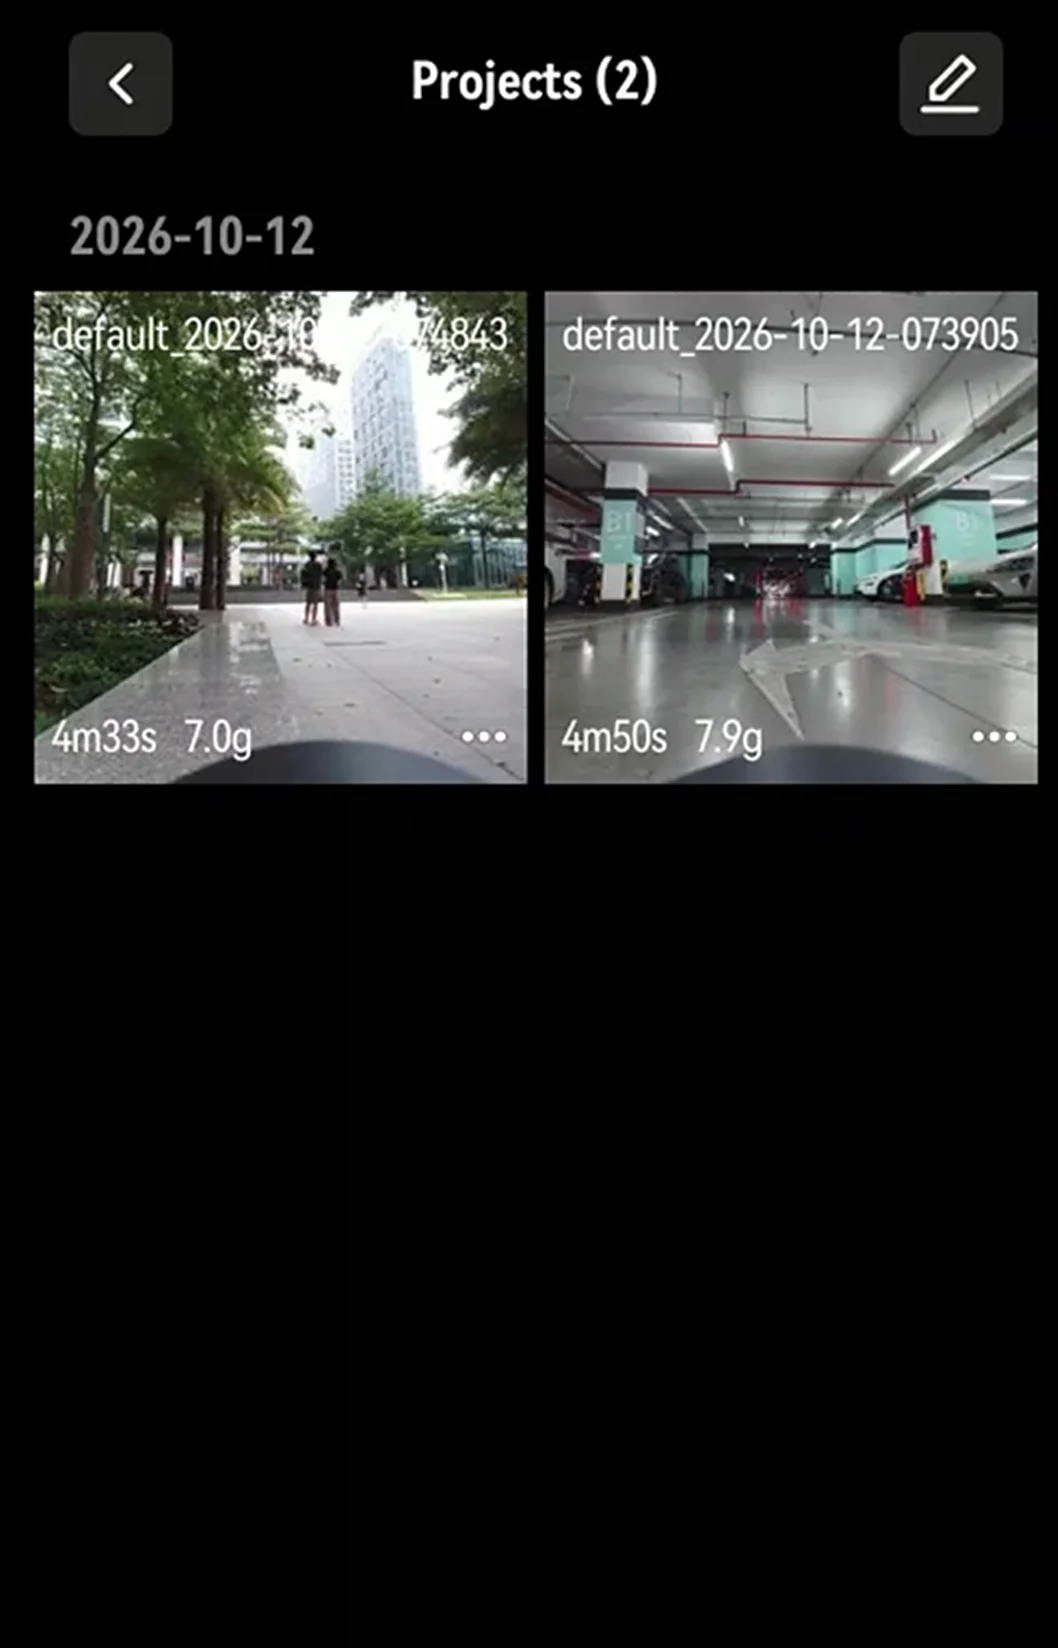
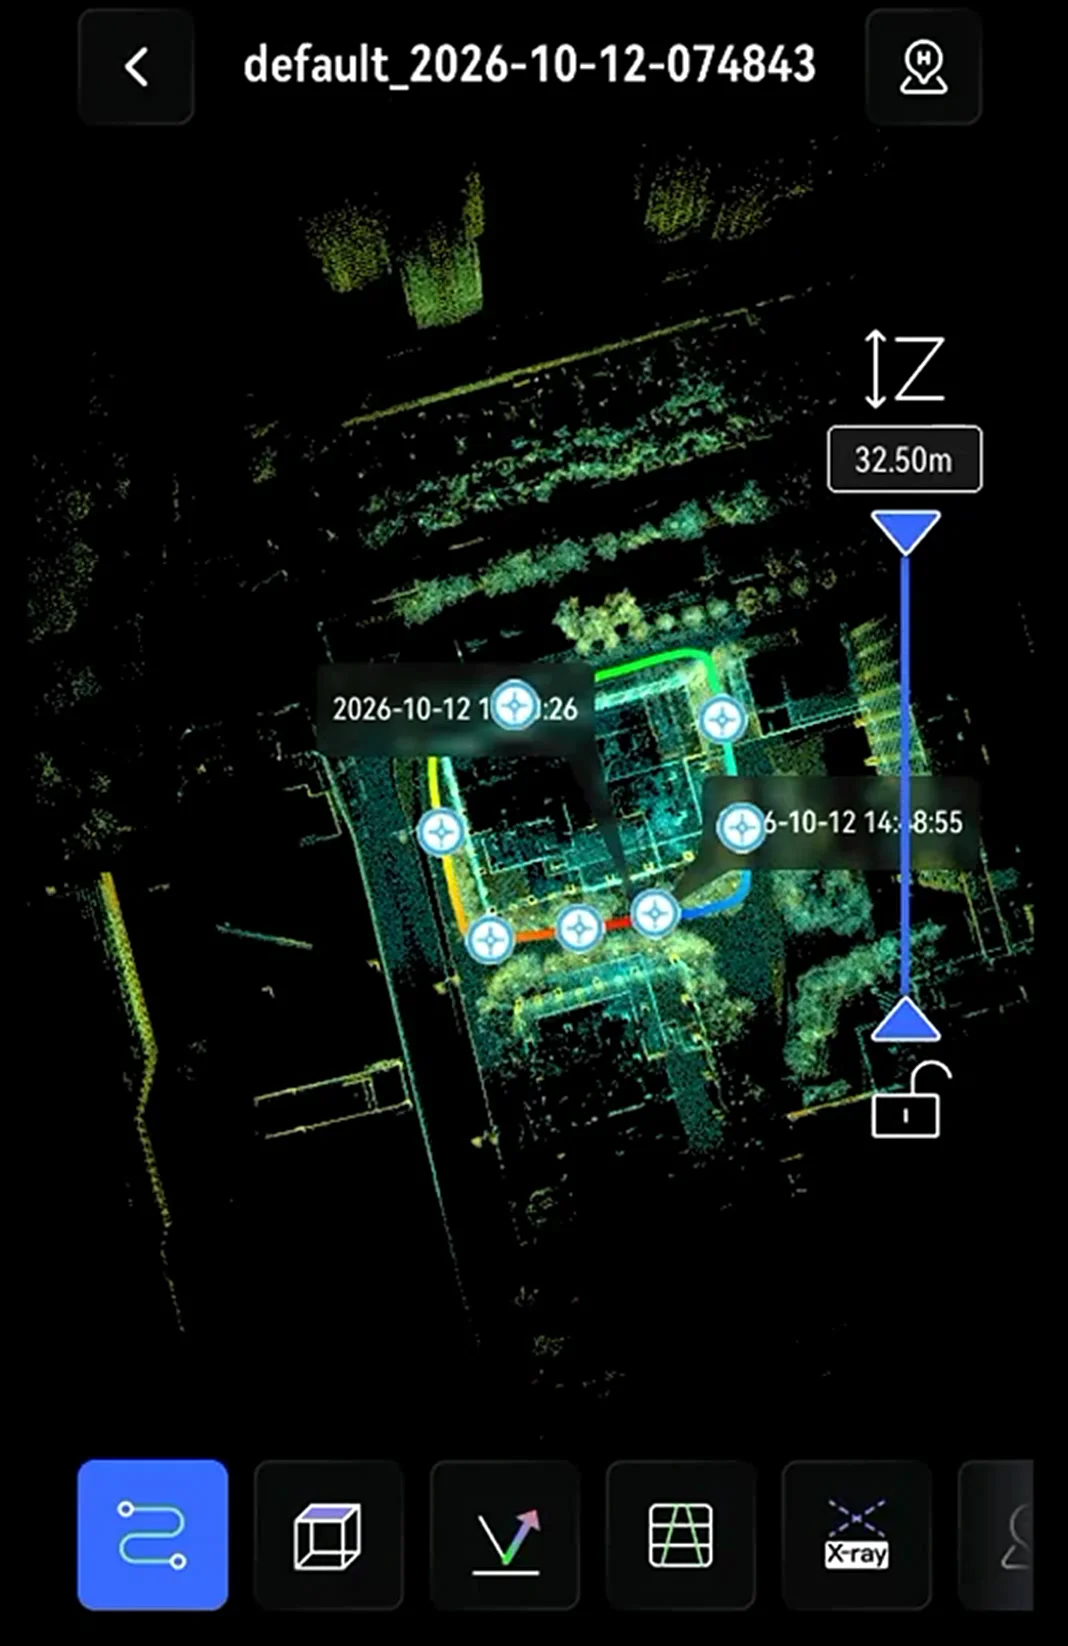
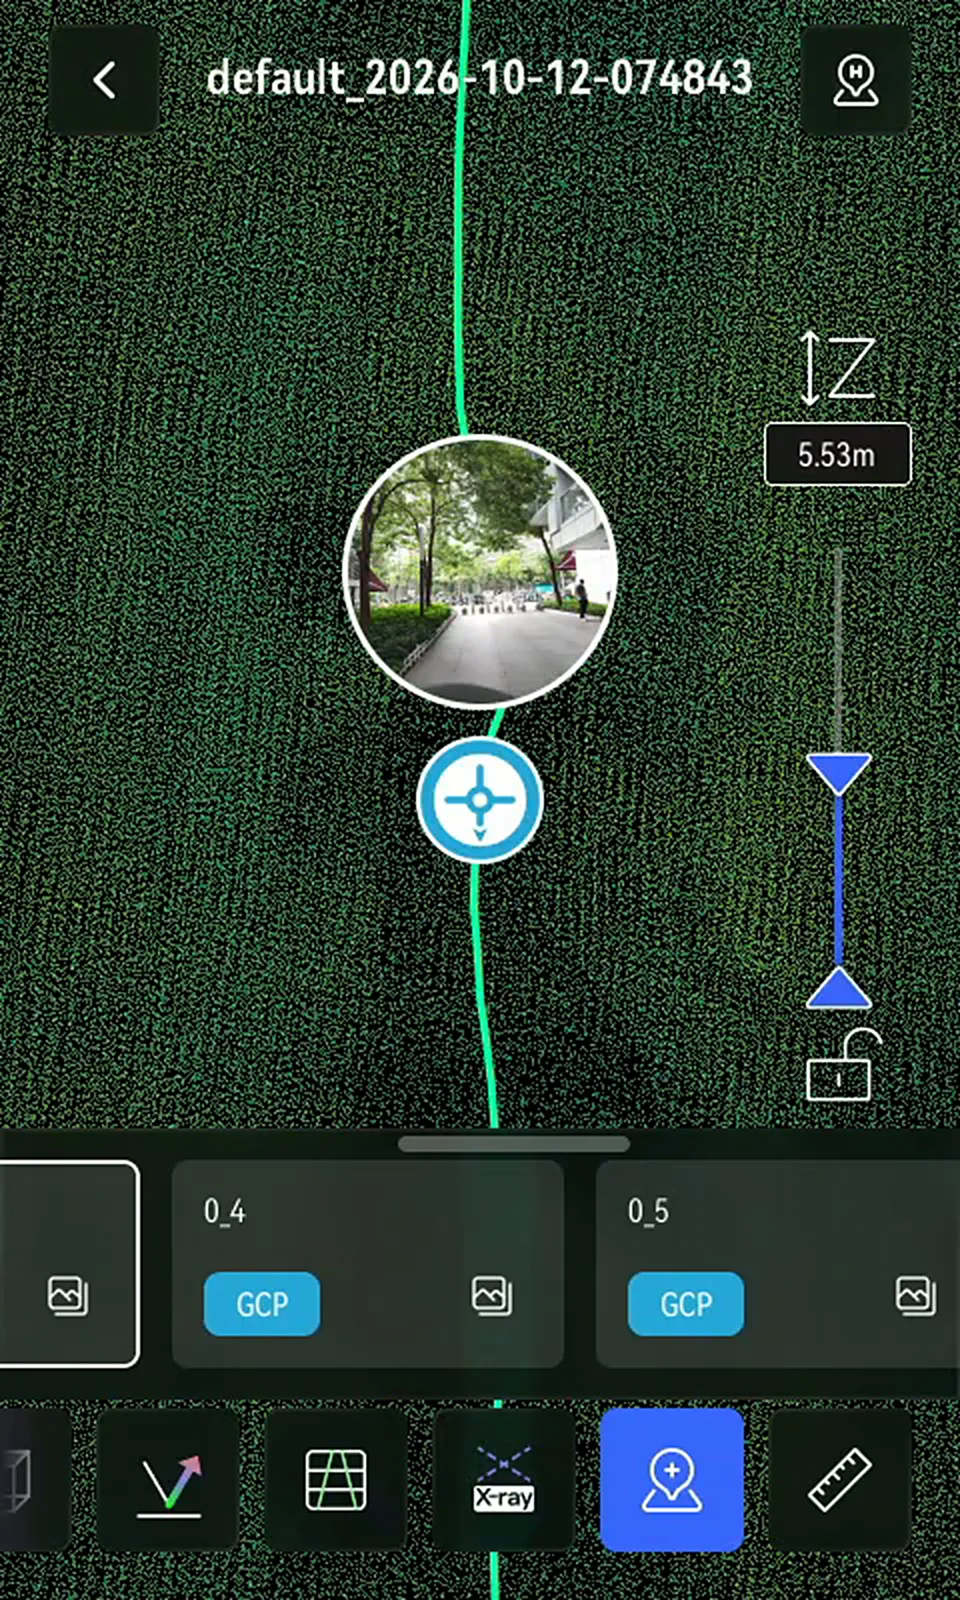
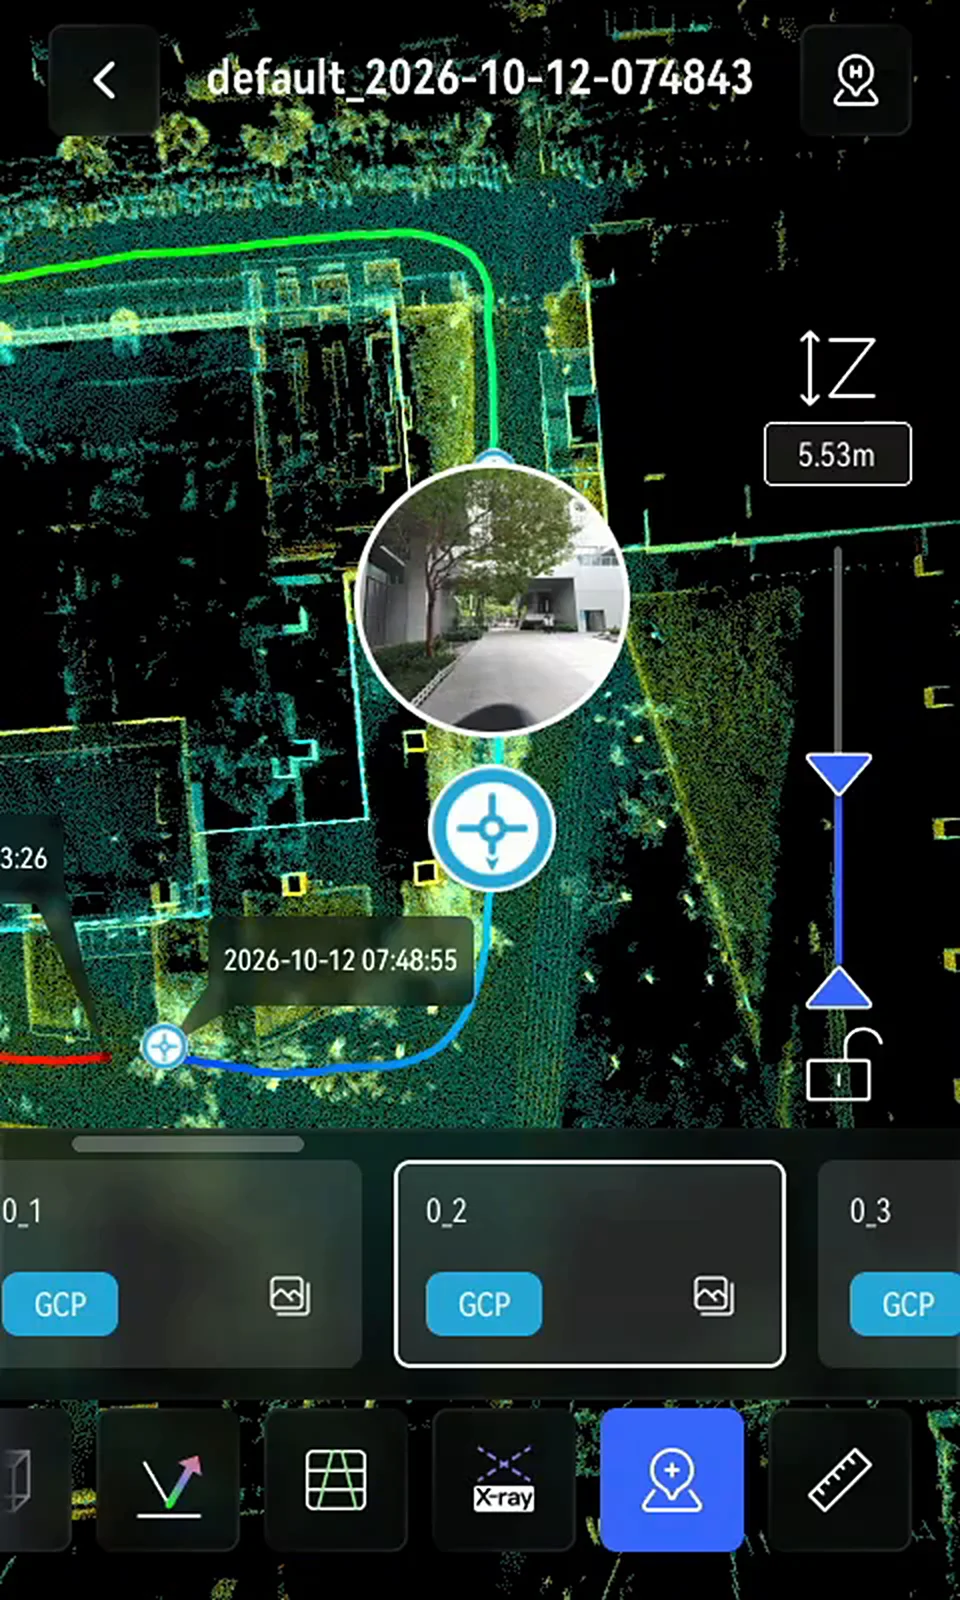
After scanning, view the point cloud model on the device screen.
View model
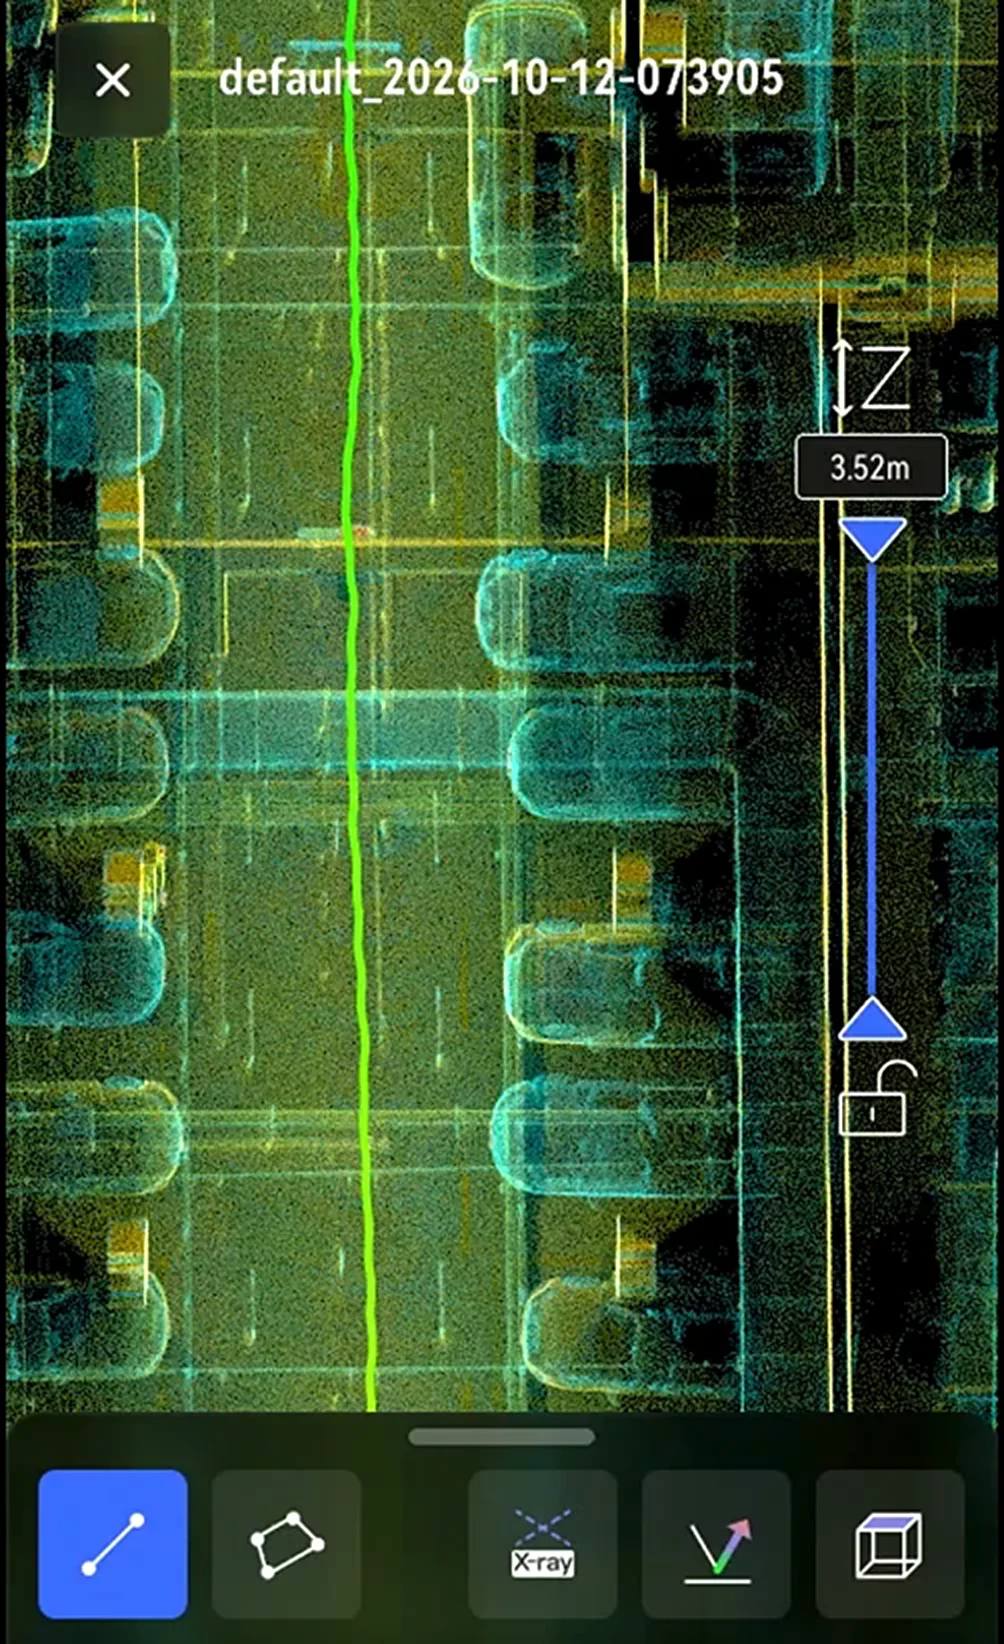
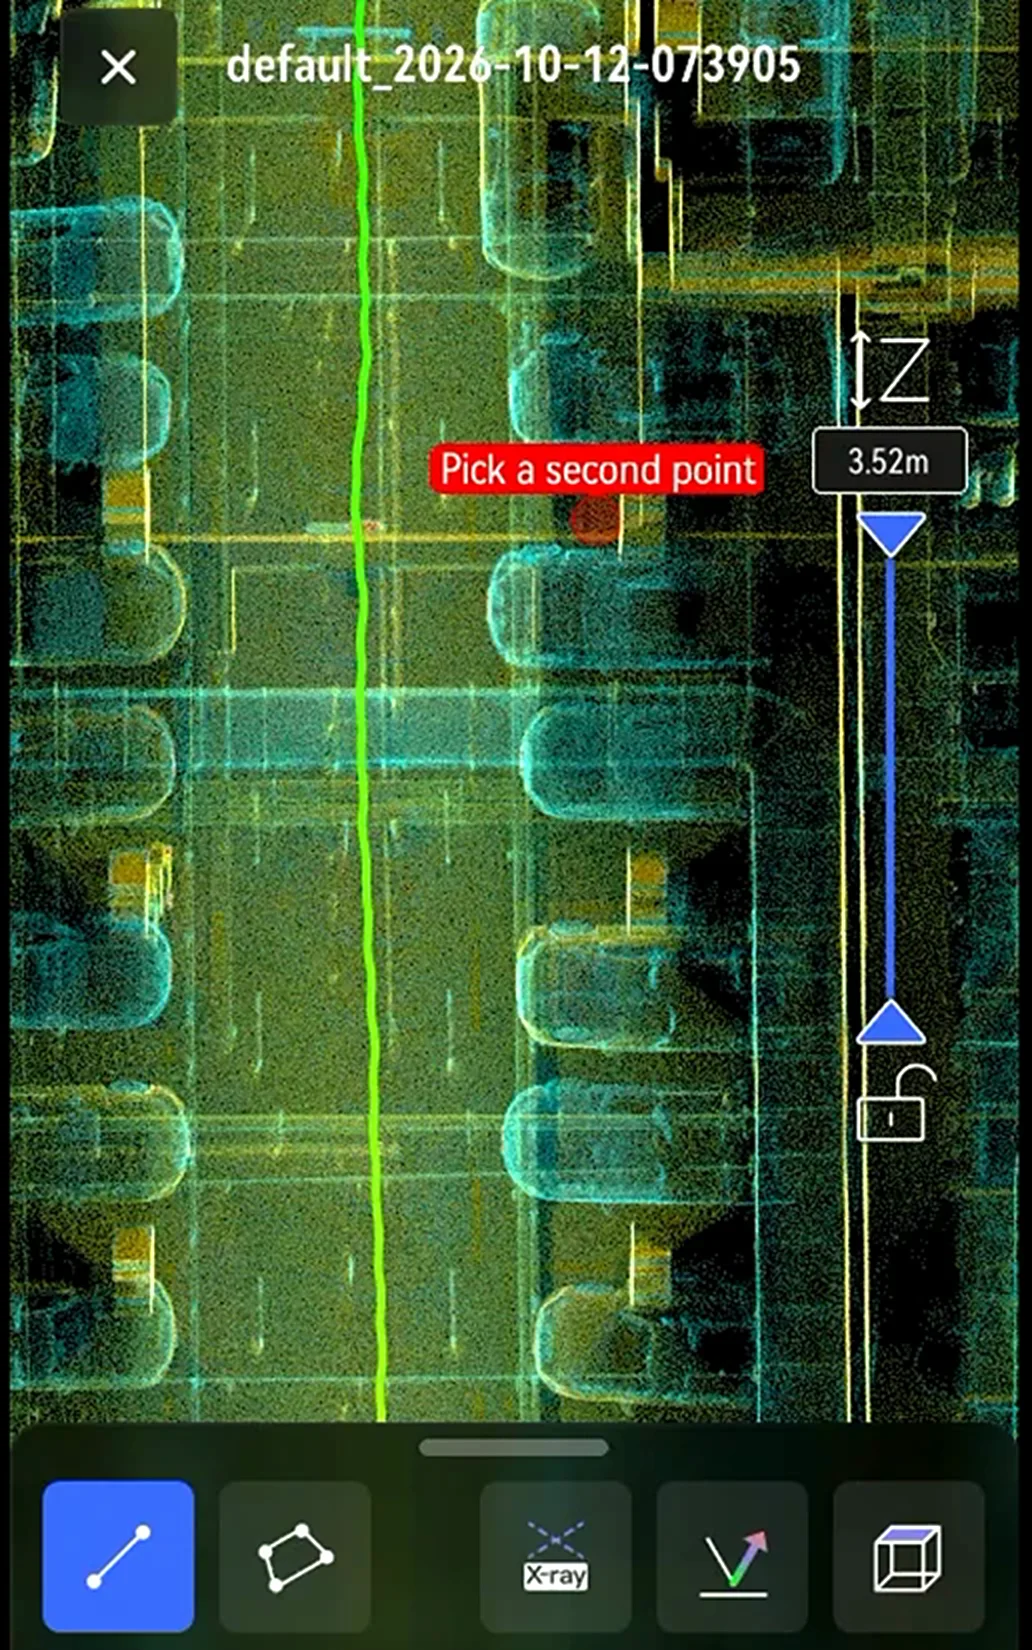
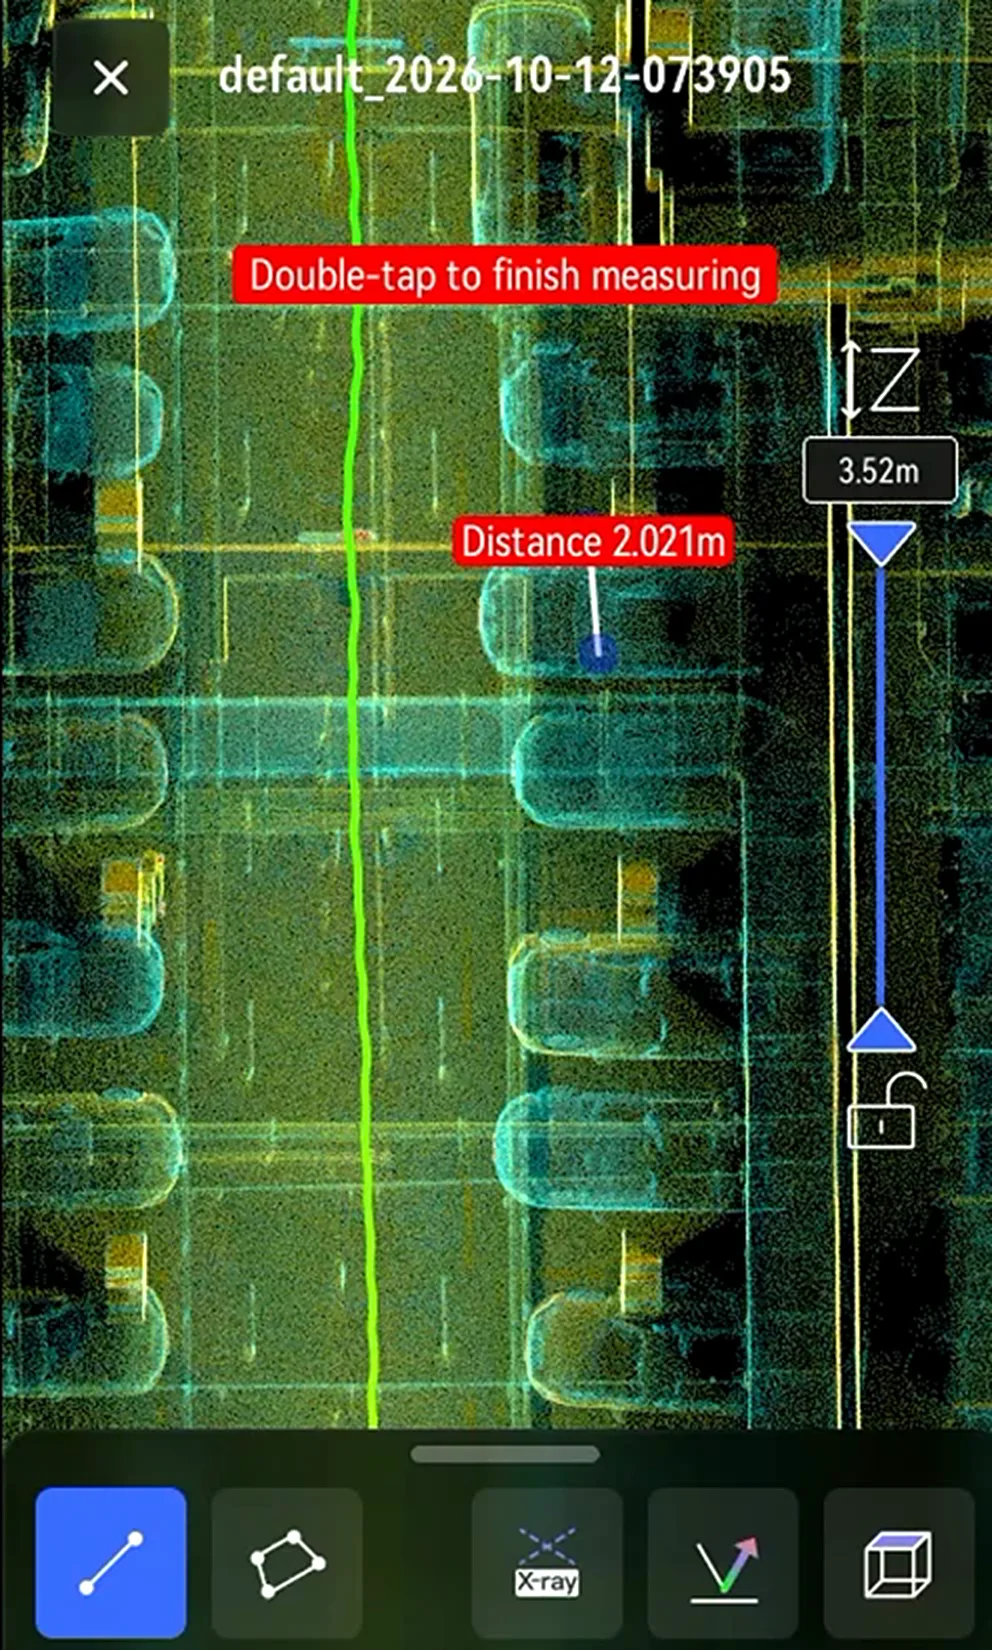
Measure
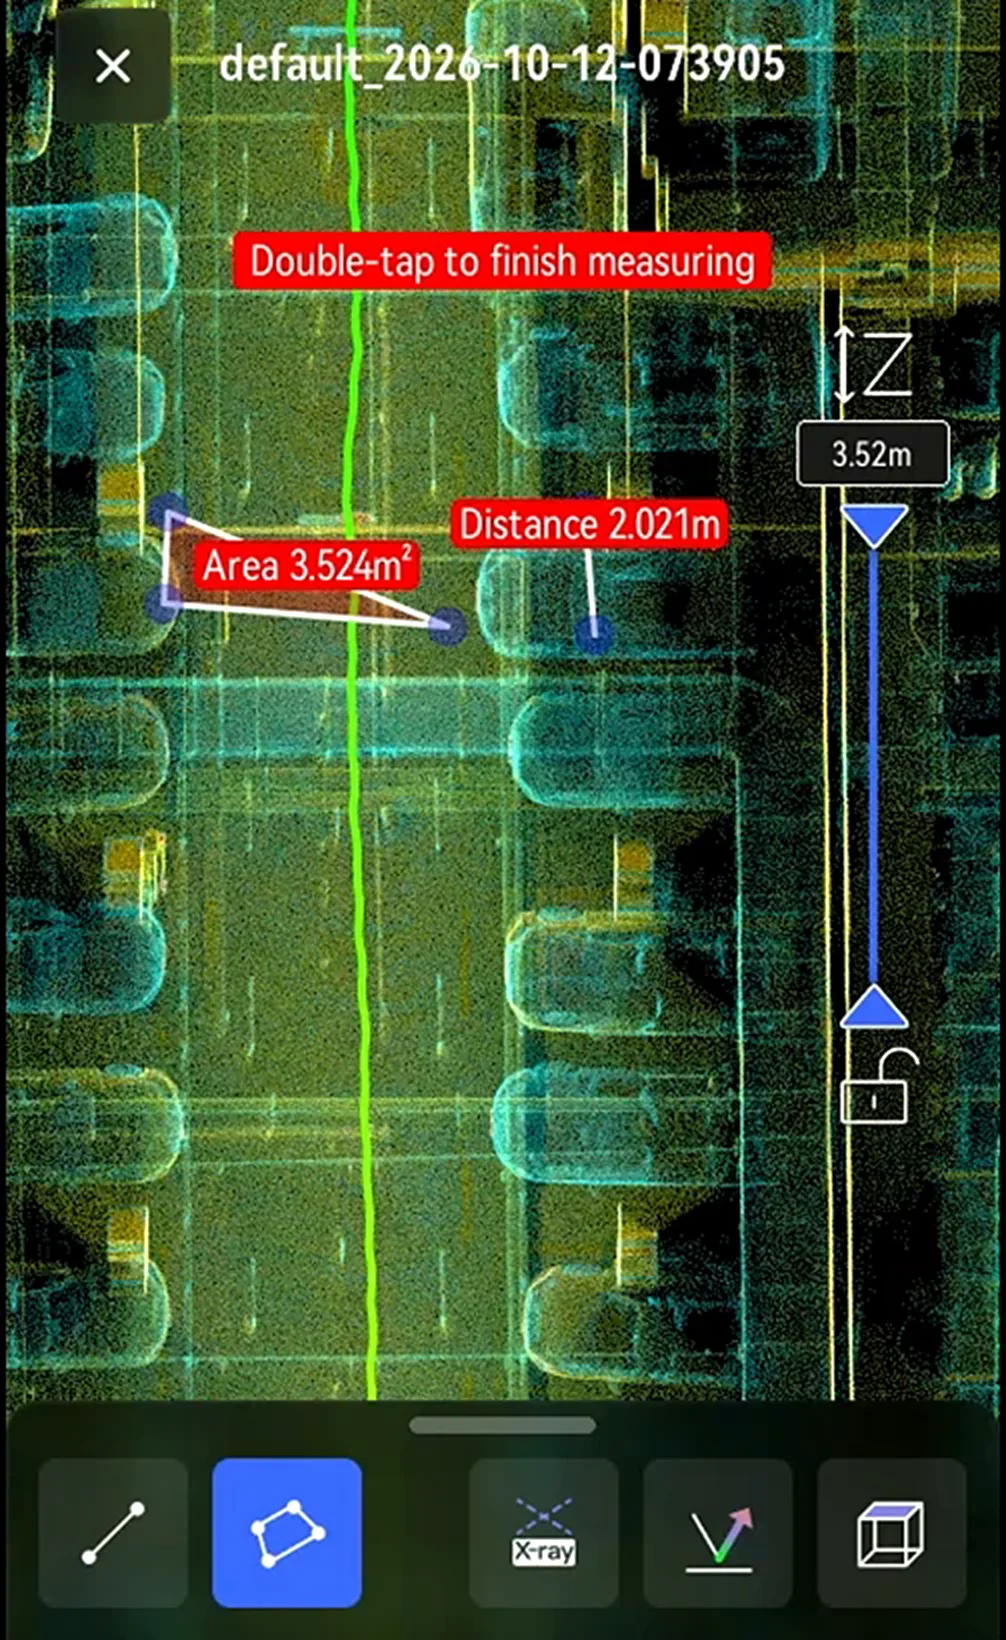
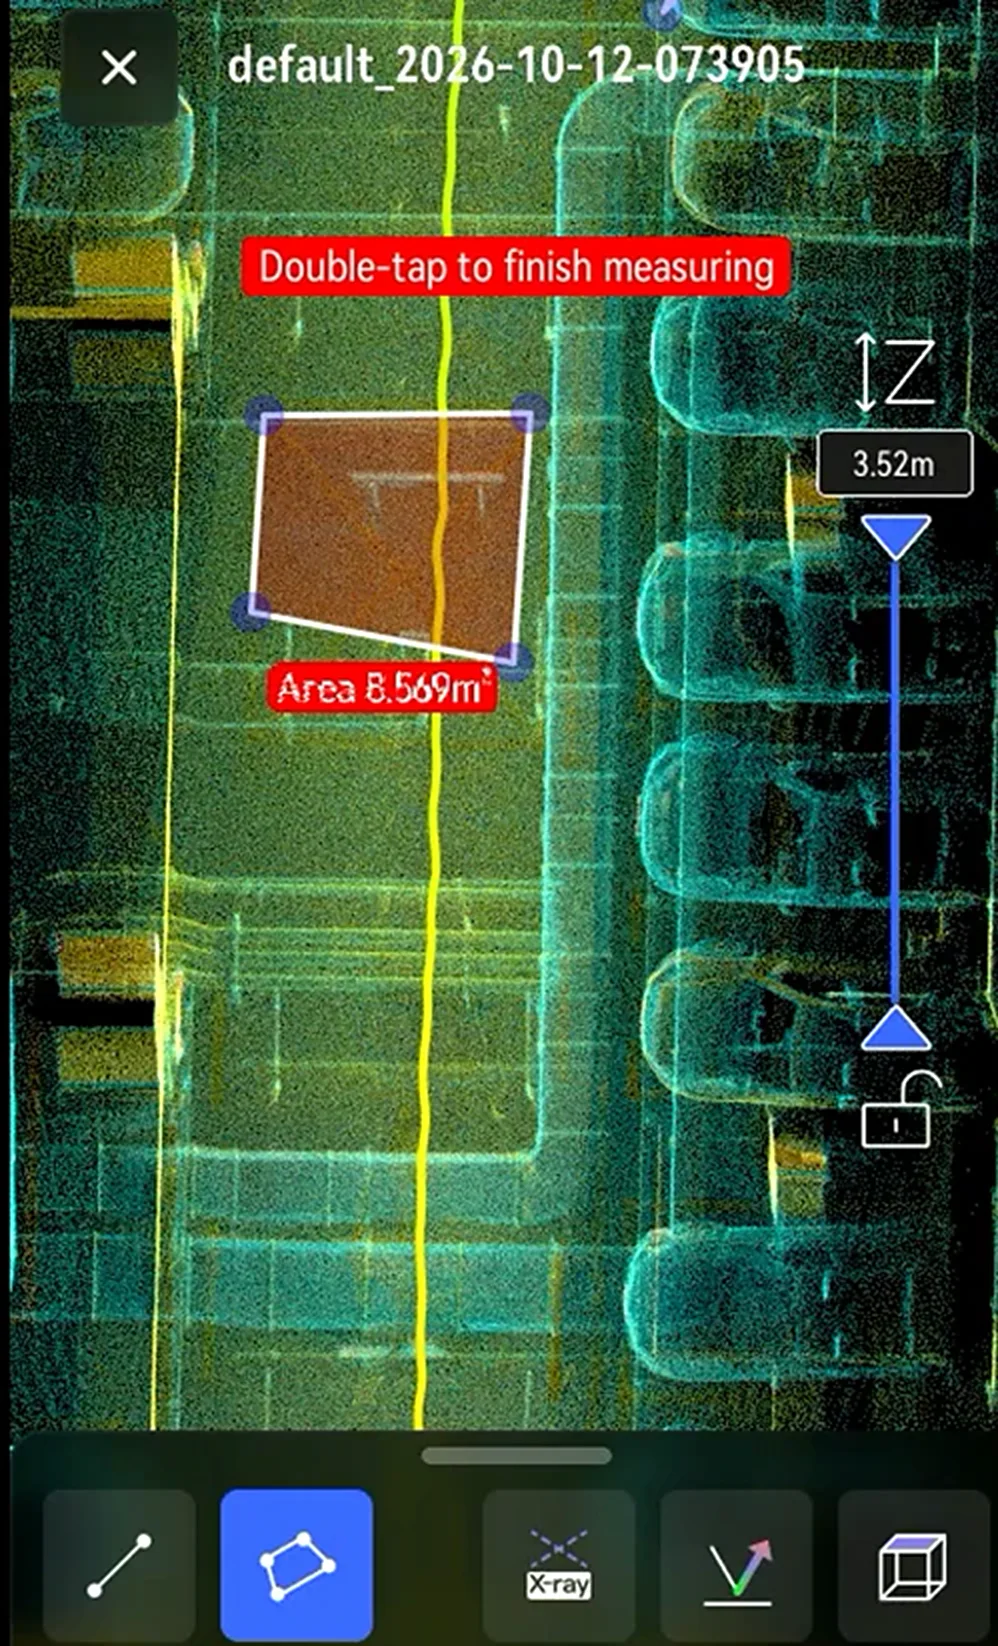
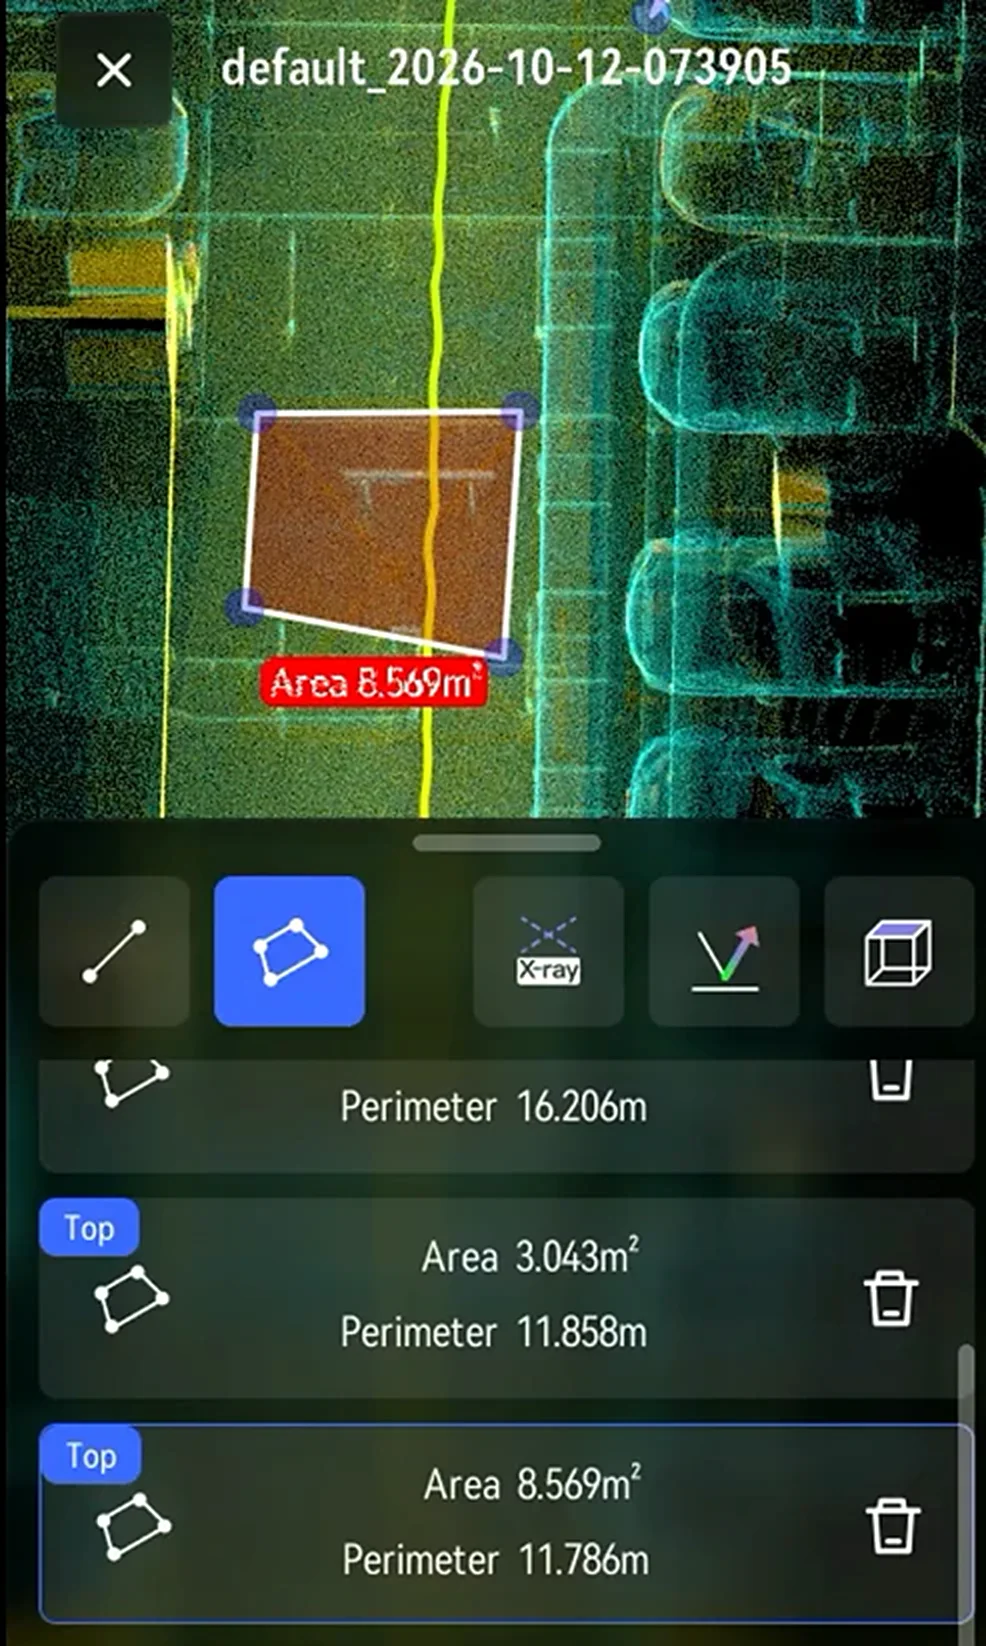
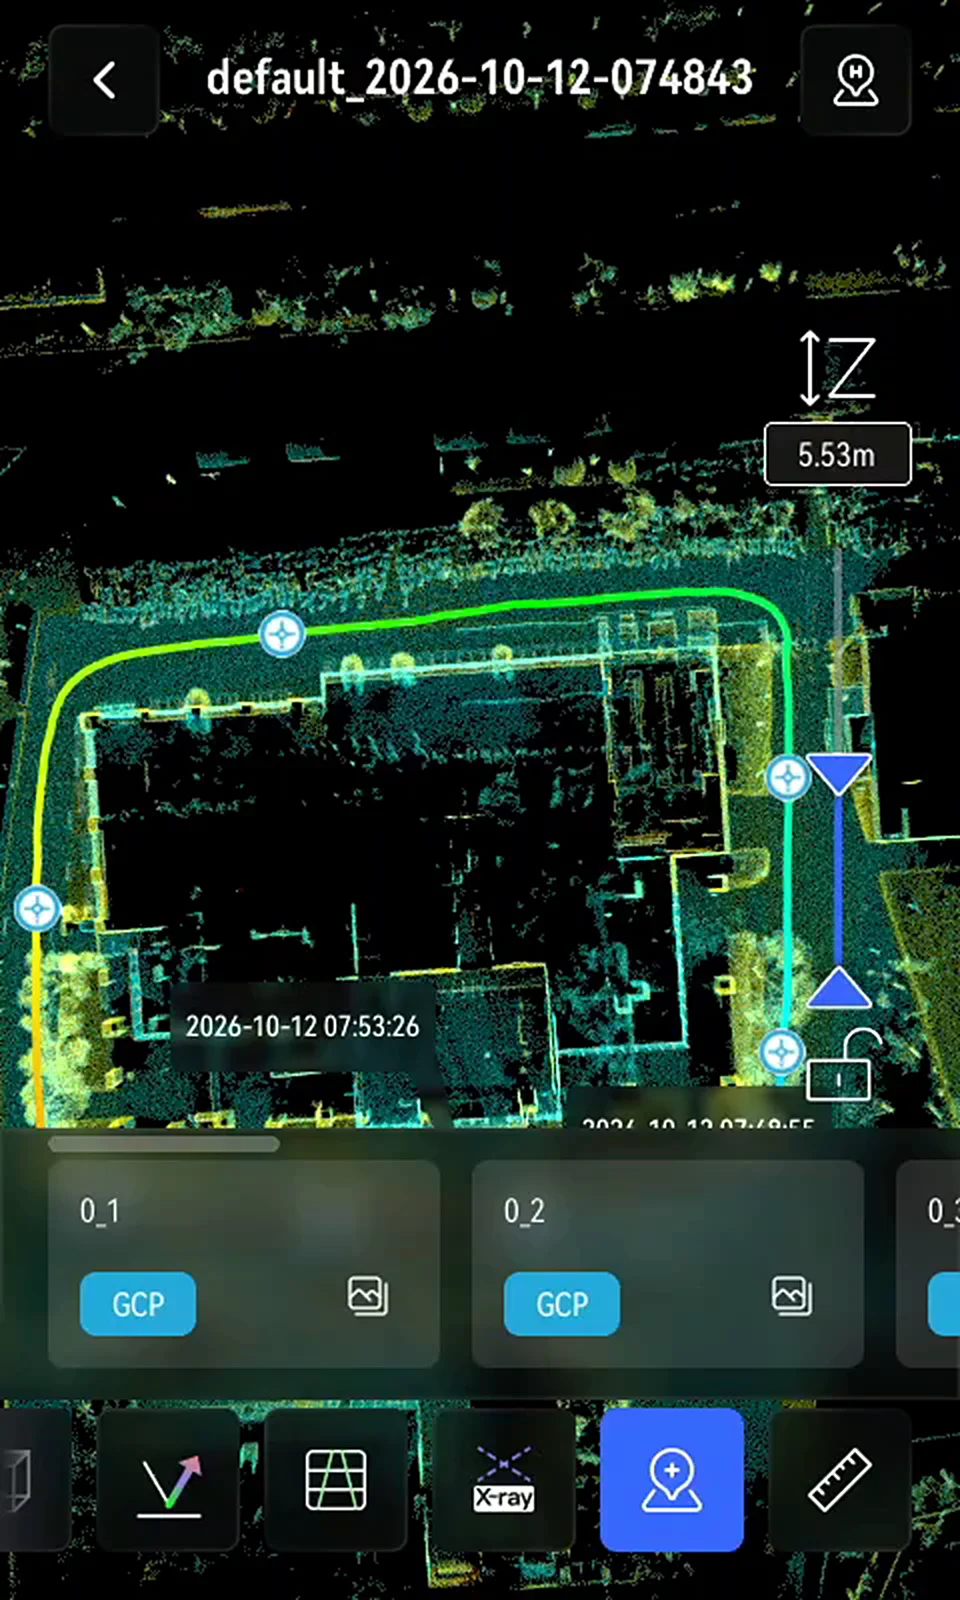
Point info
Export Scan Data
Steps
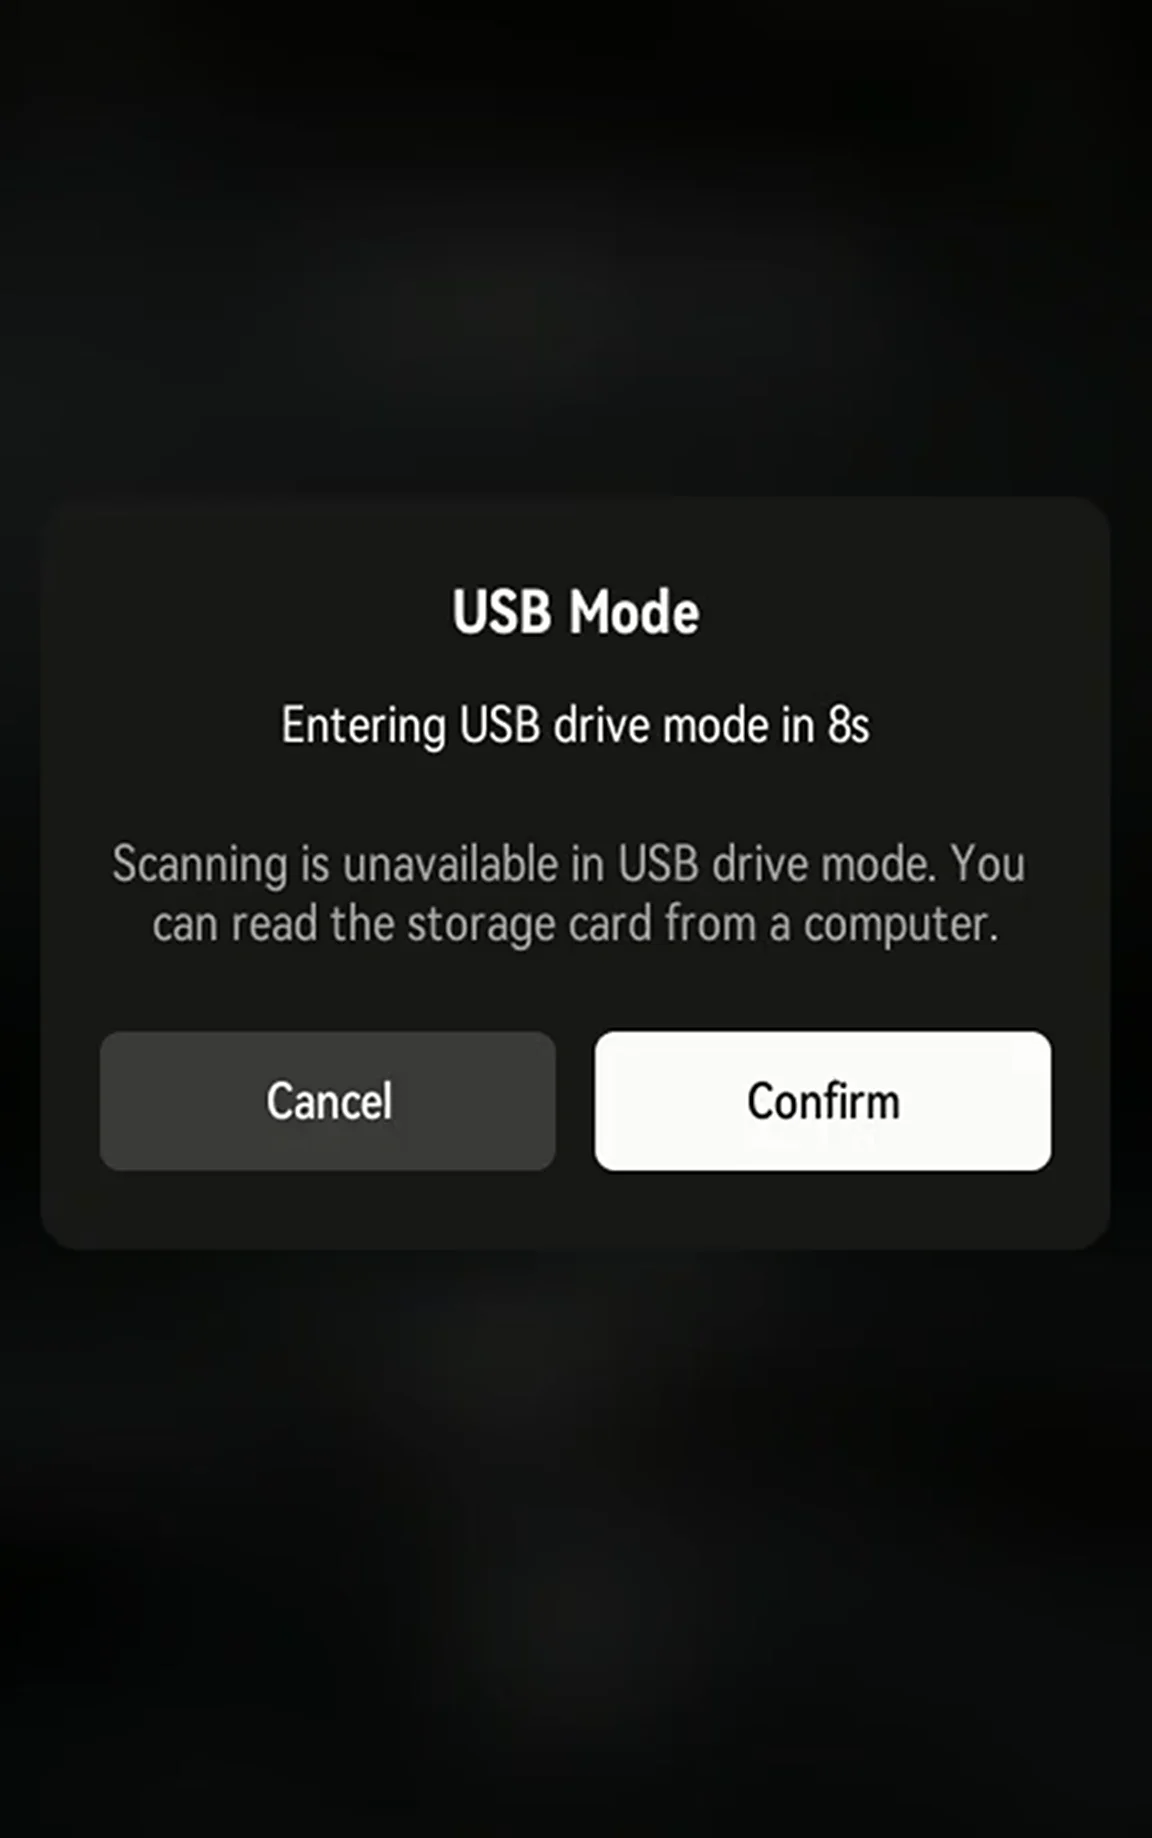
- Connect to a computer: Power on the device and connect it with a USB-C cable. Tap Confirm on the USB storage mode prompt, or wait for the countdown.
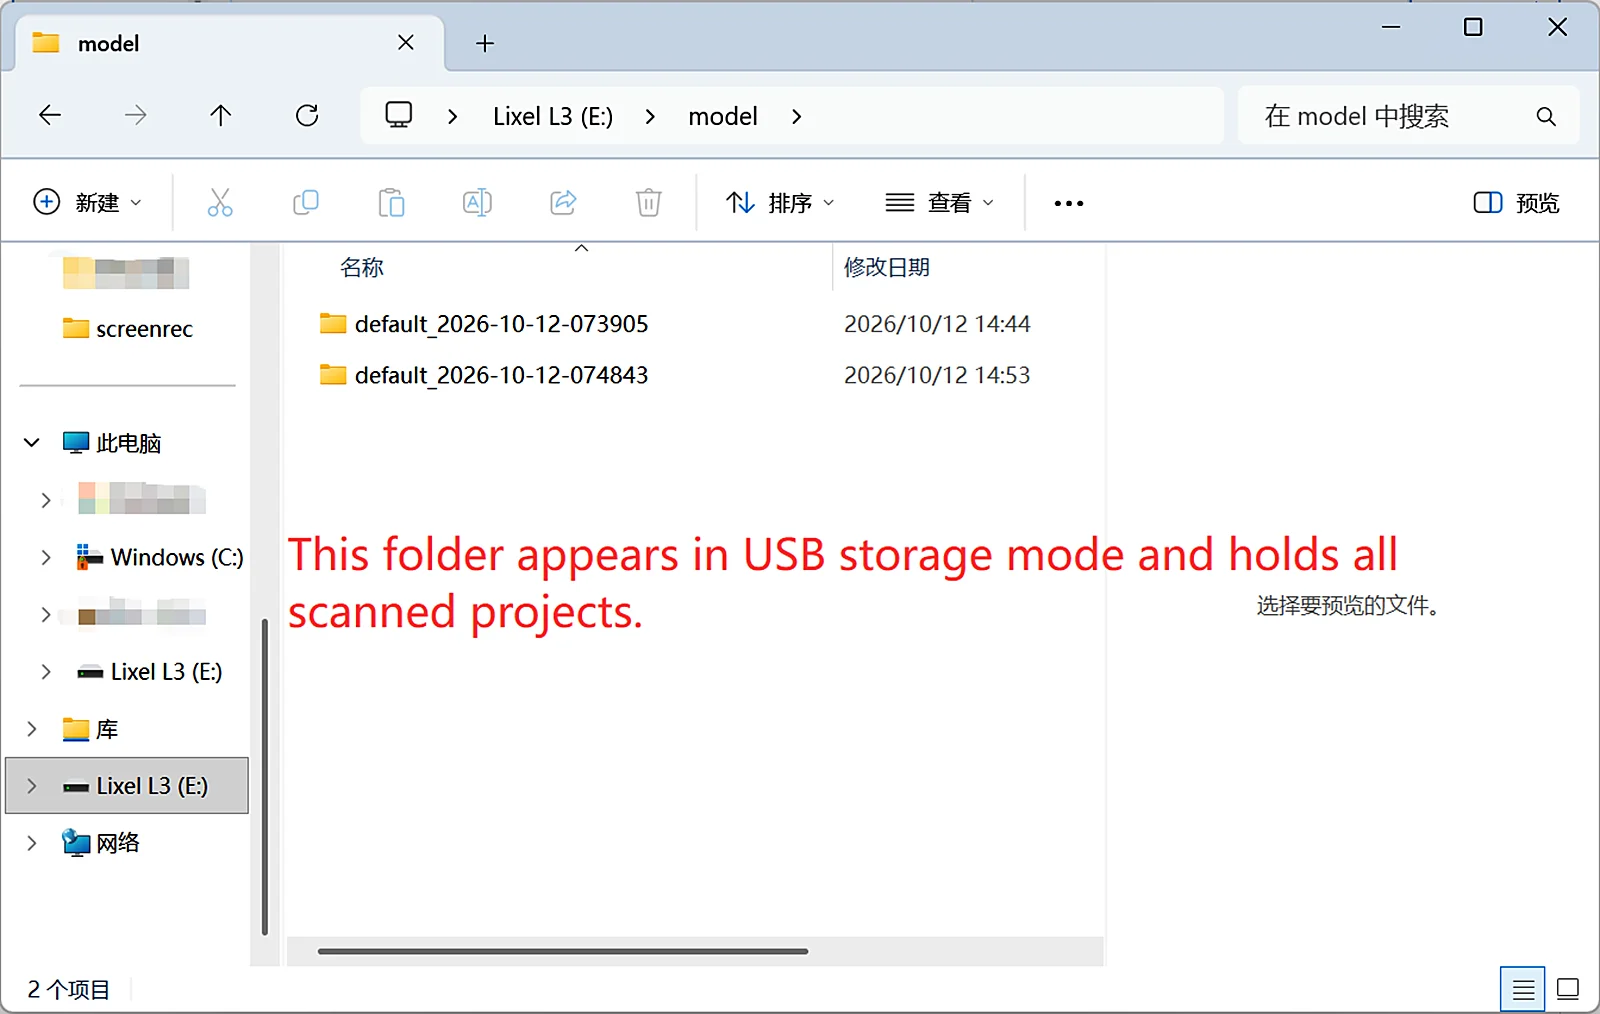
- Copy project files: Open the device storage, go to the model folder, and copy the project files to your computer.
Project File Naming
File name format: ProjectName_YYYY-MM-DD-Time. Examples:
- ParkingB2F_2025-01-15-162026
- default_2025-01-15-143520
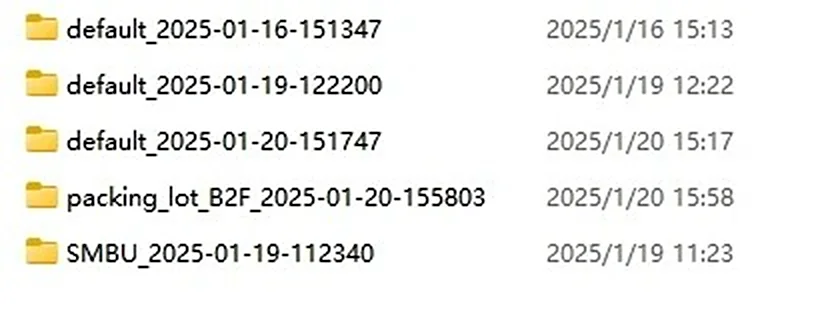
Project File Structure
Project files:
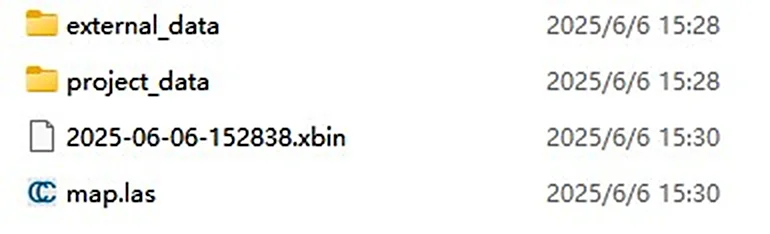
| File | Subfile | Description |
|---|---|---|
| xxx.xbin | - | Raw sensor data |
| map.las | - | Real-time point cloud from the device. |
| project_data | control_points.csv | Control point information recorded during the scan. |
| gnss.csv | GNSS data recorded when using RTK. | |
| poses.csv | Scan trajectory. | |
| photo | Camera images taken when control points are added | |
| model | Model preview files | |
| thumb.jpg | LixelGO preview image | |
| preview_photo.jpg | Device preview image | |
| log | Scan log | |
| external_data | - | Empty when first copied. Holds external files for LixelStudio post-processing, such as the coordinate-transformed gnss.csv. |
This chapter is from the official XGRIDS user manual. Official source (opens in a new tab) · Updated:



