

The Lixel L3 connects to the LixelGO mobile app for setup, activation, and management. This chapter covers the phone requirements, the activation workflow, and time calibration.
About LixelGO
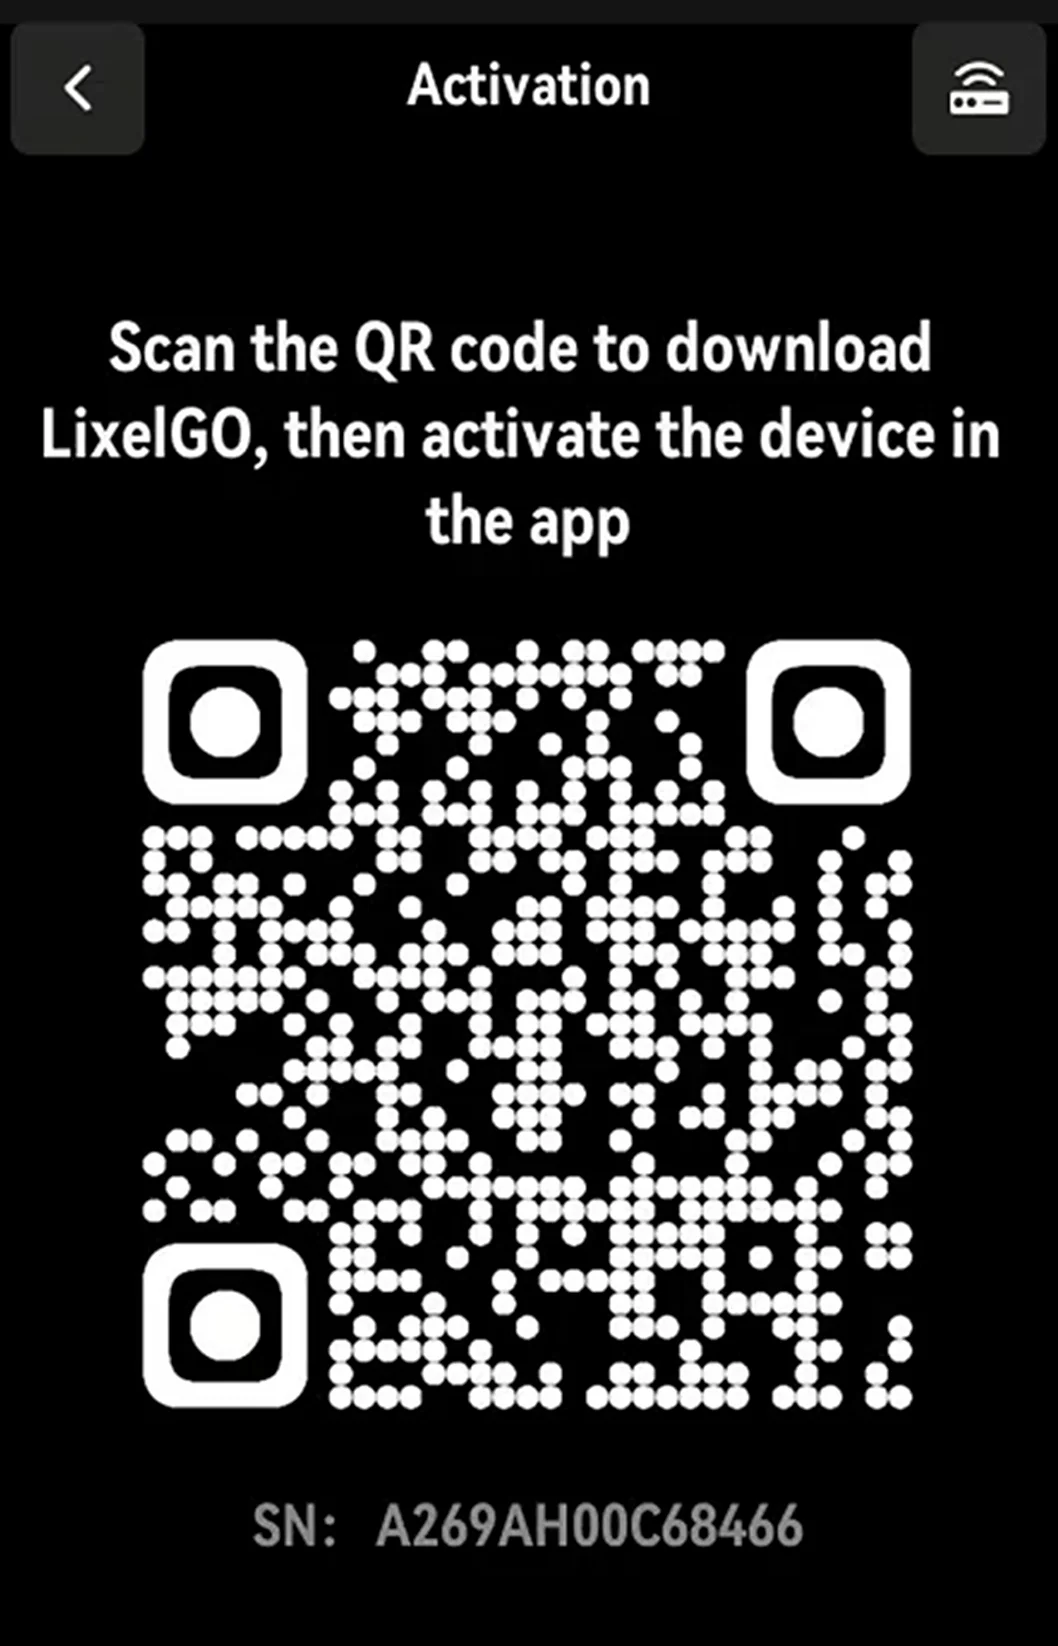
View and manage projects and your spatial data with LixelGO, the mobile companion app for the Lixel L3. Scan the QR code to install the latest version.

Phone Requirements
Phone specifications
| Component | Requirement |
|---|---|
| CPU | Snapdragon series; Snapdragon 8 or later recommended |
| RAM | 8 GB minimum |
| GPU | Dedicated GPU |
| Other | Bluetooth, mobile hotspot, USB tethering |
Tested phones
| Brand | Model | CPU | RAM | GPU |
|---|---|---|---|---|
| VIVO | IQOO NEO 6 | Snapdragon 8+ Gen 1 | 12GB | Adreno 730 |
| Redmi | Redmi K50 Gaming Edition | Qualcomm Snapdragon 8 Gen 1 | 8GB | Adreno 730 |
| Huawei | Huawei P50E | Snapdragon 778G | 8GB | Adreno 642L |
| OPPO | OPPO K20 | Dimensity 8000-MAX | 8GB | Mali-G510 MC6 |
Device Activation
Sign Up and Sign In
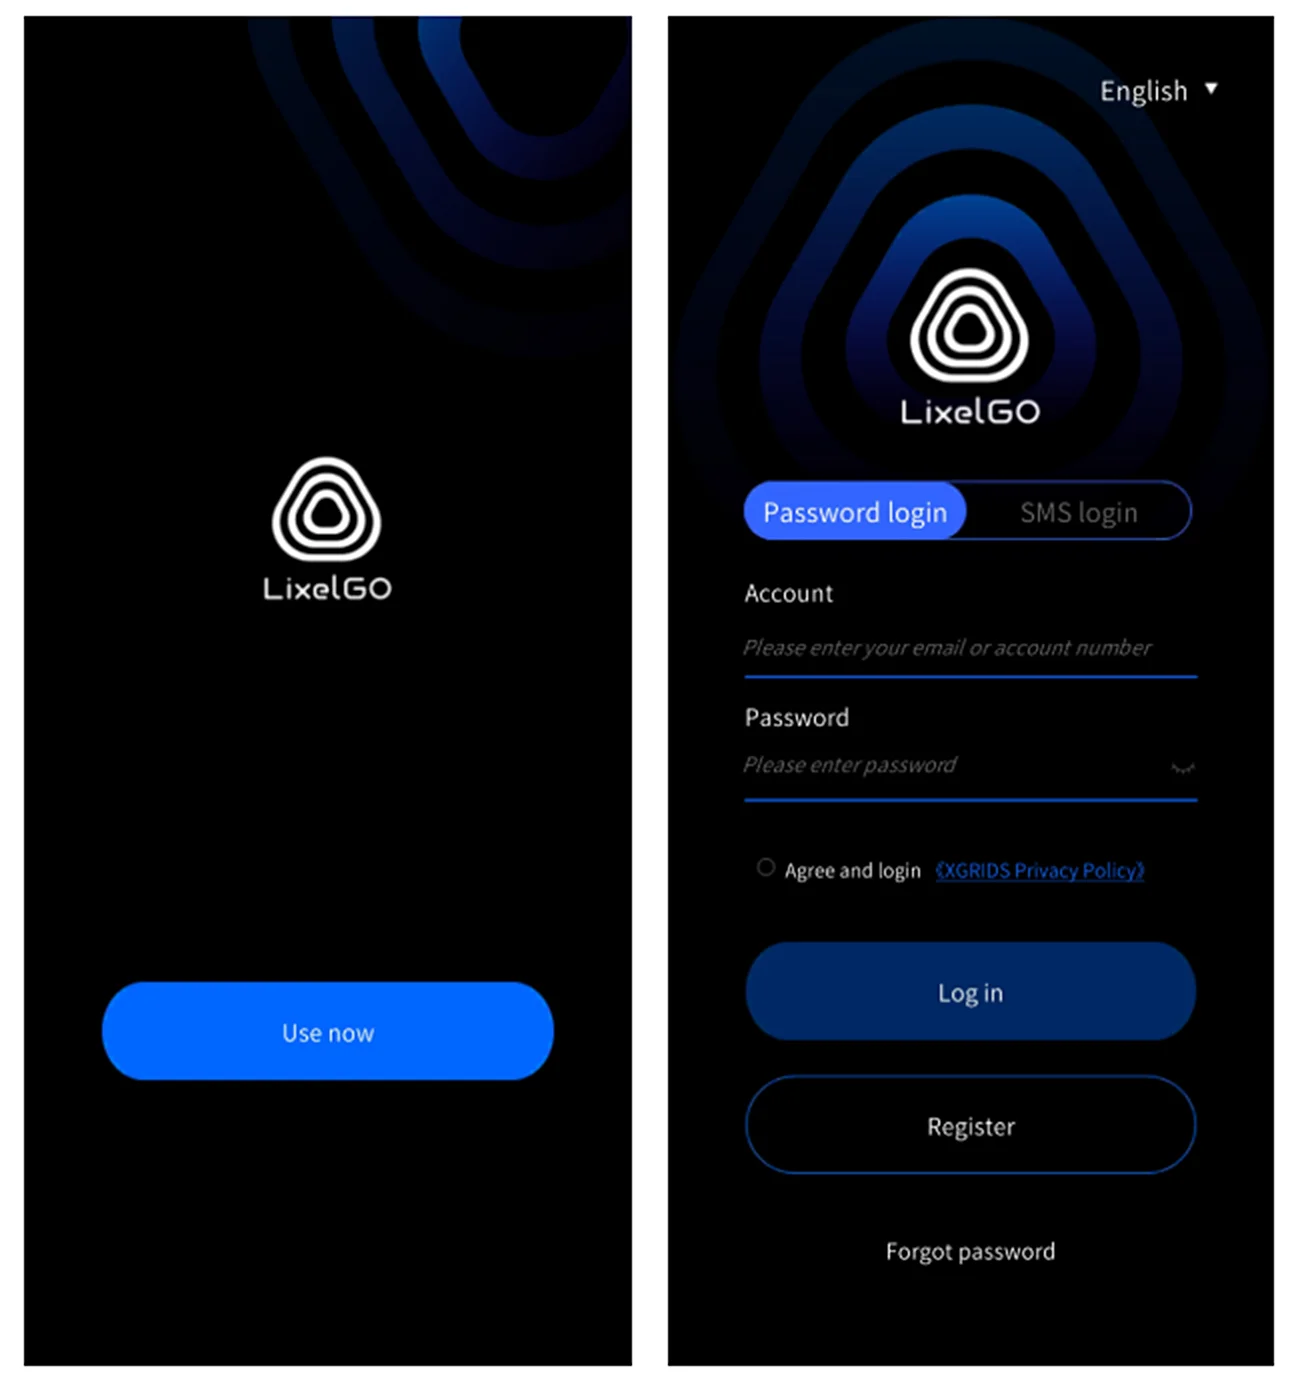
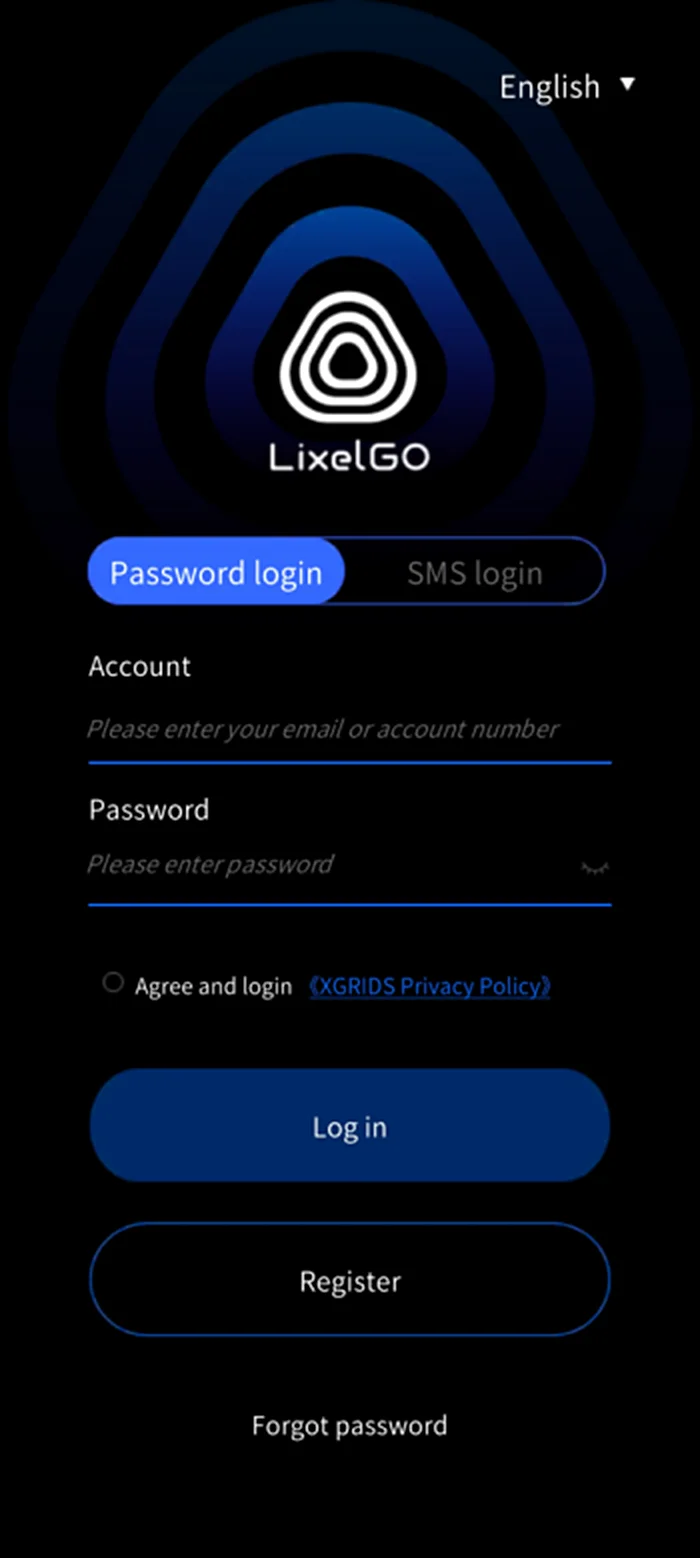
Open LixelGO and tap "Quick Sign In" to open the sign-in screen. New users sign up with an email address or phone number; registered users sign in with a password or SMS code.
- Install and open LixelGO.
- Tap "Quick Sign In" to open the sign-in screen.
- New users: Sign up with an email address or phone number.
- Existing users: Sign in with a password or an SMS verification code.
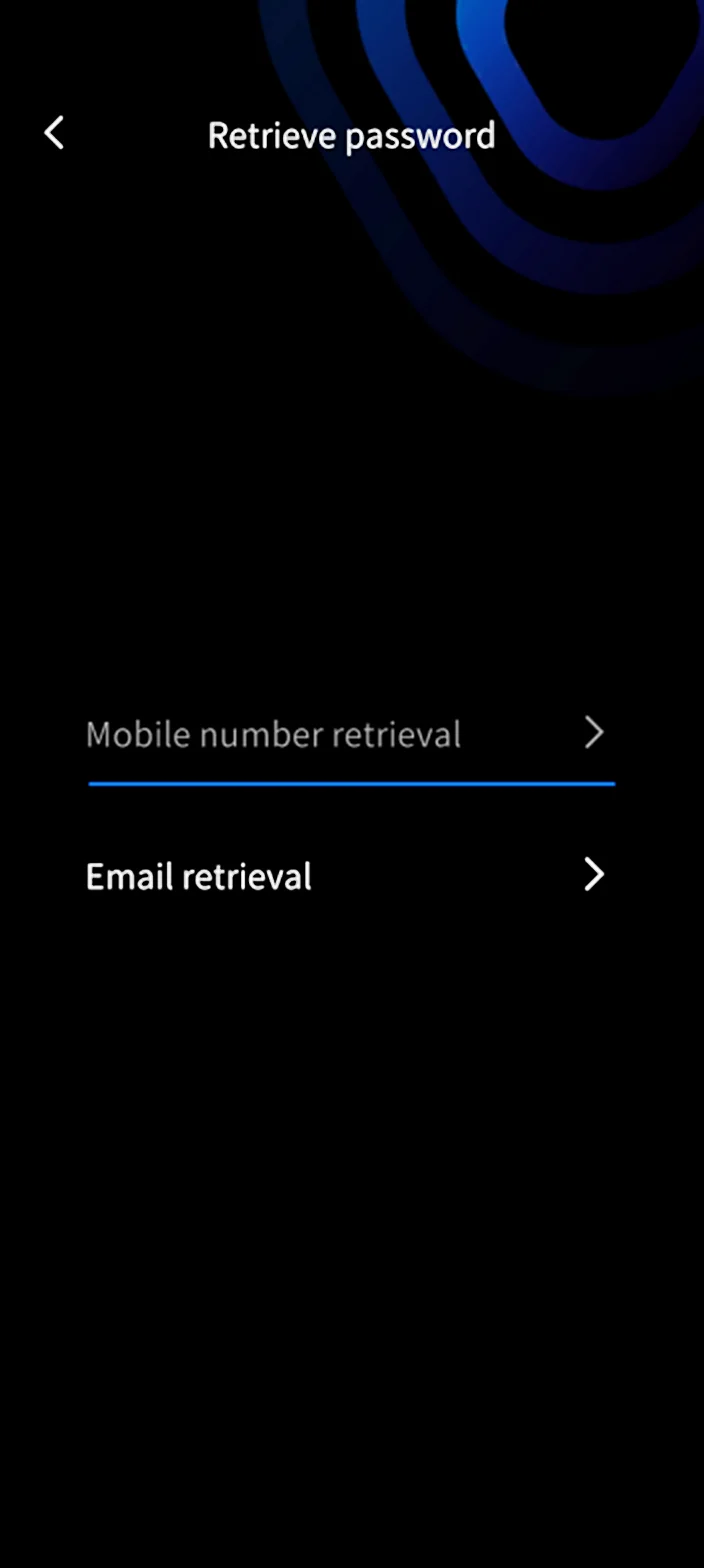
- Forgot password: Tap "Forgot Password" and reset it with your registered phone number or email.
Add a Device
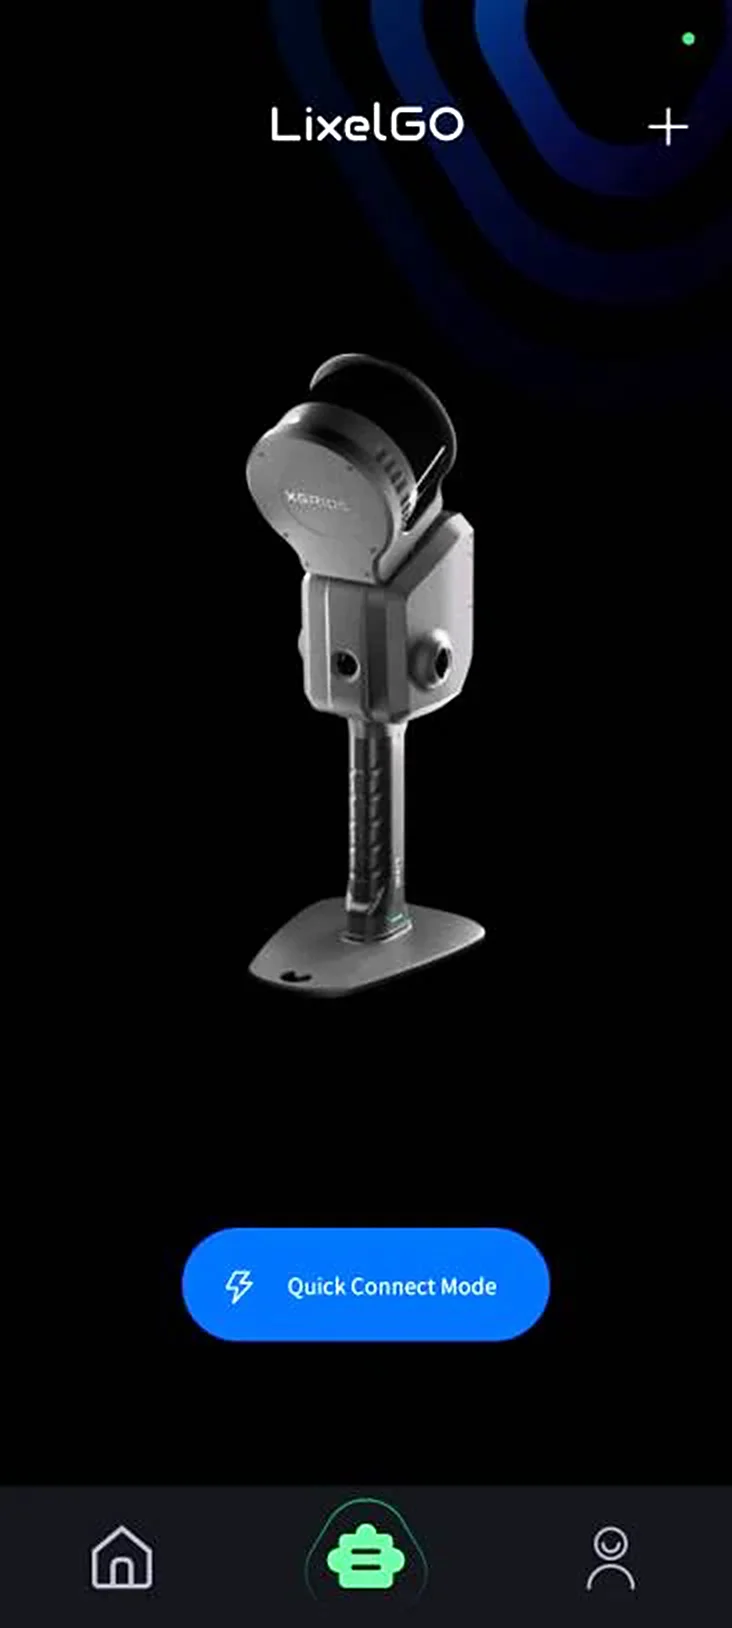
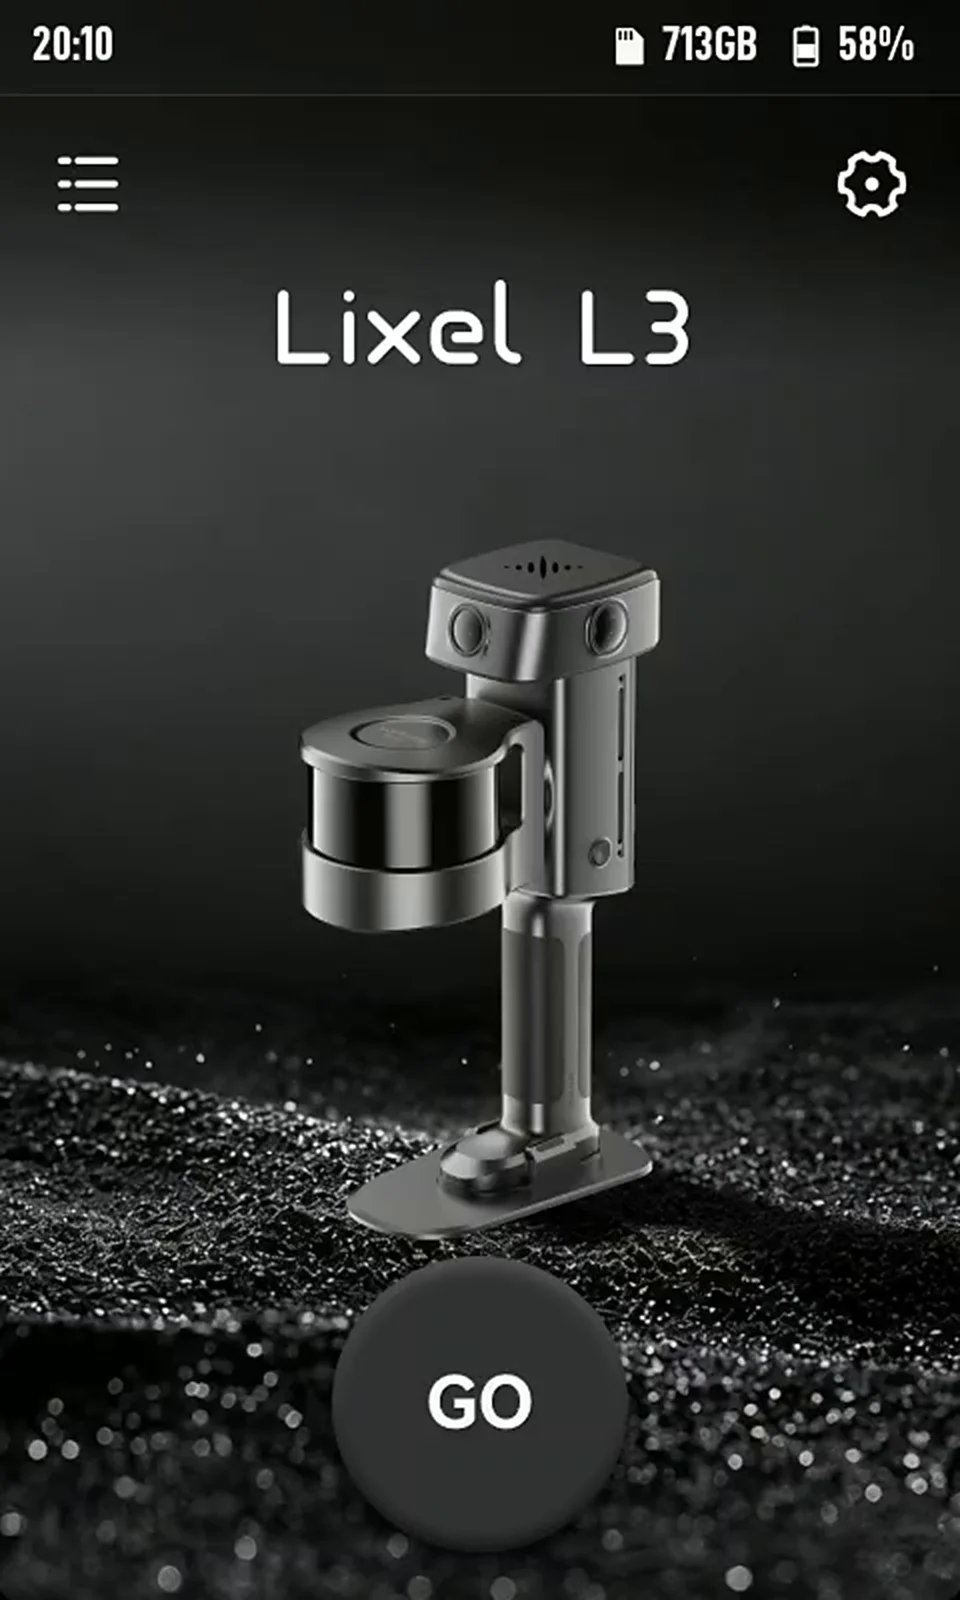
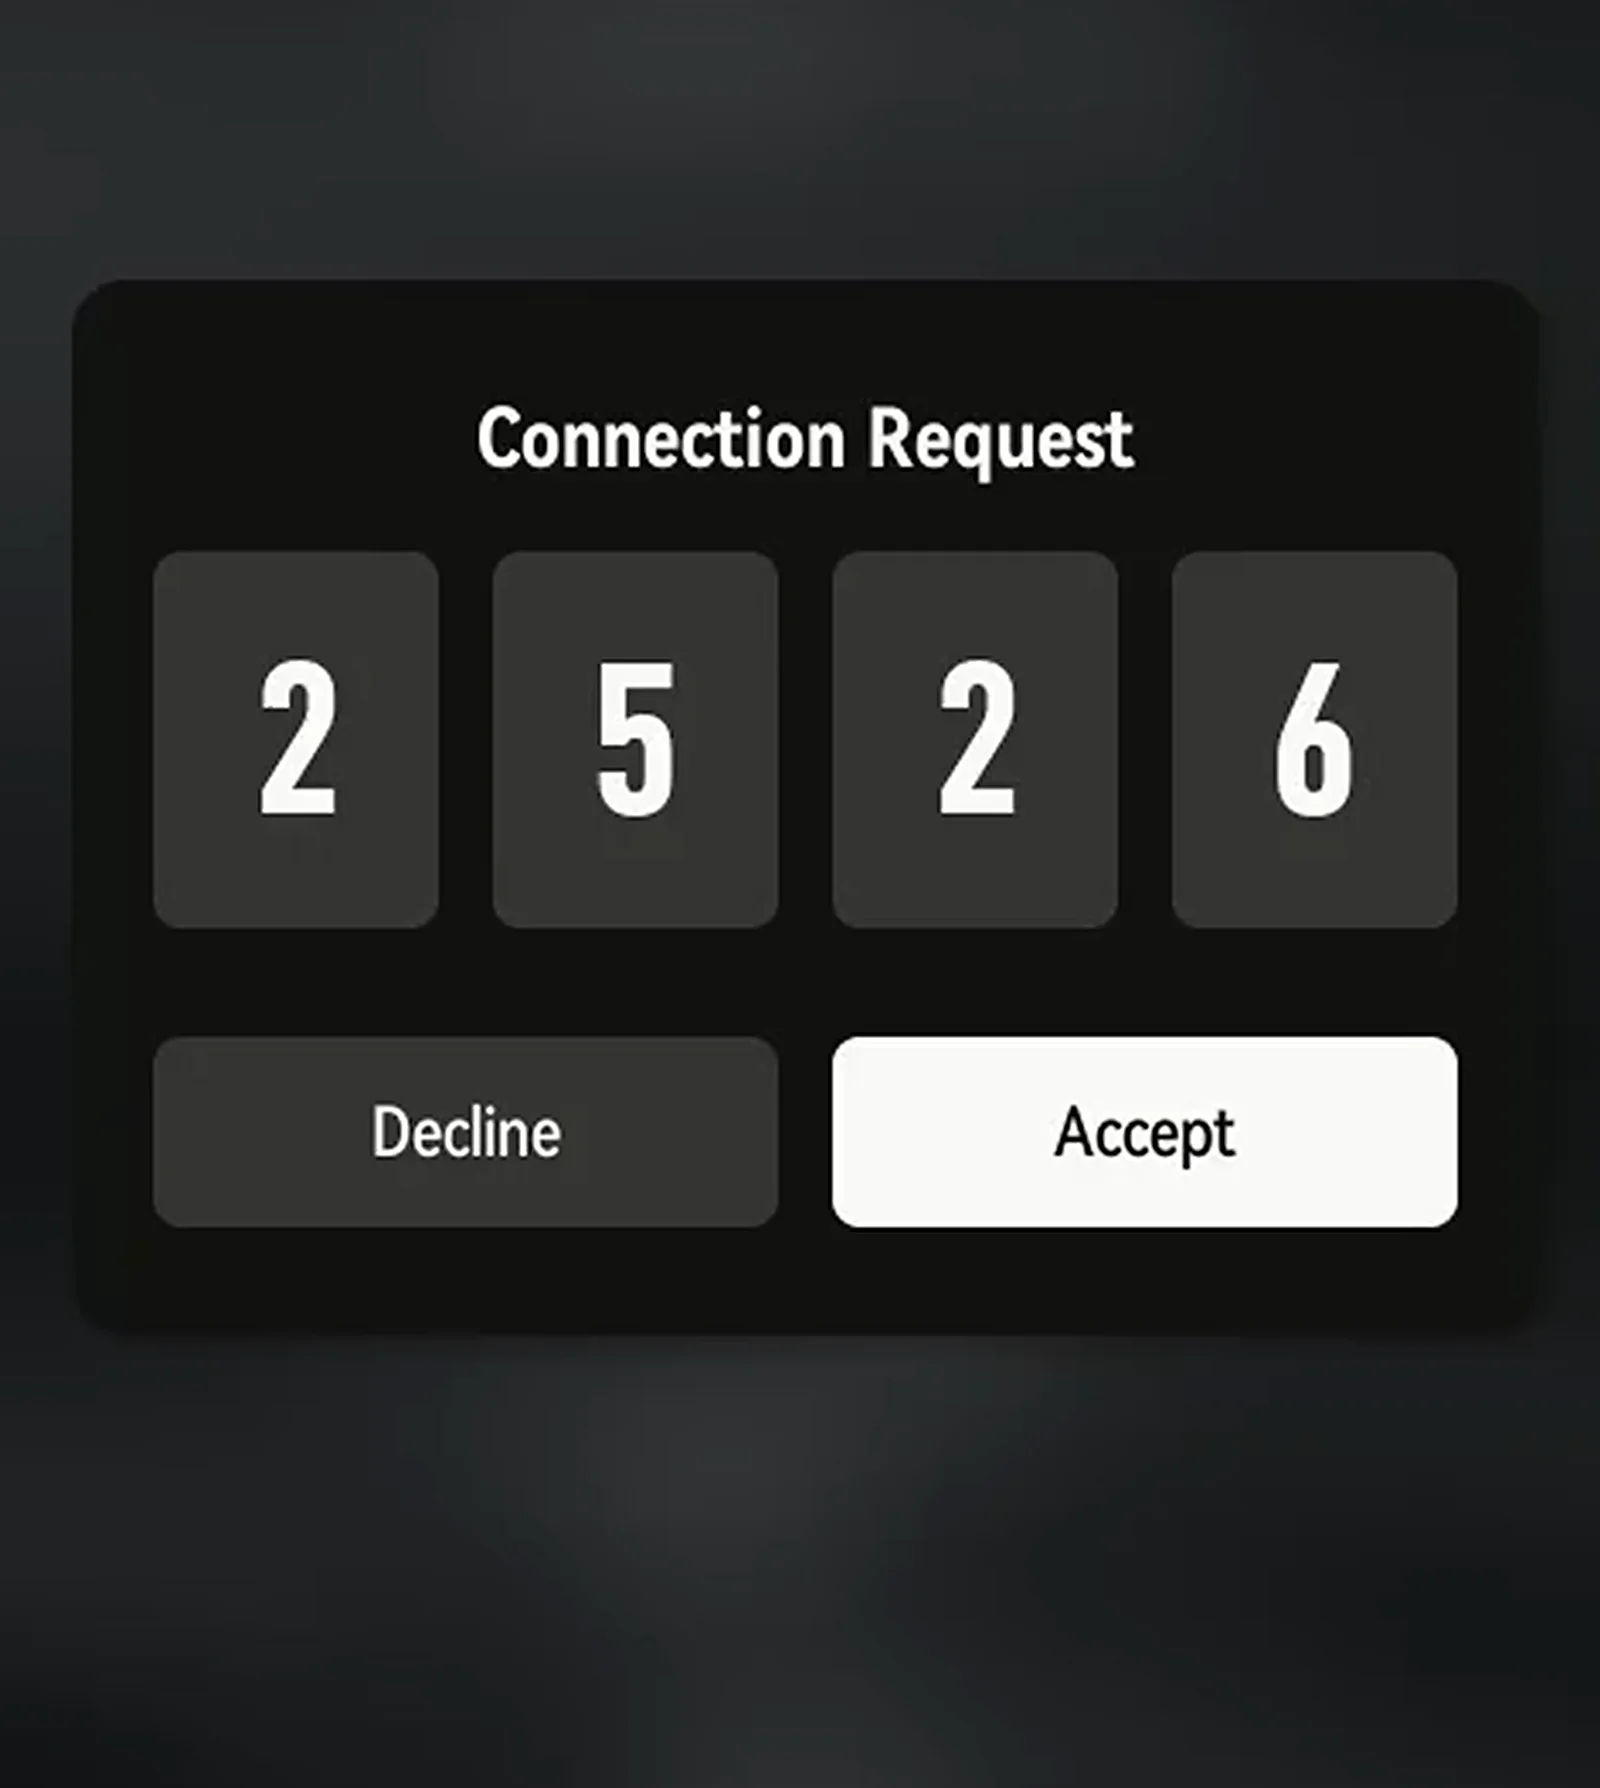
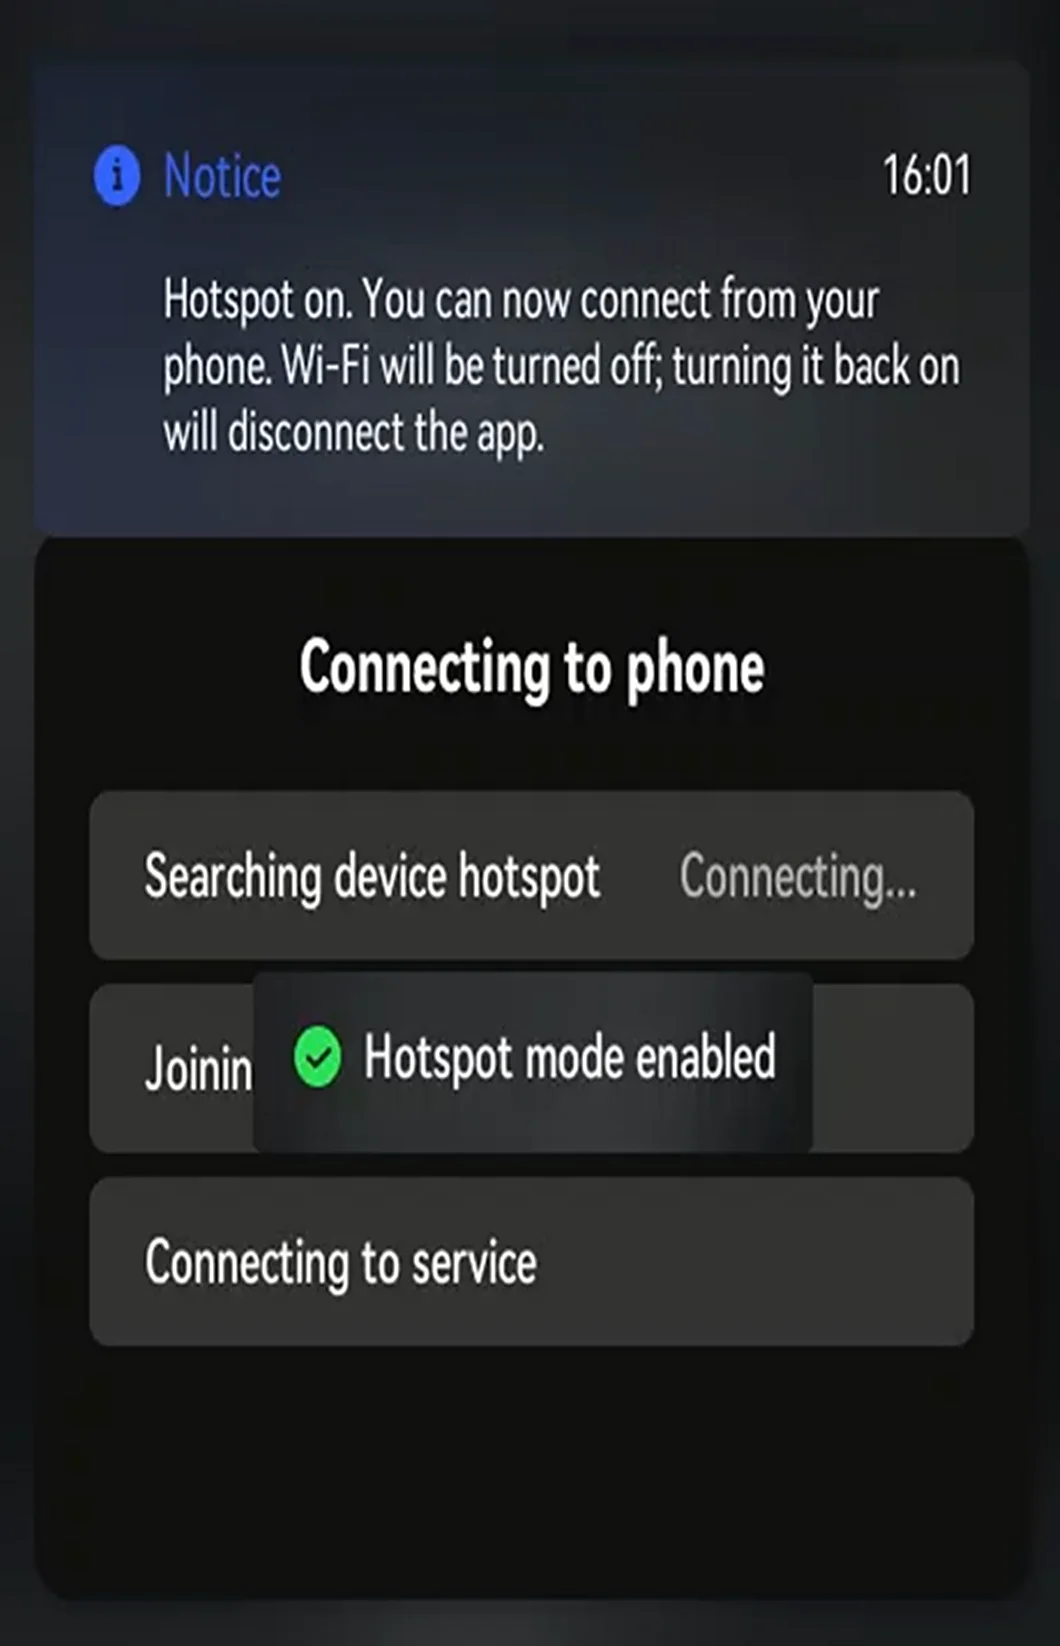
Press and hold the power button to turn on the scanner. LixelGO connects in Quick Connect mode.
On LixelGO
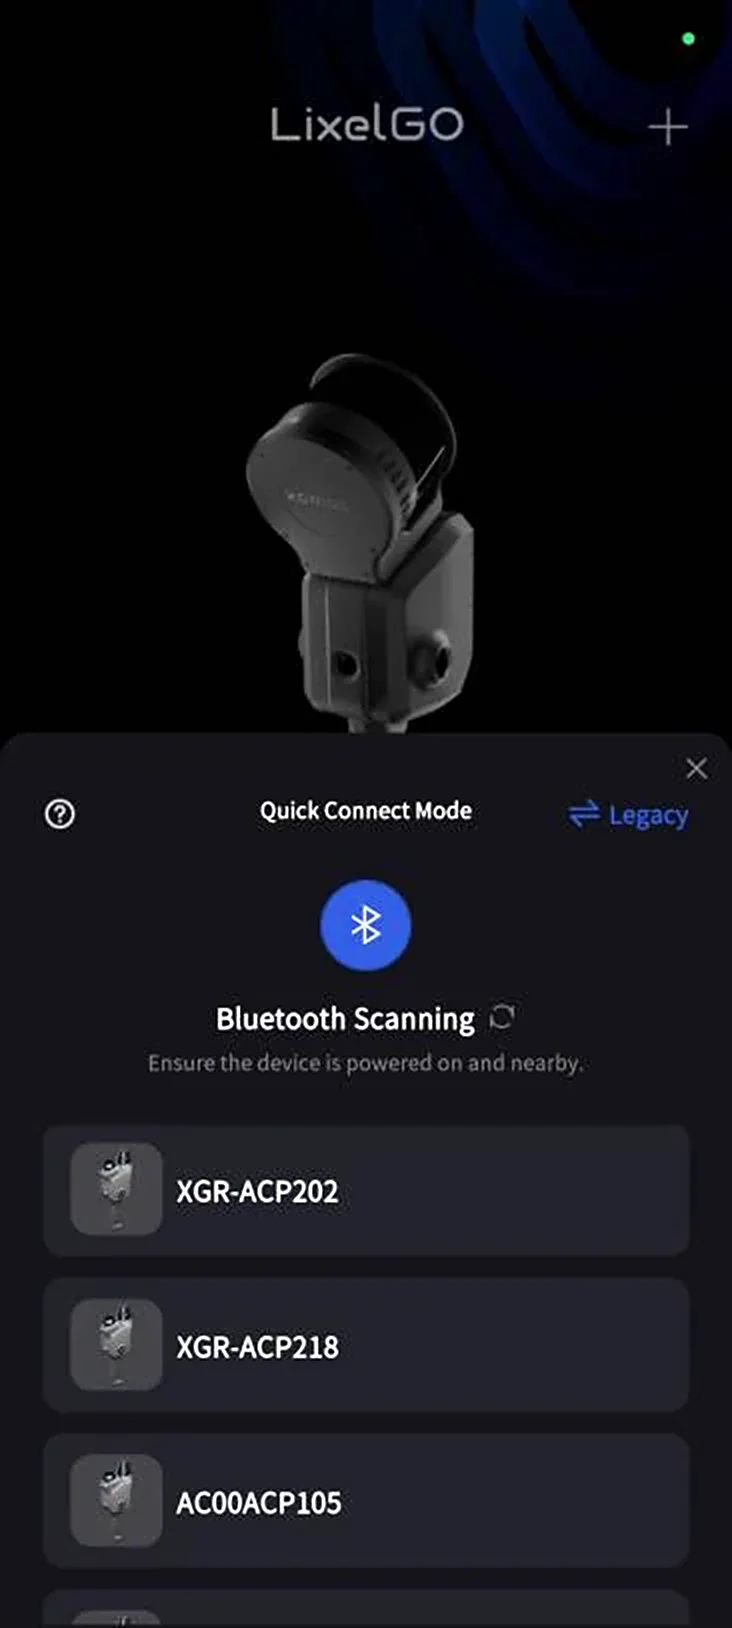
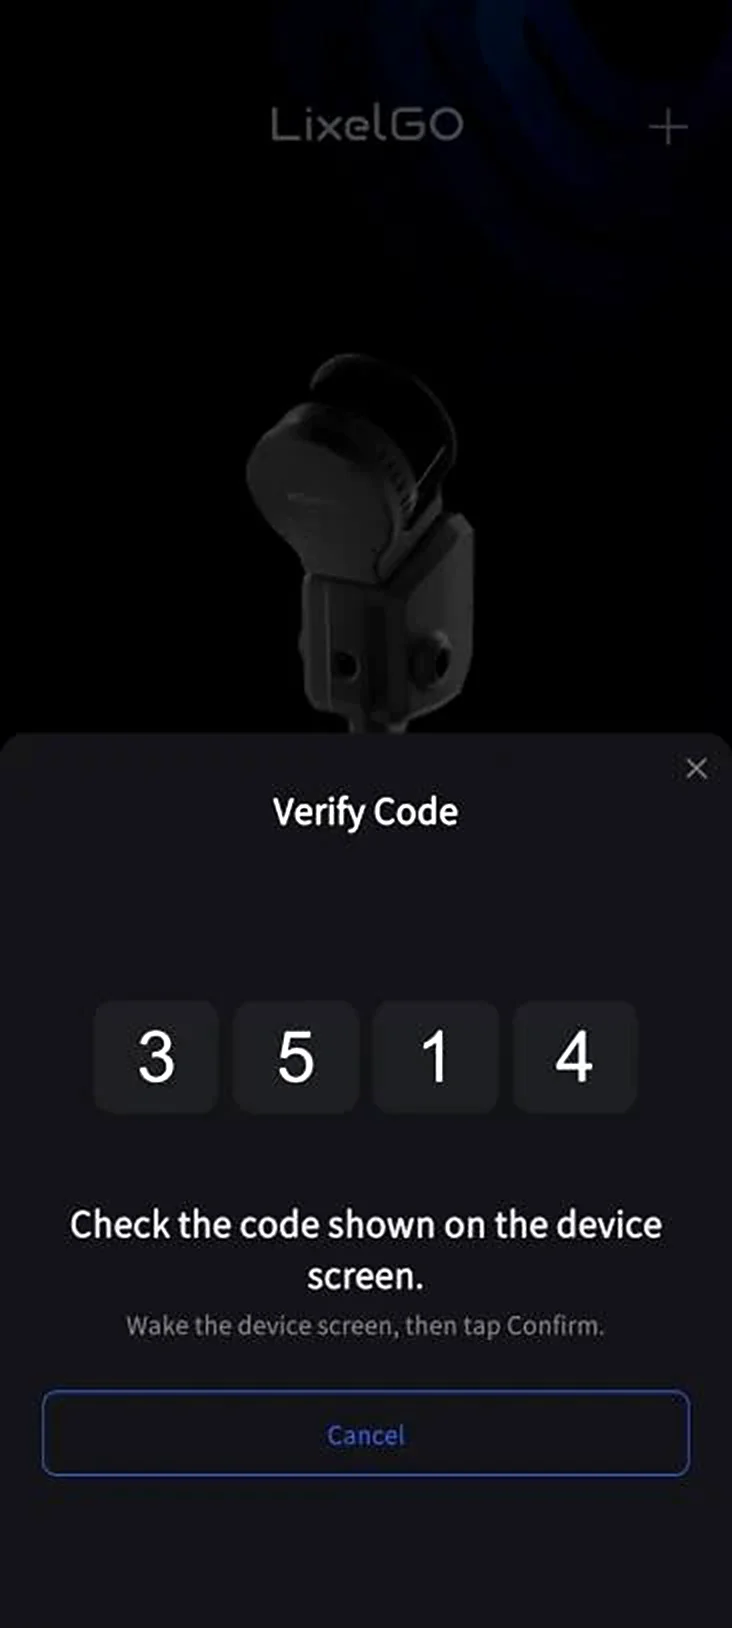
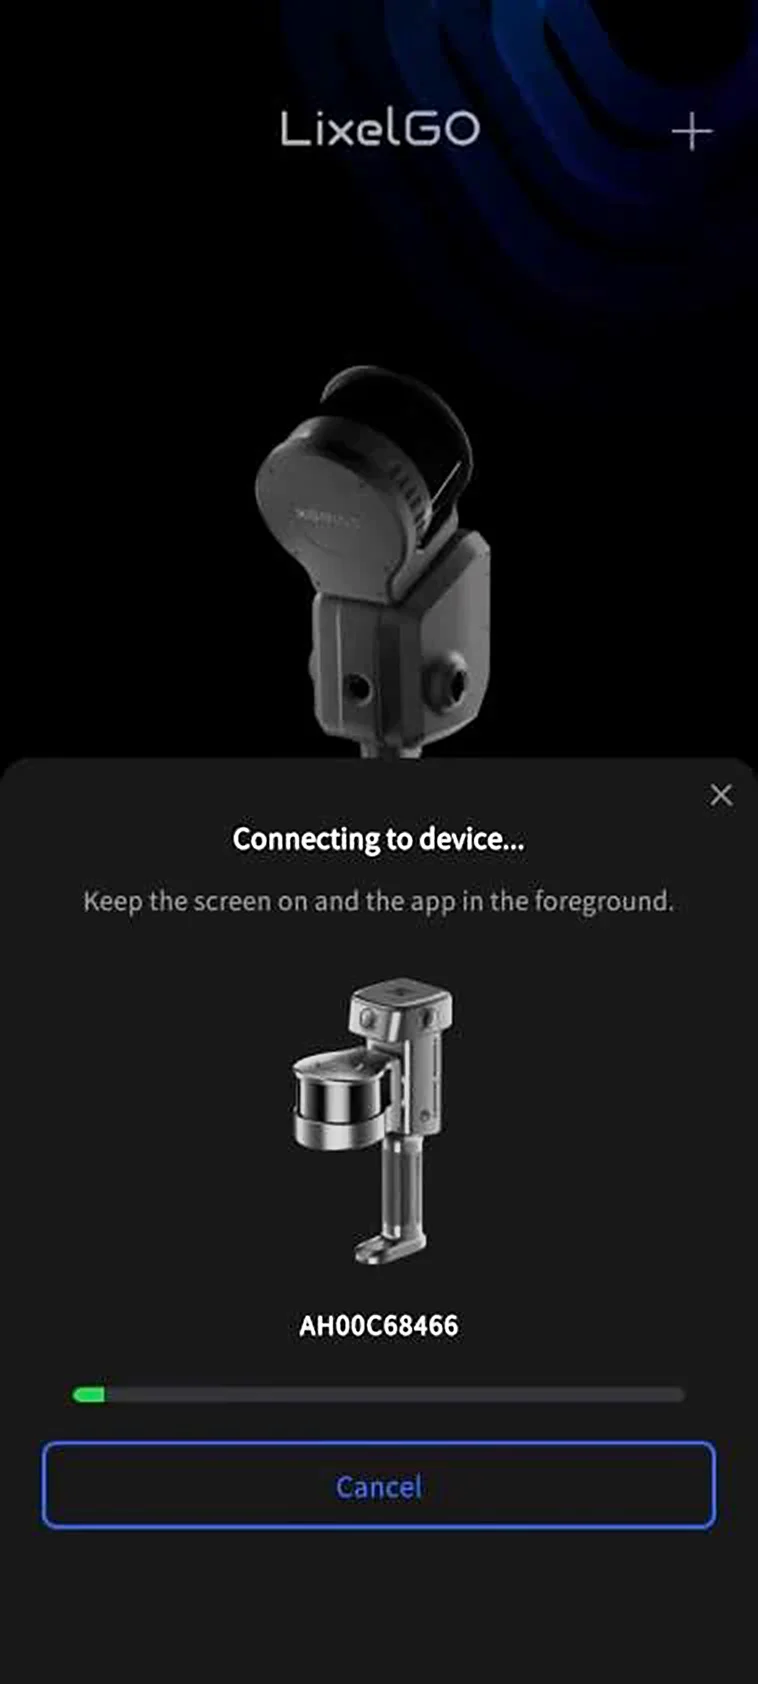
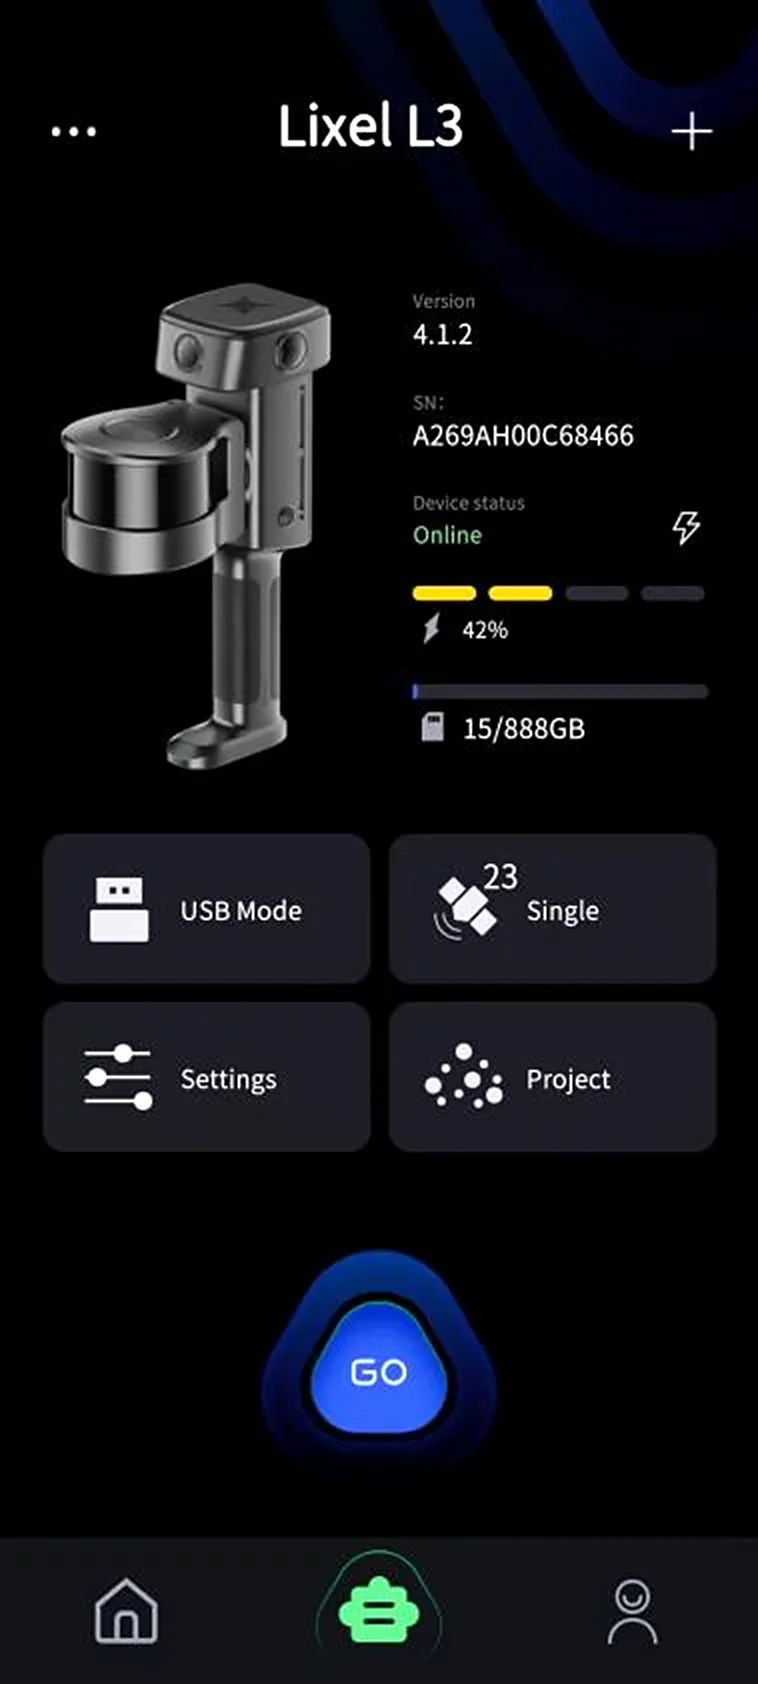
On the device screen
Activate the Device
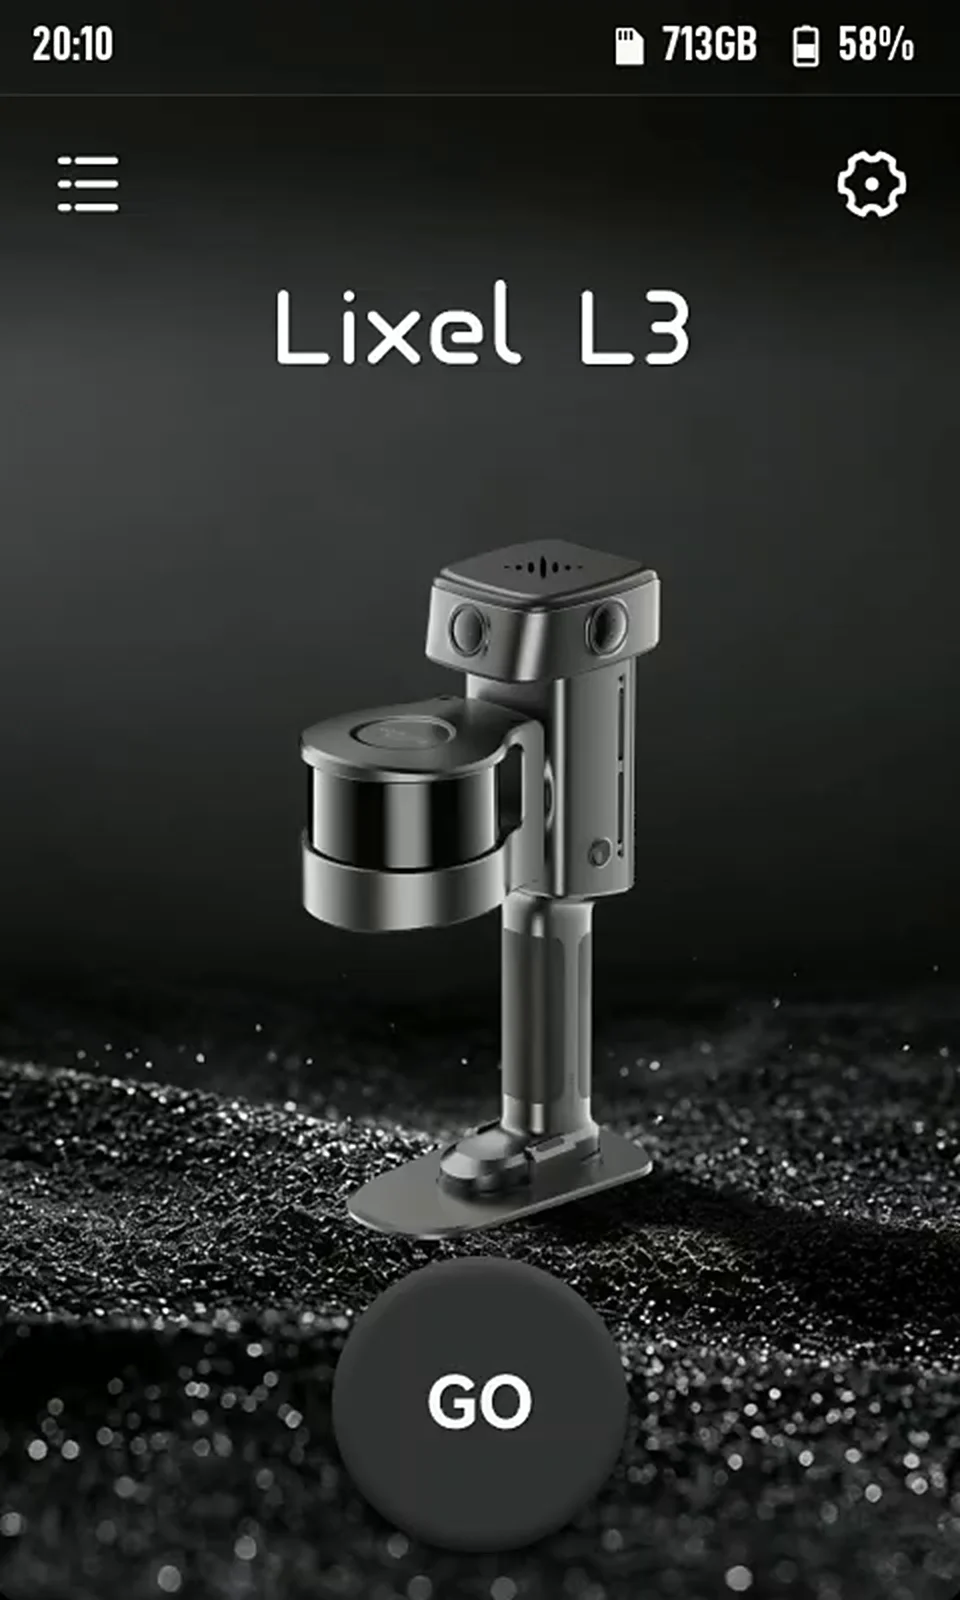
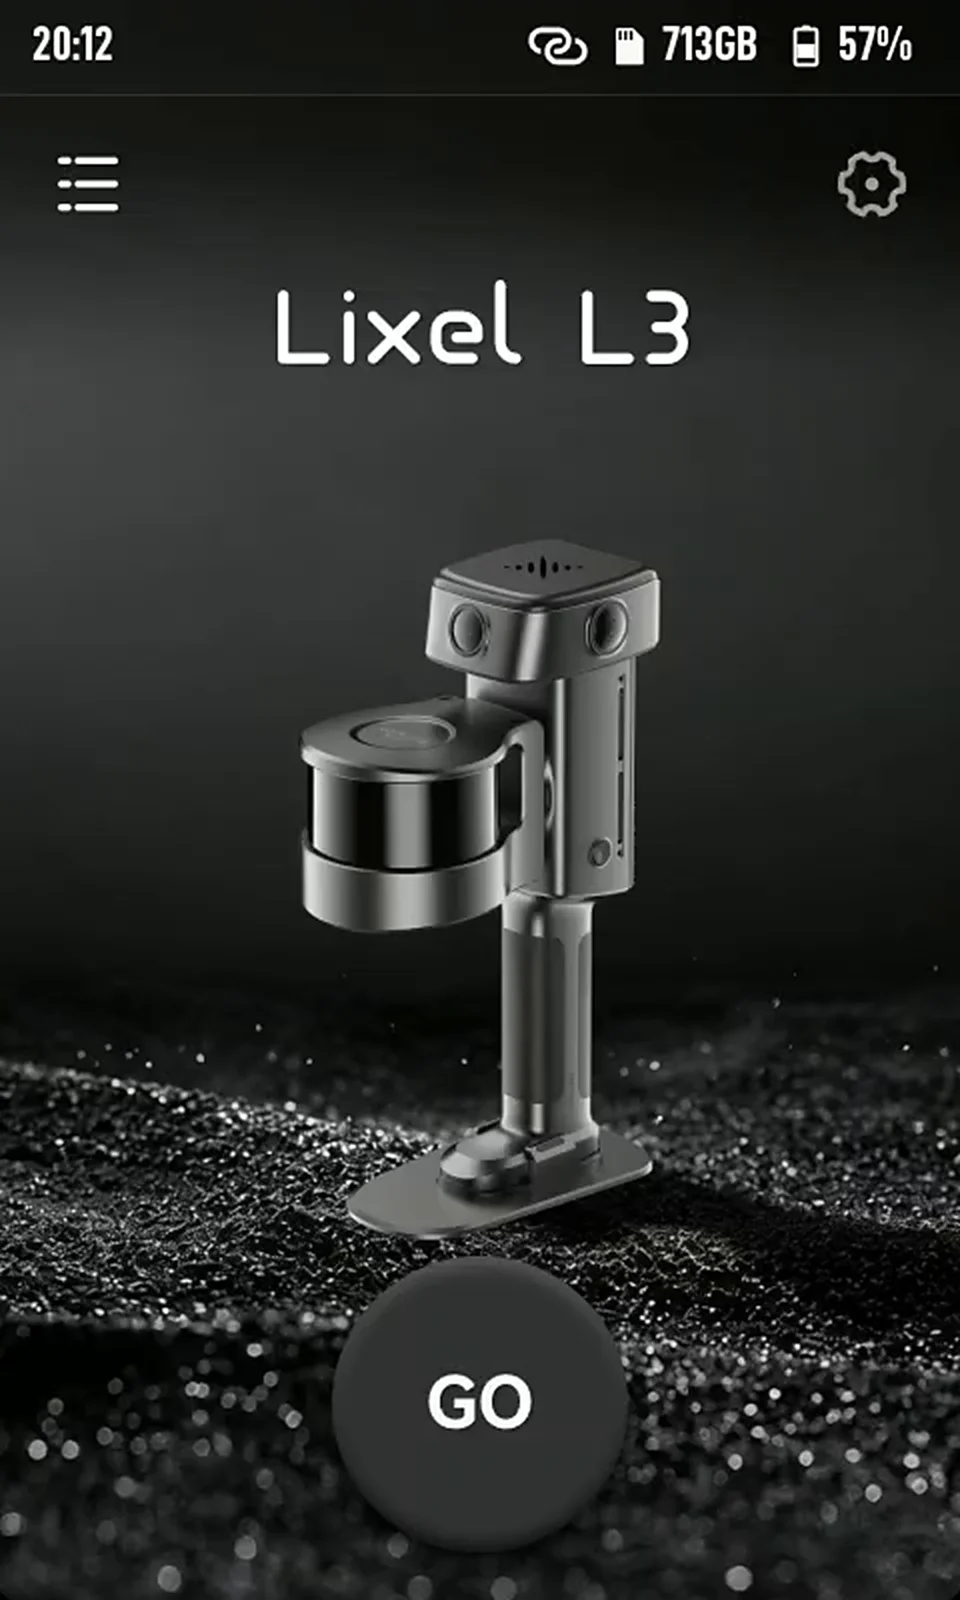
Tap "GO" and confirm to activate and bind the device.
Time Calibration
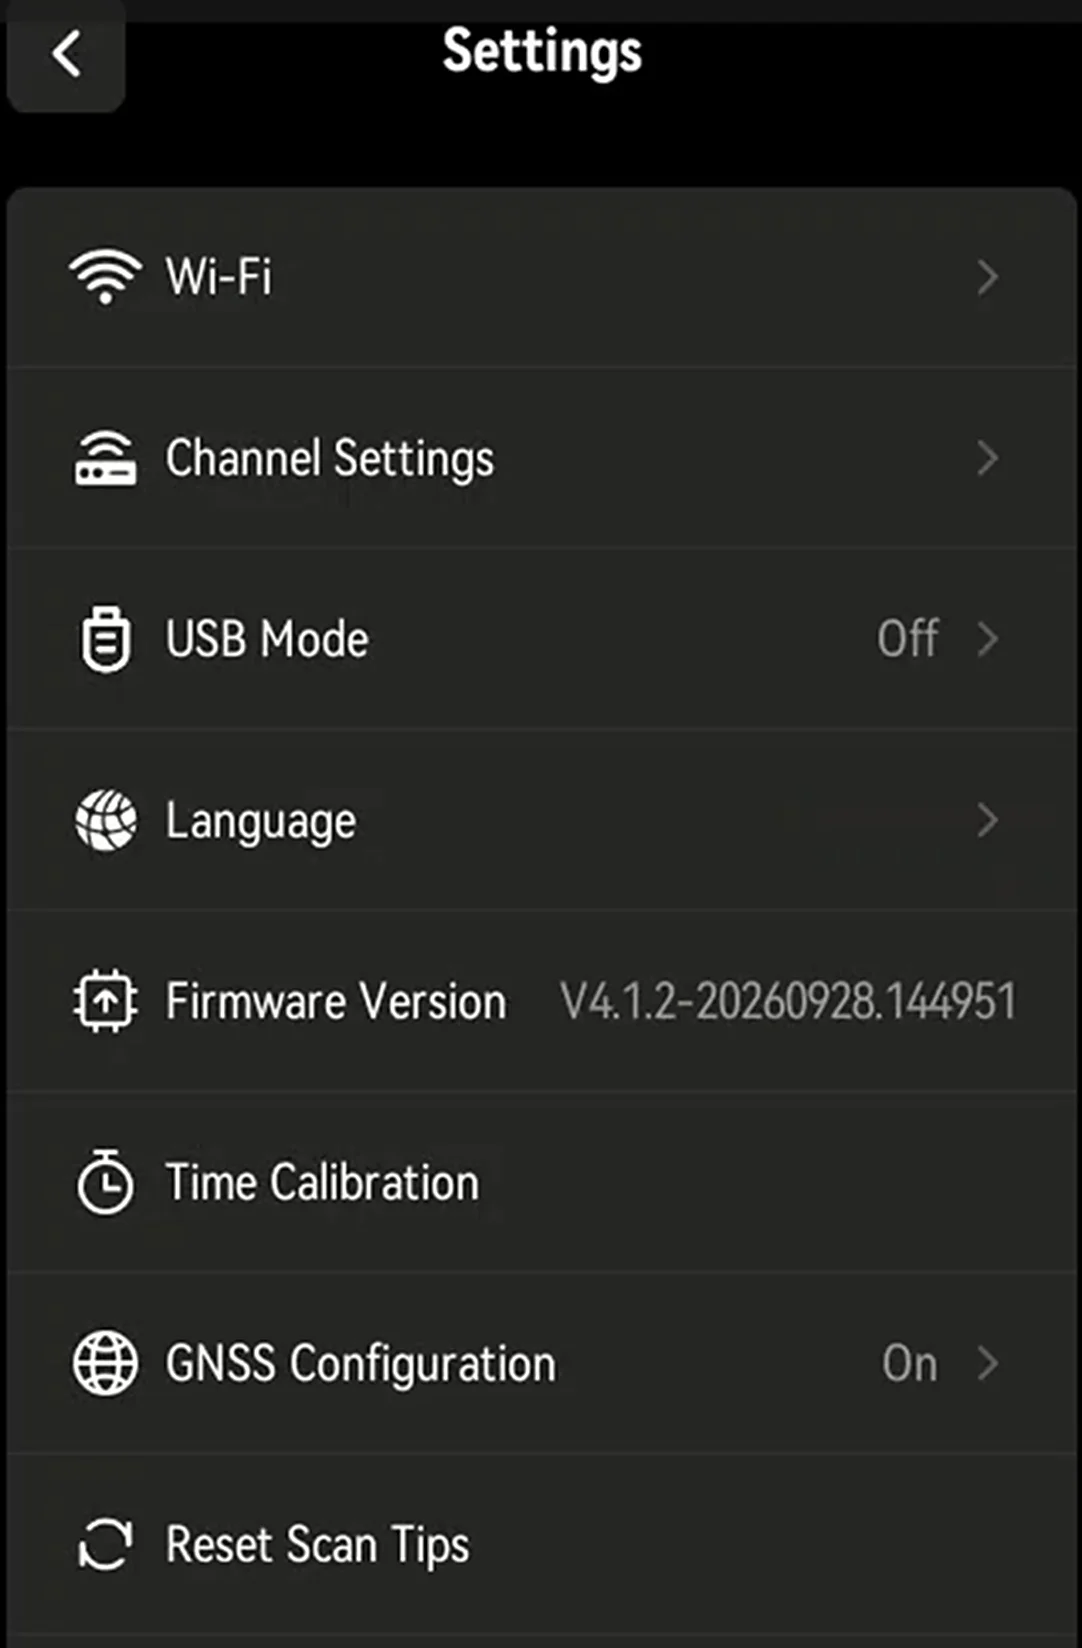
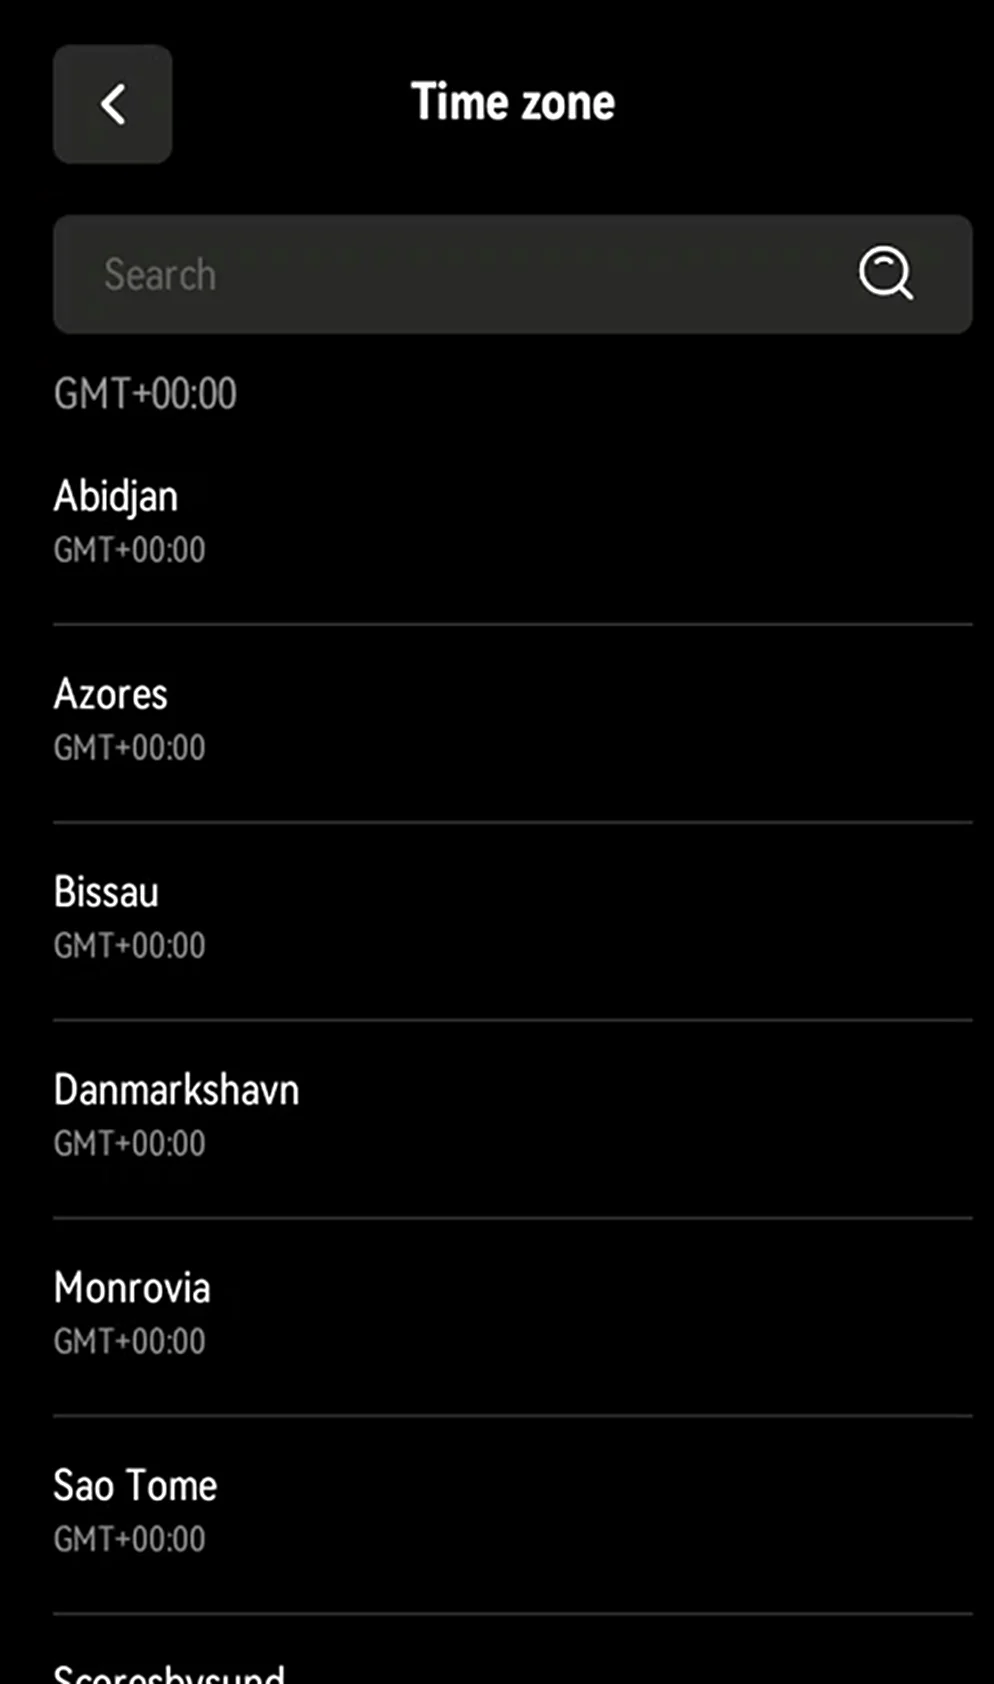
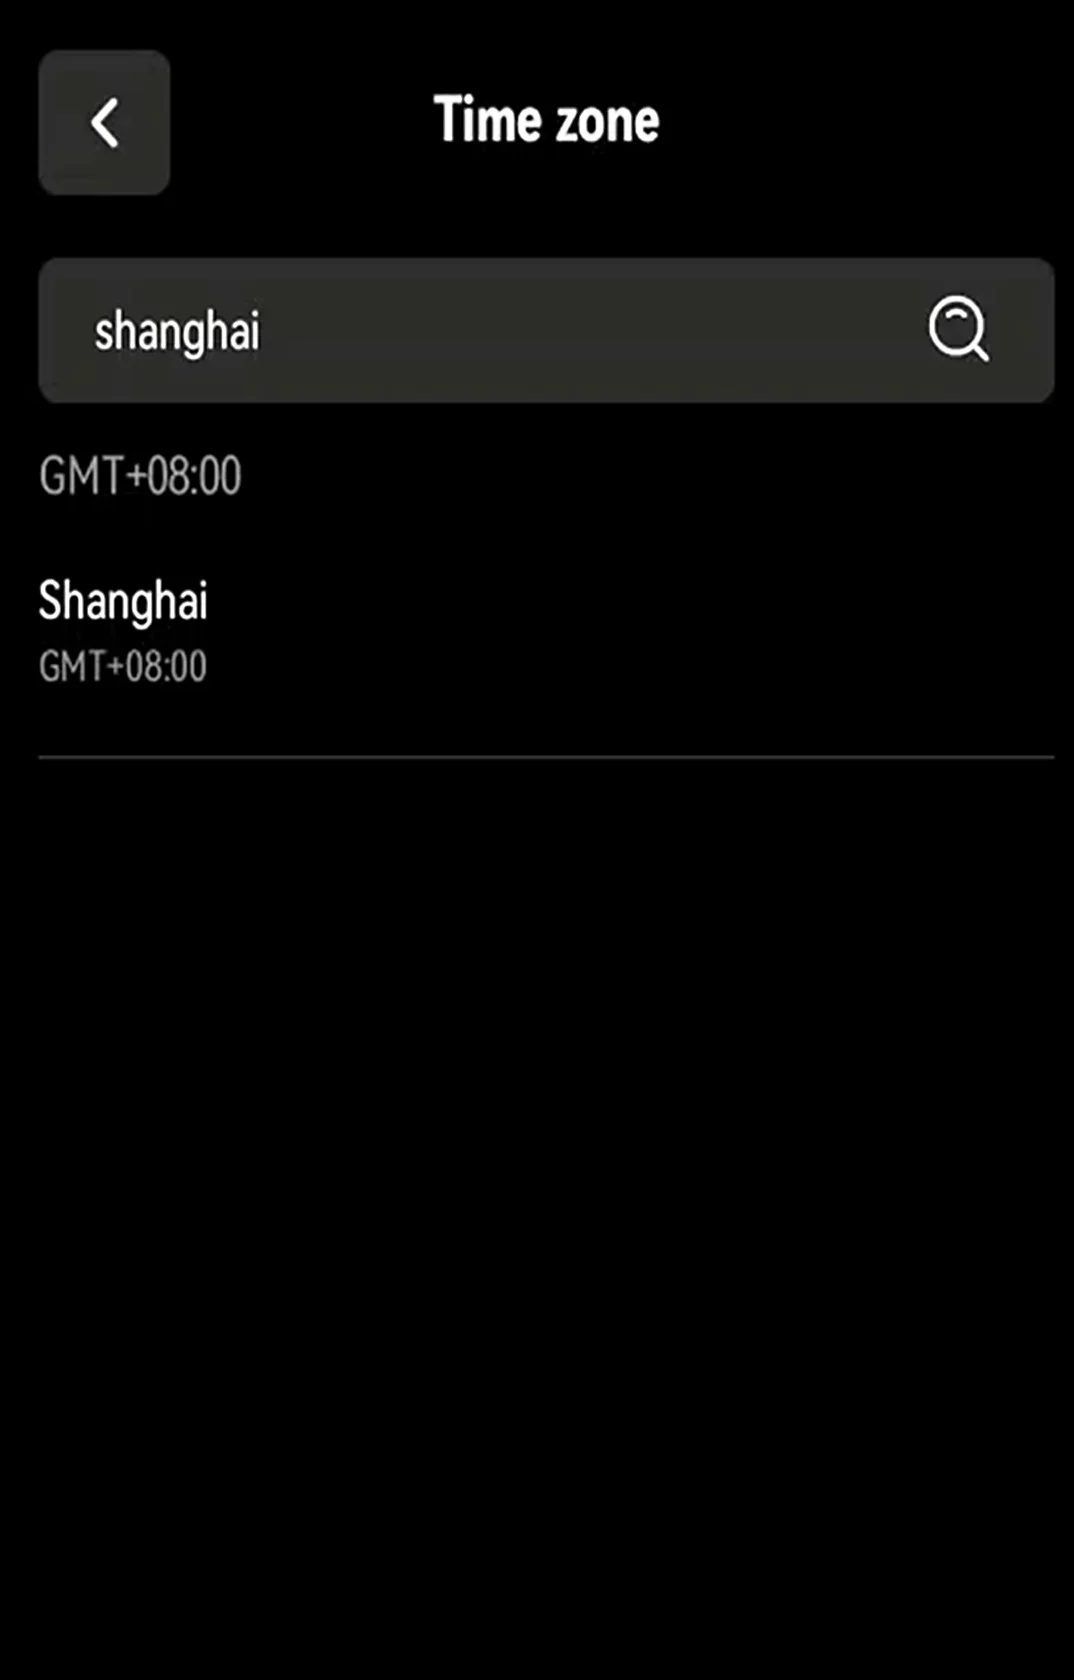
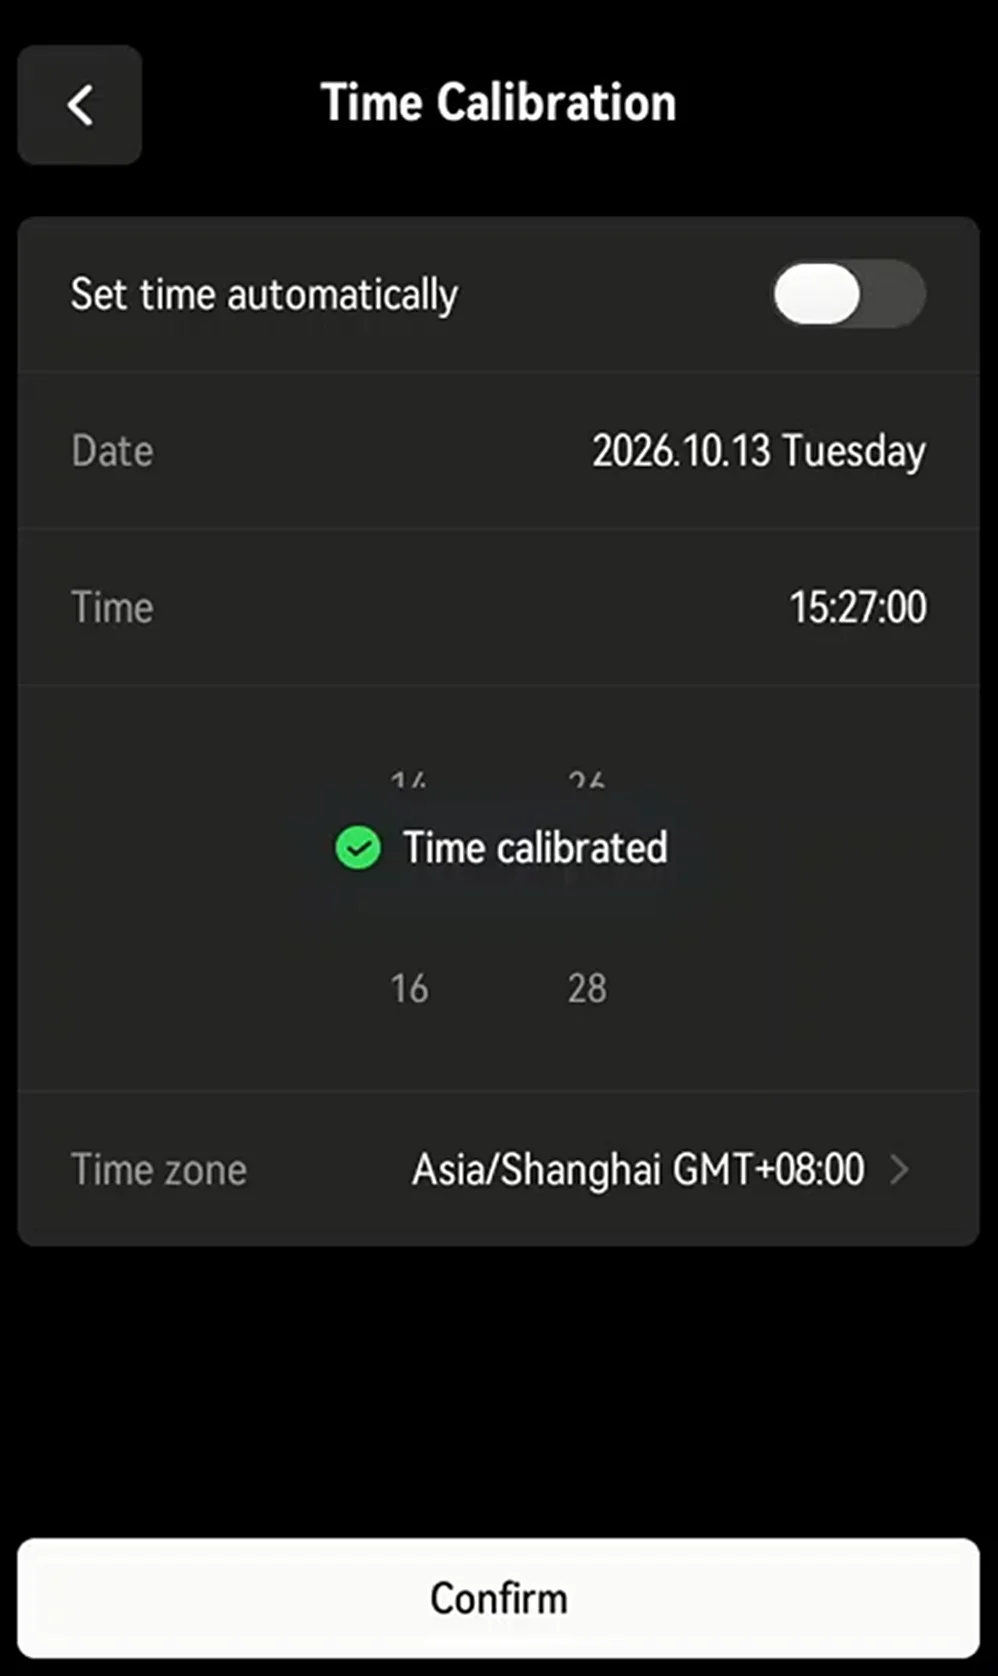
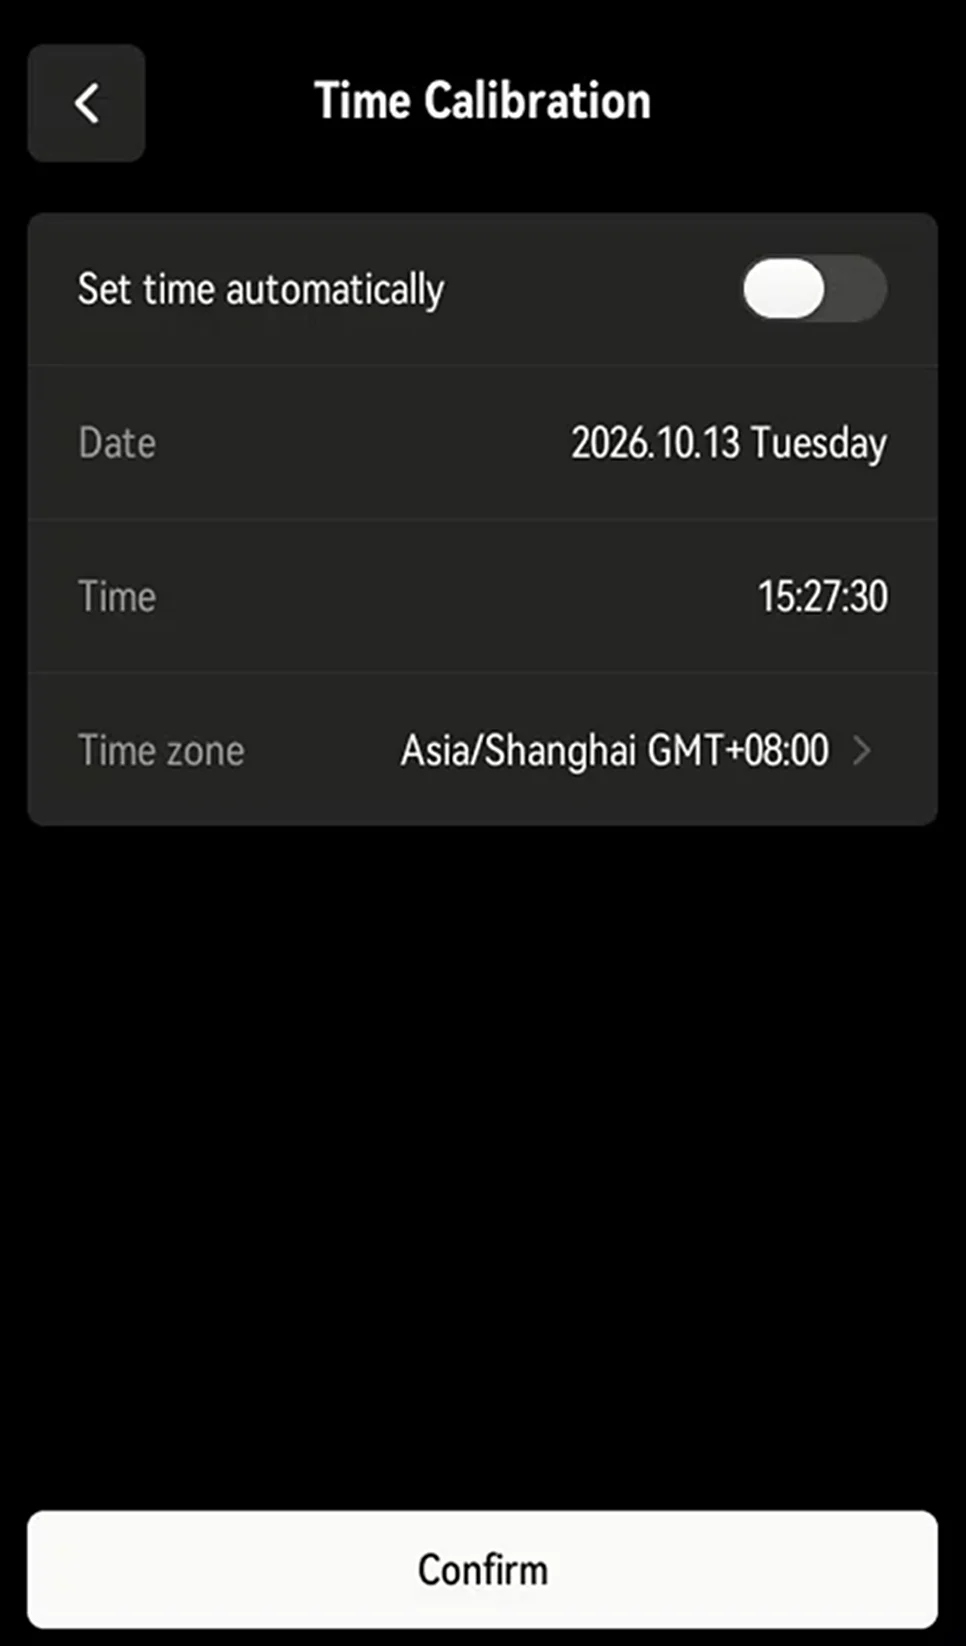
The device time and time zone are reset at the factory. After activation, go to Settings > Time Calibration and set the time manually, or connect to a network to set it automatically.
Manual calibration
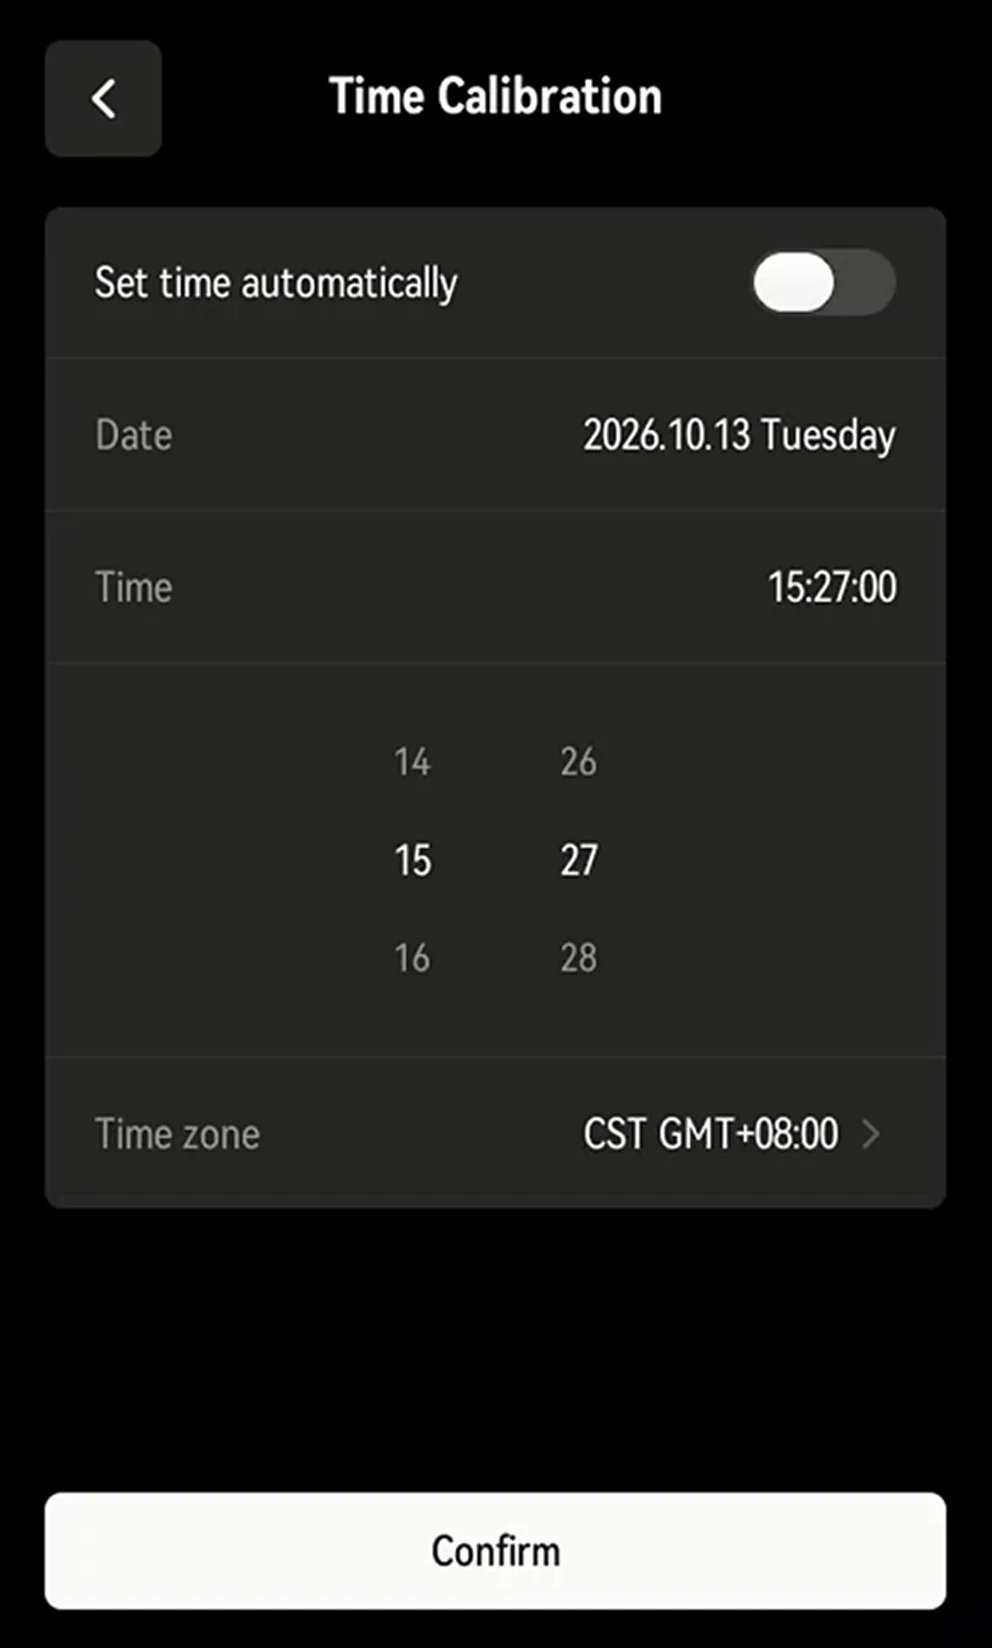
Scroll to set the date and time, or select your time zone. Manual calibration is recommended.
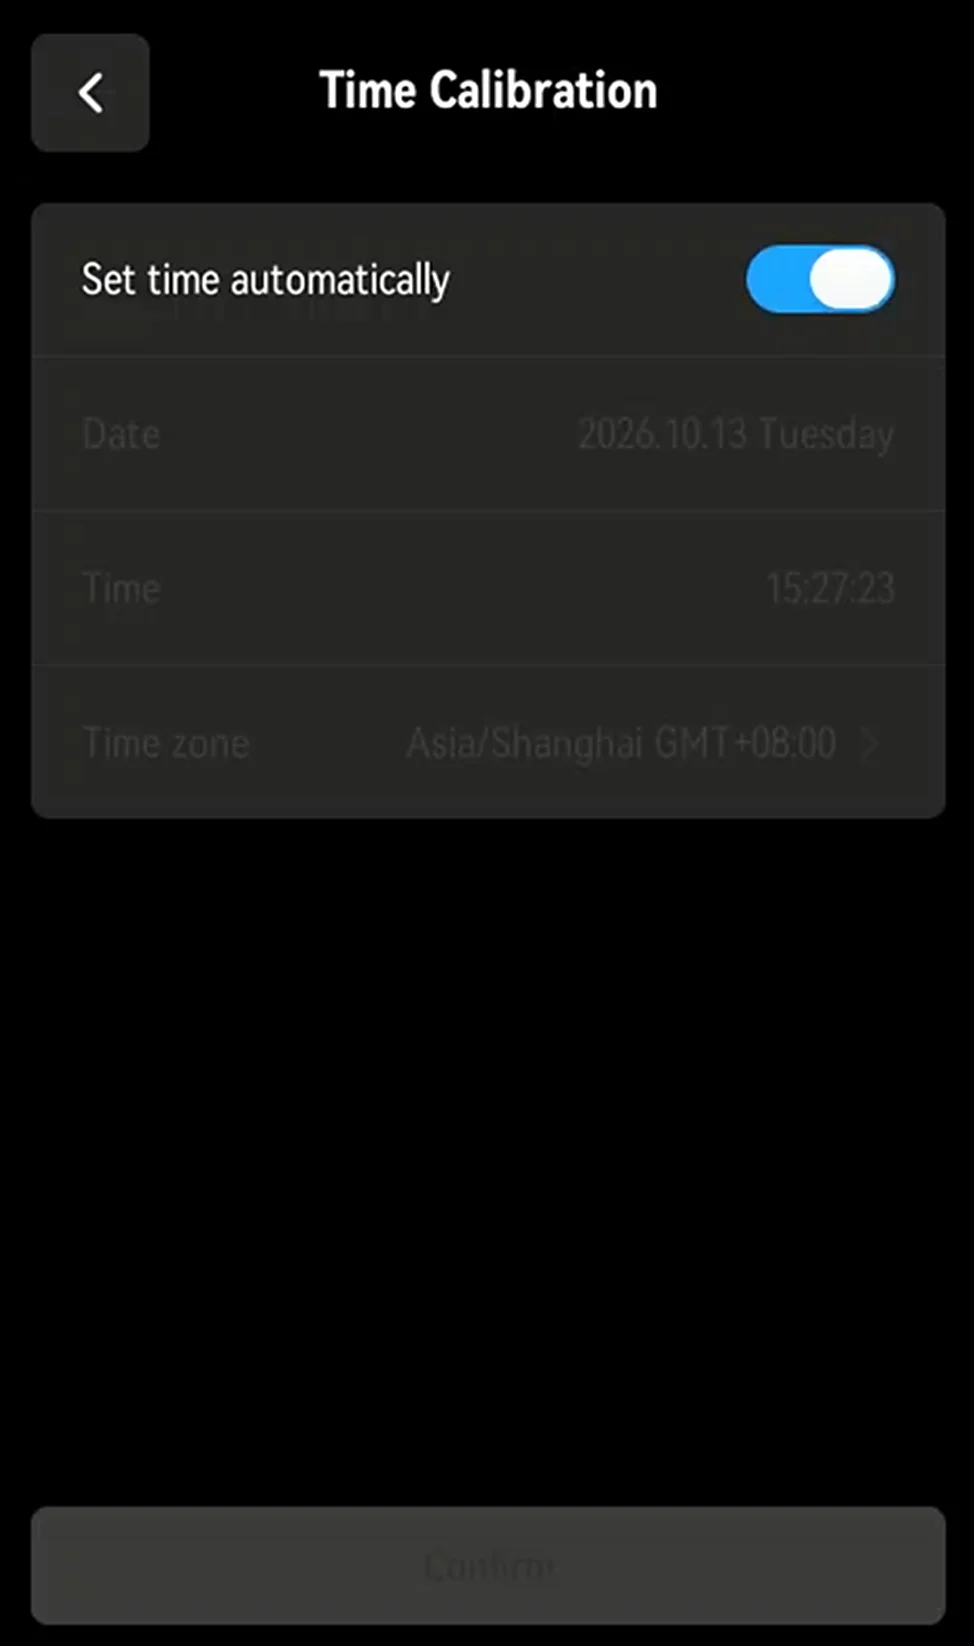
Automatic calibration
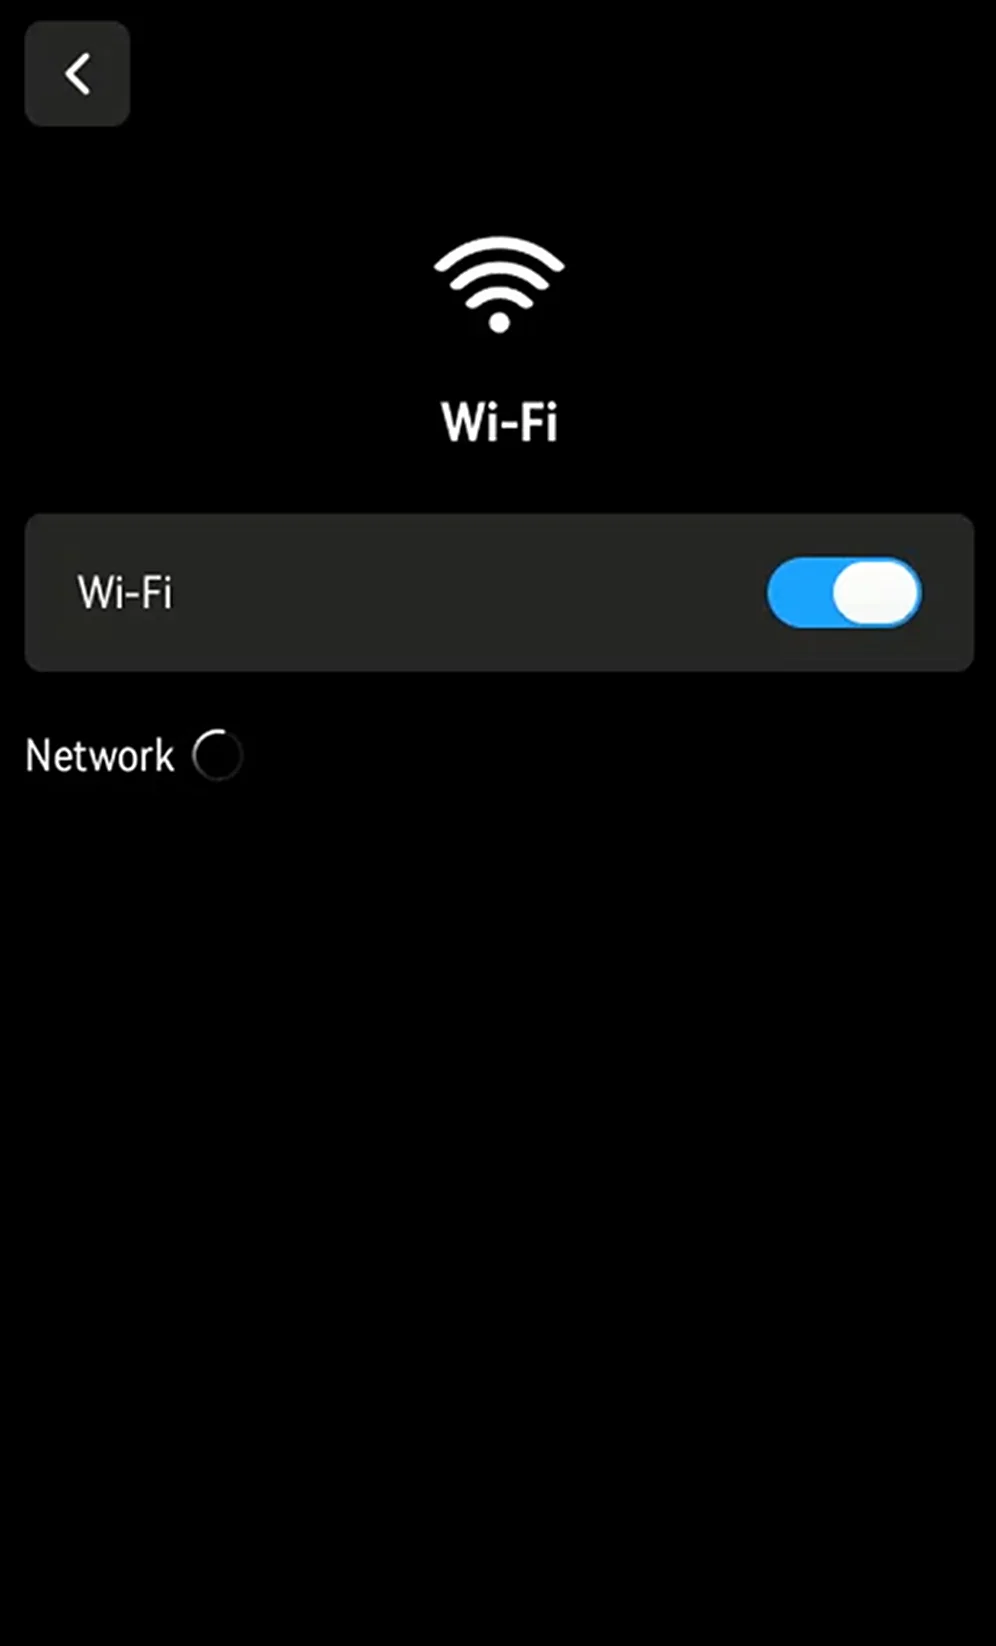
- Swipe down from the top of the screen, then press and hold the Wi-Fi icon to open network settings.
- Once connected, go to Time Calibration and tap "Set Time Automatically".
This chapter is from the official XGRIDS user manual. Official source (opens in a new tab) · Updated:



